
I may earn a commission if you click on links in this post and make a purchase.
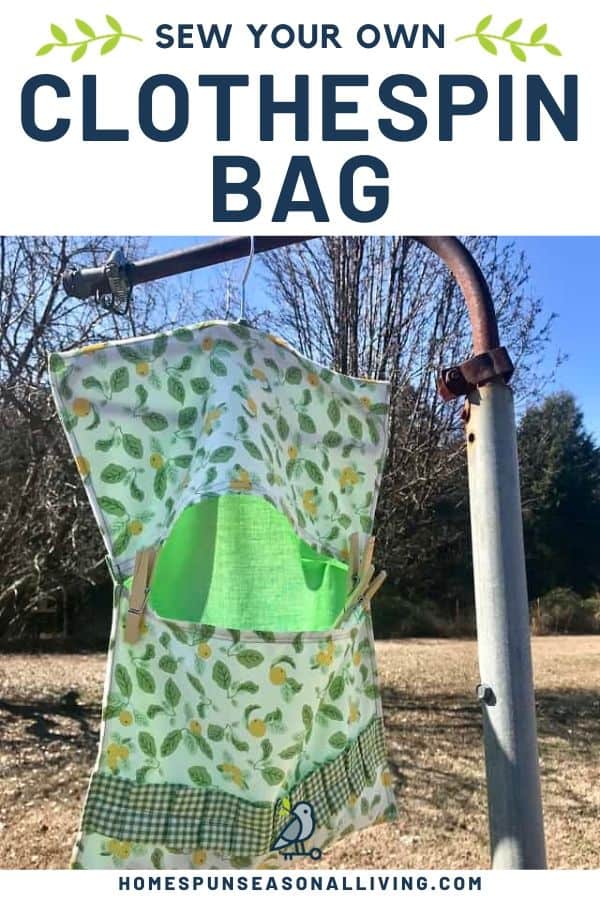
A clothespin bag is one of those small things that makes hanging laundry on the line feel more organized and efficient. Mine hangs ready on the line and keeps everything contained. This pattern uses fabric quarters and a child’s hanger, sews up with straight lines, and is a good beginner project if you’re just getting comfortable with your machine.
Get your spring cleaning started off in style by making your laundry tasks easier and more lovely with this easy to follow clothespin bag pattern.
Simple sundresses and fresh sheets in a row feel like summer, but hanging linens outside to dry can feel like a chore. Choose colorful fabric, like these sunny lemons, for your peg bag to brighten up the task.
The bag is hung with a child sized hanger so that you can easily move it down the line. Its width is just right for holding about 100 clothespins.
This project is sewn with cotton fabric and straight lines, making is ideal for beginners.
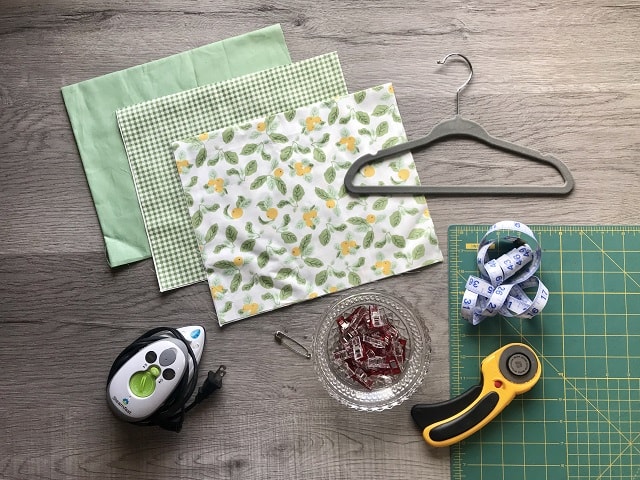
Supplies Needed
- 3 Fabric Quarters
- Child’s Hanger
- Iron
- Safety Pin
- Sewing Clips
- Measuring Tape
- Rotary Cutter
- Cutting Mat
- Coordinating Thread
- Sewing Machine
Cotton fabric is best for this project, and you don’t need a lot. Fabric quarters work well, especially if you like to mix and match patterns.
Any size hanger will work, but one meant for children makes the size of the bag more manageable. Just make sure you cut your fabric two inches wider than the width of the hanger.
How to Make a Clothespin Bag
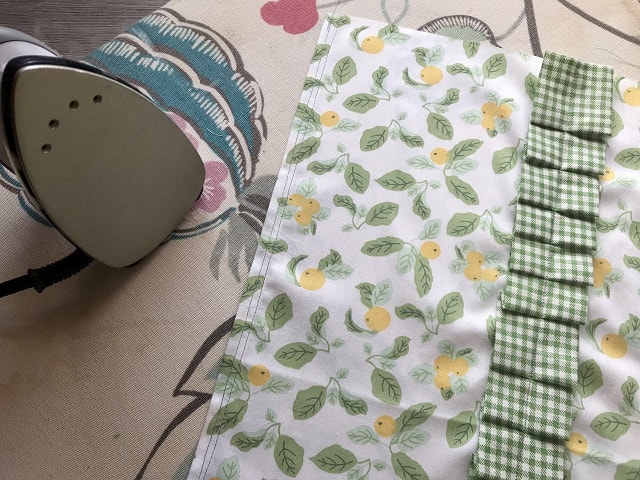
Begin by pressing your fabric quarters with an iron.
Then cut your fabric to the following dimensions using a rotary cutter and cutting mat:
- Back: 13″ x 22″
- Front Top: 13″ x 8″
- Front Bottom: 13″ x 11″
- Ruffle (Optional): 4.5″ x 22″

If you are adding a ruffle, fold the cut ruffle piece of fabric in half lengthwise with right sides together. Clip to hold.
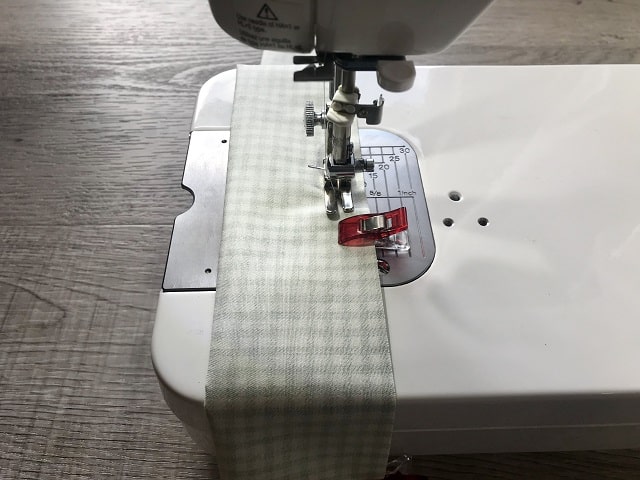
Sew the open edge with your sewing machine using a 1/2″ seam allowance.

Pin a safety pin to one end of the ruffle.
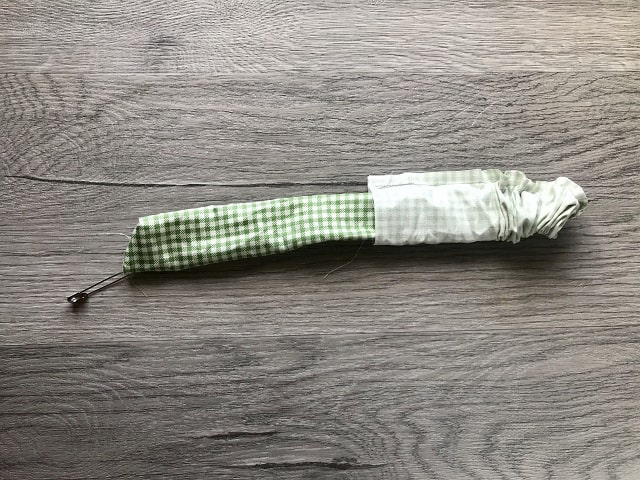
Push the safety pin through the tube to turn it right side out.
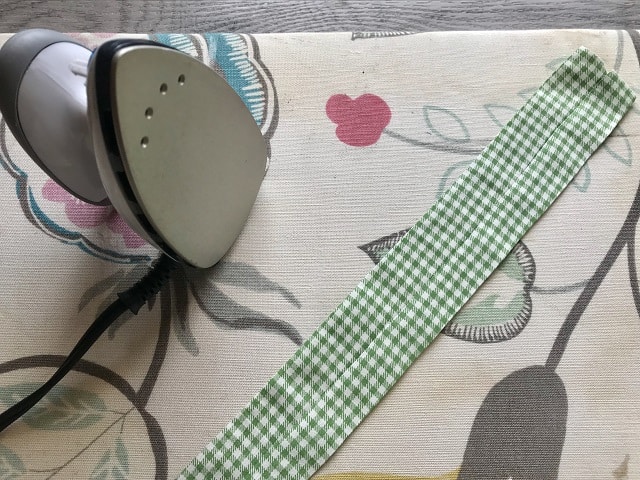
Next press the ruffle with its seam running down the center.
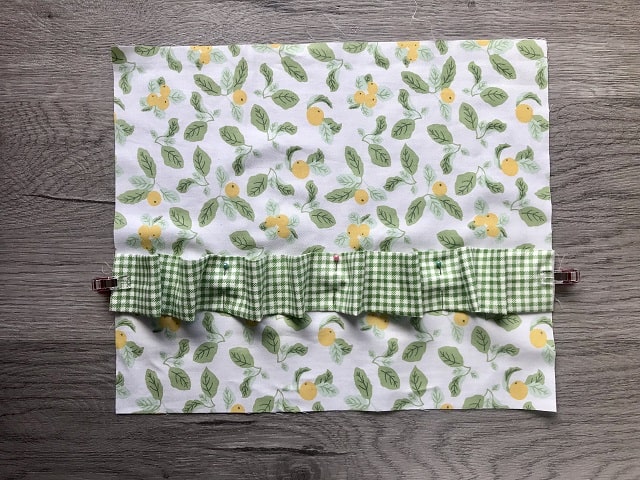
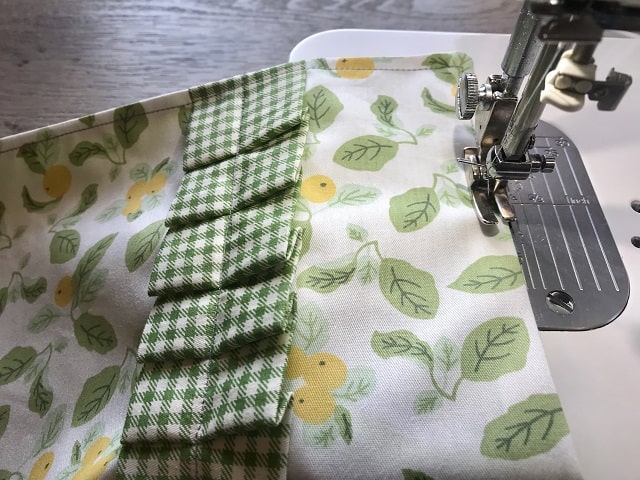
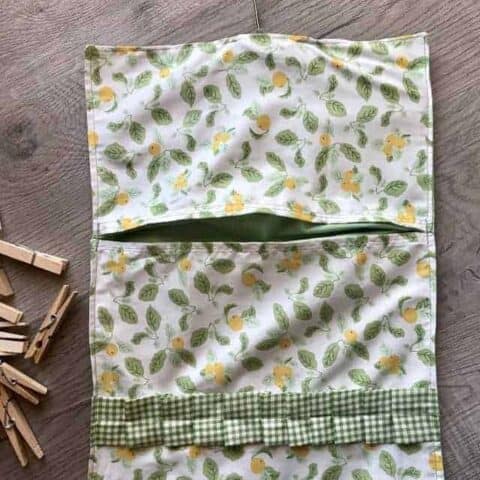
Lay the ruffle on top of your bottom fabric piece. Clip the edges together, 3″ from the bottom edge, with all right sides facing up.
Then gather the fabric to form the ruffles. You can pin these in place now, or make them as you sew.

Sew down the center of the ruffle.
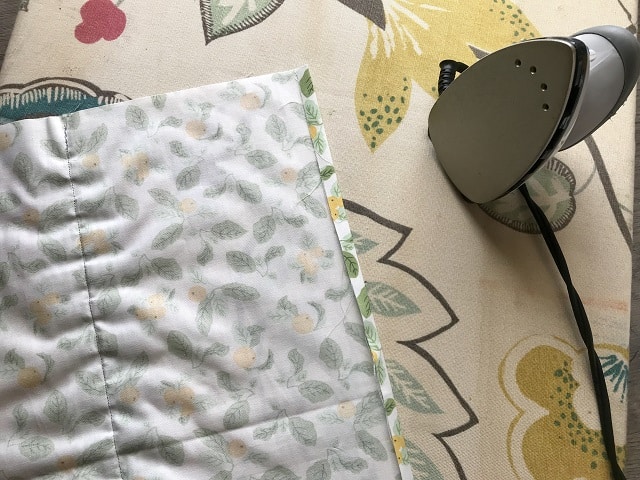
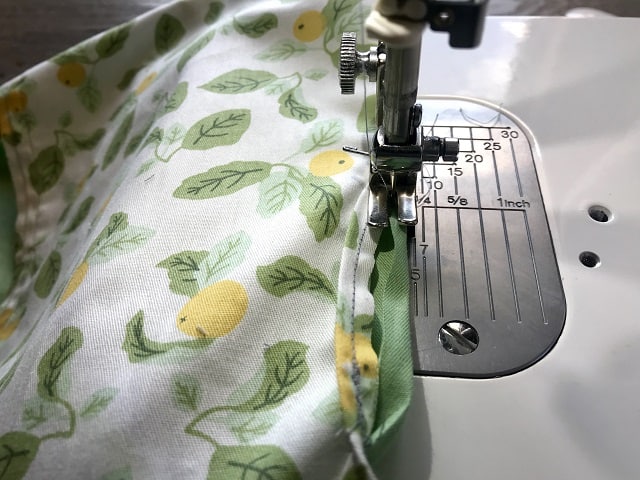
Now fold the top edge of the bottom fabric over 1/4″ and press. Repeat.
Do this for the top fabric piece as well.
Sew the seams with a double stitch to secure. This seam will get a lot of use when moving clothespins in and out of the bag.
Press all seams.
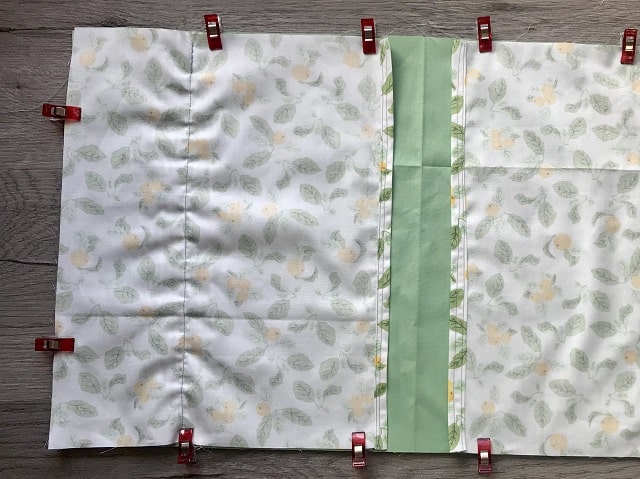
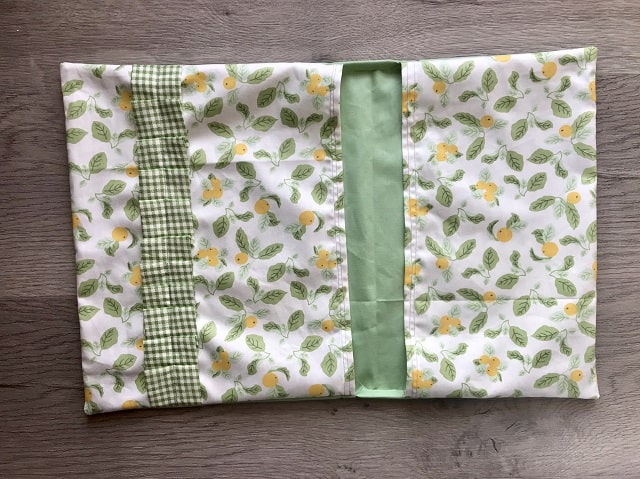
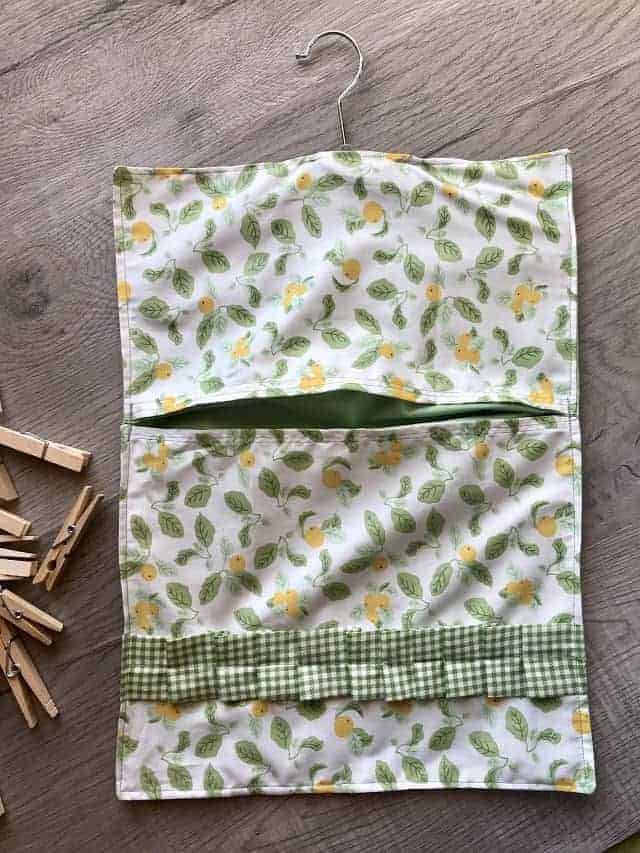
Then lay the top and bottom pieces on the back fabric with short edges aligned. There will be space in the center where the backing is revealed. Clip in place.
Sew around the perimeter leaving a 2″ opening at the top for the hanger.
Turn the clothespin bag inside out.
Sew around the opening for the hanger being sure to back stitch at the beginning and end to secure it.
Press all seams.
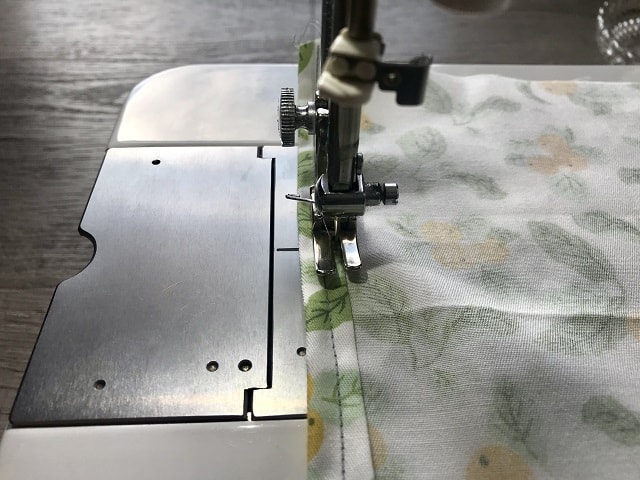
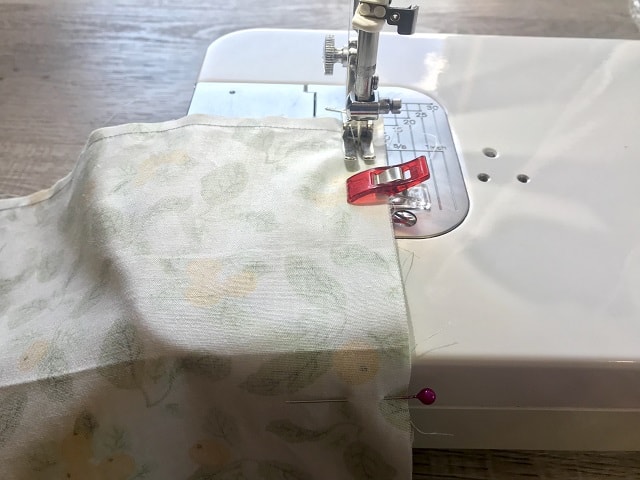
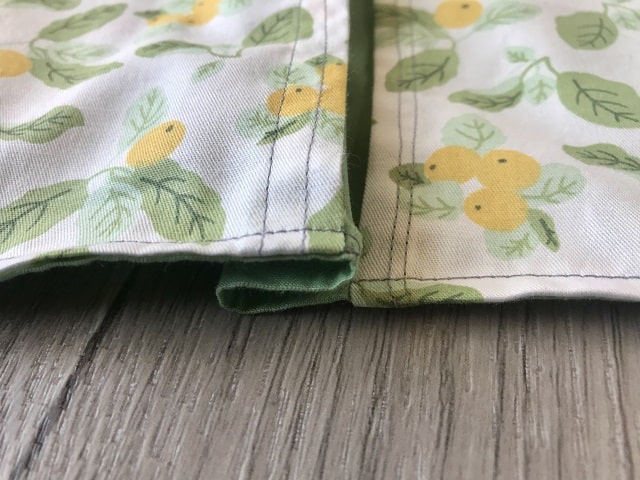
Now top stitch all the way around the perimeter of the bag, as close to the edge as possible. Go around the opening for the hanger.
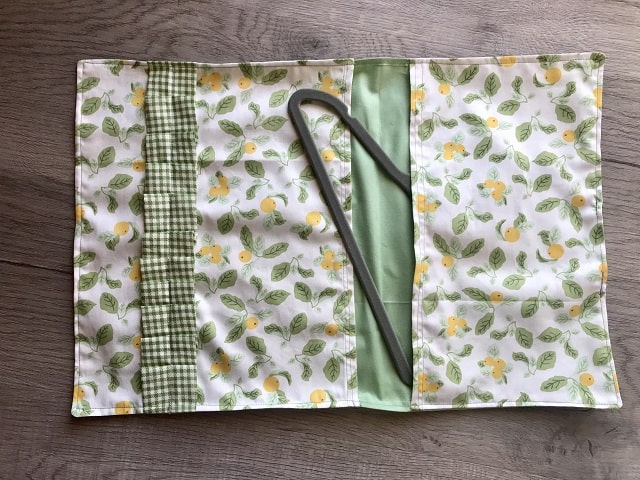
At this point, place your hanger through the opening to make sure it fits and will hang well. Make any adjustments necessary.
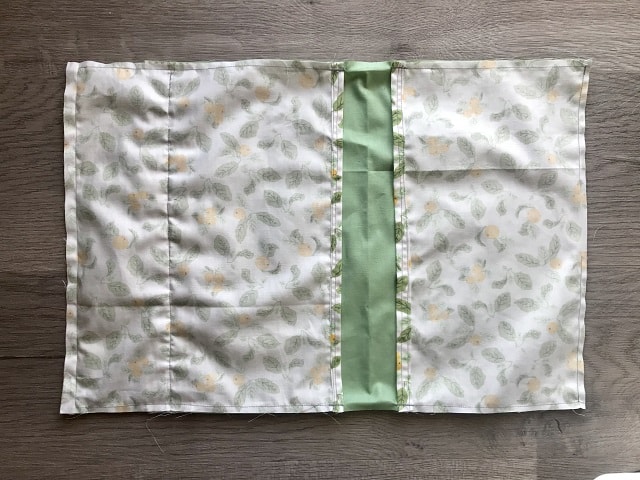
Next pull the top and bottom together so the backing folds onto itself.
Sew the fold, going over it several times for added strength.
Your clothespin bag is complete!
To use, hang it using the hook of the hanger, and fill the bottom pouch with clothespins. Toss it in the laundry too when needed.
Clothespin Bag
Follow this easy tutorial to make a beautiful and functional clothespin bag for your laundry chores.
Materials
- 3 Fabric Quarters
- Child's Hanger
- Coordinating Thread
Tools
- Iron
- Safety Pin
- Sewing Clips
- Measuring Tape
- Rotary Cutter
- Cutting Mat
- Sewing Machine
Instructions
- Press fabric.
- Cut dimensions: Back (13" x 22"); Front Top (13" x 8"); Front Bottom (13" x 11"); Ruffle (4.5" x 22").
- Fold ruffle in half lengthwise with right sides together and clip.
- Sew with 1/2" seam allowance.
- Pin safety pin to one end and turn inside out.
- Press with seam running down center of ruffle.
- Clip ruffle to Front Bottom fabric with edges aligned, 3" from bottom edge, right sides up.
- Gather ruffles as you sew down the center of the ruffle fabric.
- Fold top edge of Front Bottom under 1/4" and press. Repeat.
- Repeat for bottom edge of Front Top fabric.
- Sew with double stitch.
- Press seams.
- Lay Front Top and Front Bottom on Back with right sides together, short edges aligned.
- Clip to hold.
- Sew around perimeter, leaving a 2" opening at center of top edge.
- Turn bag right side out.
- Sew around hanger opening.
- Press all seams.
- Top stitch around perimeter.
- Pull Front Bottom to meet Front Top, folding backing.
- Sew several times to hold.
- Insert hanger through hole and fill with clothespins.
Notes
Insert your hanger through the hole after step 19 to make sure the bag hangs well. Hangers can be shaped a bit different, so make any adjustments necessary for the bag to hang nicely.
Recommended Products
As an Amazon Associate and member of other affiliate programs, I earn from qualifying purchases.


