
I may earn a commission if you click on links in this post and make a purchase.
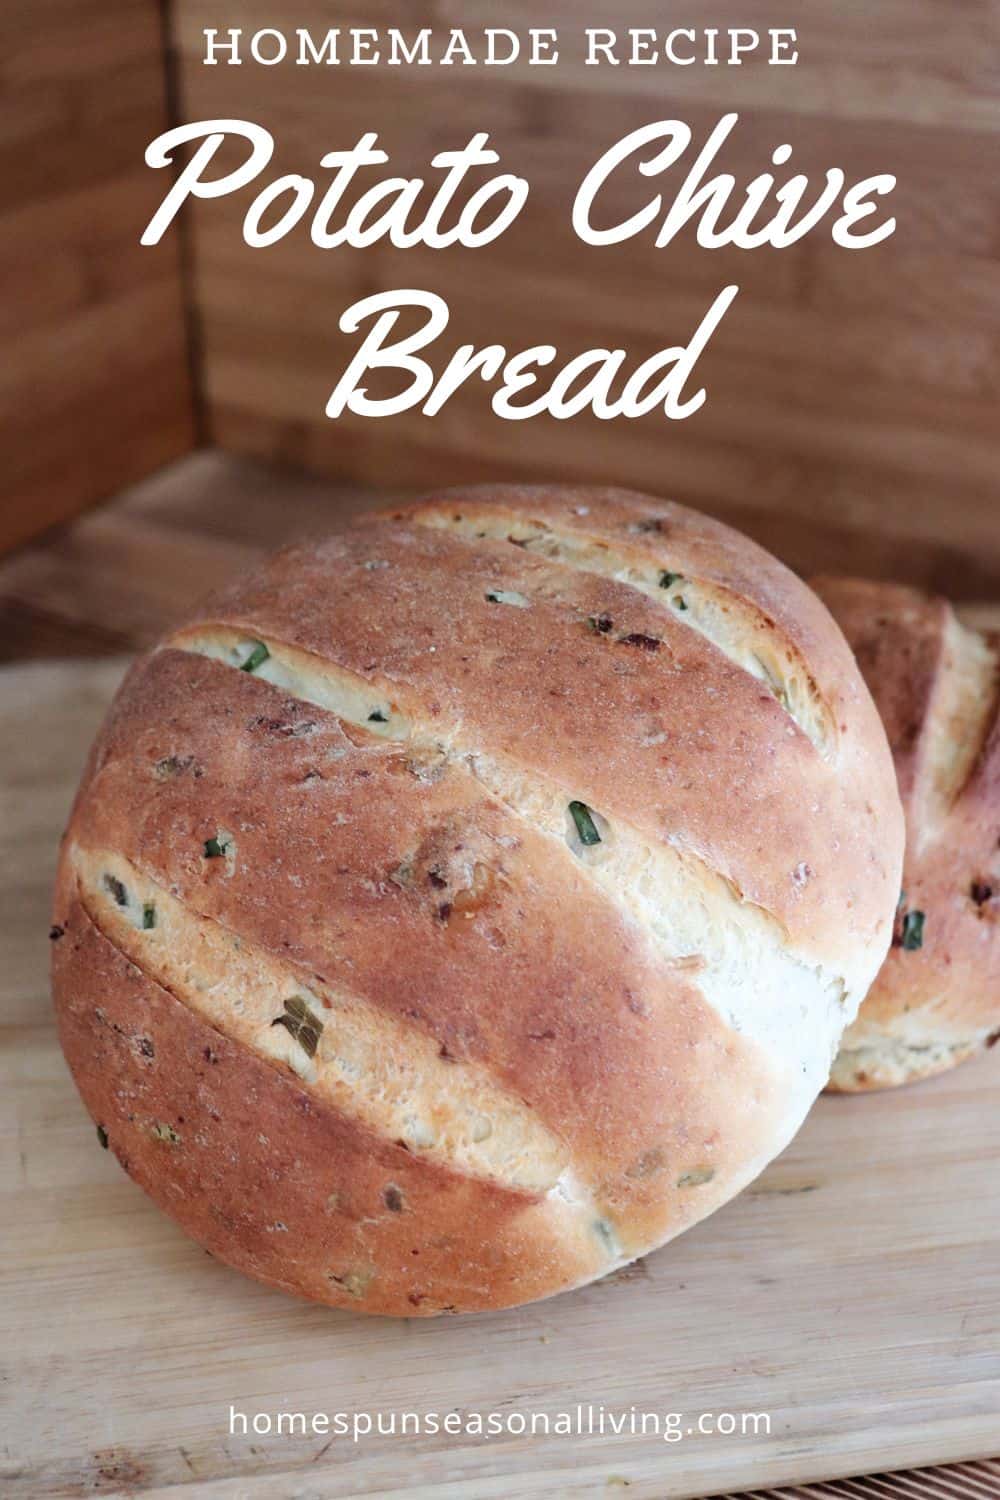
Get the classic combination of potato and chives in a new way with this homemade bread recipe
Potato chive bread is a moist and flavorful rustic loaf perfect for serving alongside most any meal.
This easy and flavorful recipe does need a bit of time like any loaf of bread but the final result is worth the wait.
Leave the Peels
This recipe was adapted from a potato bread recipe in the Baking with Julia Cookbook.
It may seem strange but the potato peels stay in the bread. They will be smashed to little bits and don’t leave any kind of weird texture. They do add bits of color, however.
Do scrub the potatoes well before boiling. No one wants dirt in their bread. Also use a starchy potato like a russet here, not a waxy type.
Dry Potatoes but Moist Bread
Don’t skimp on the time to let the potatoes dry after boiling. If they’re not completely dry the dough will have too much moisture and not pull together well without additional flour (which might not be ideal in the final loaves).
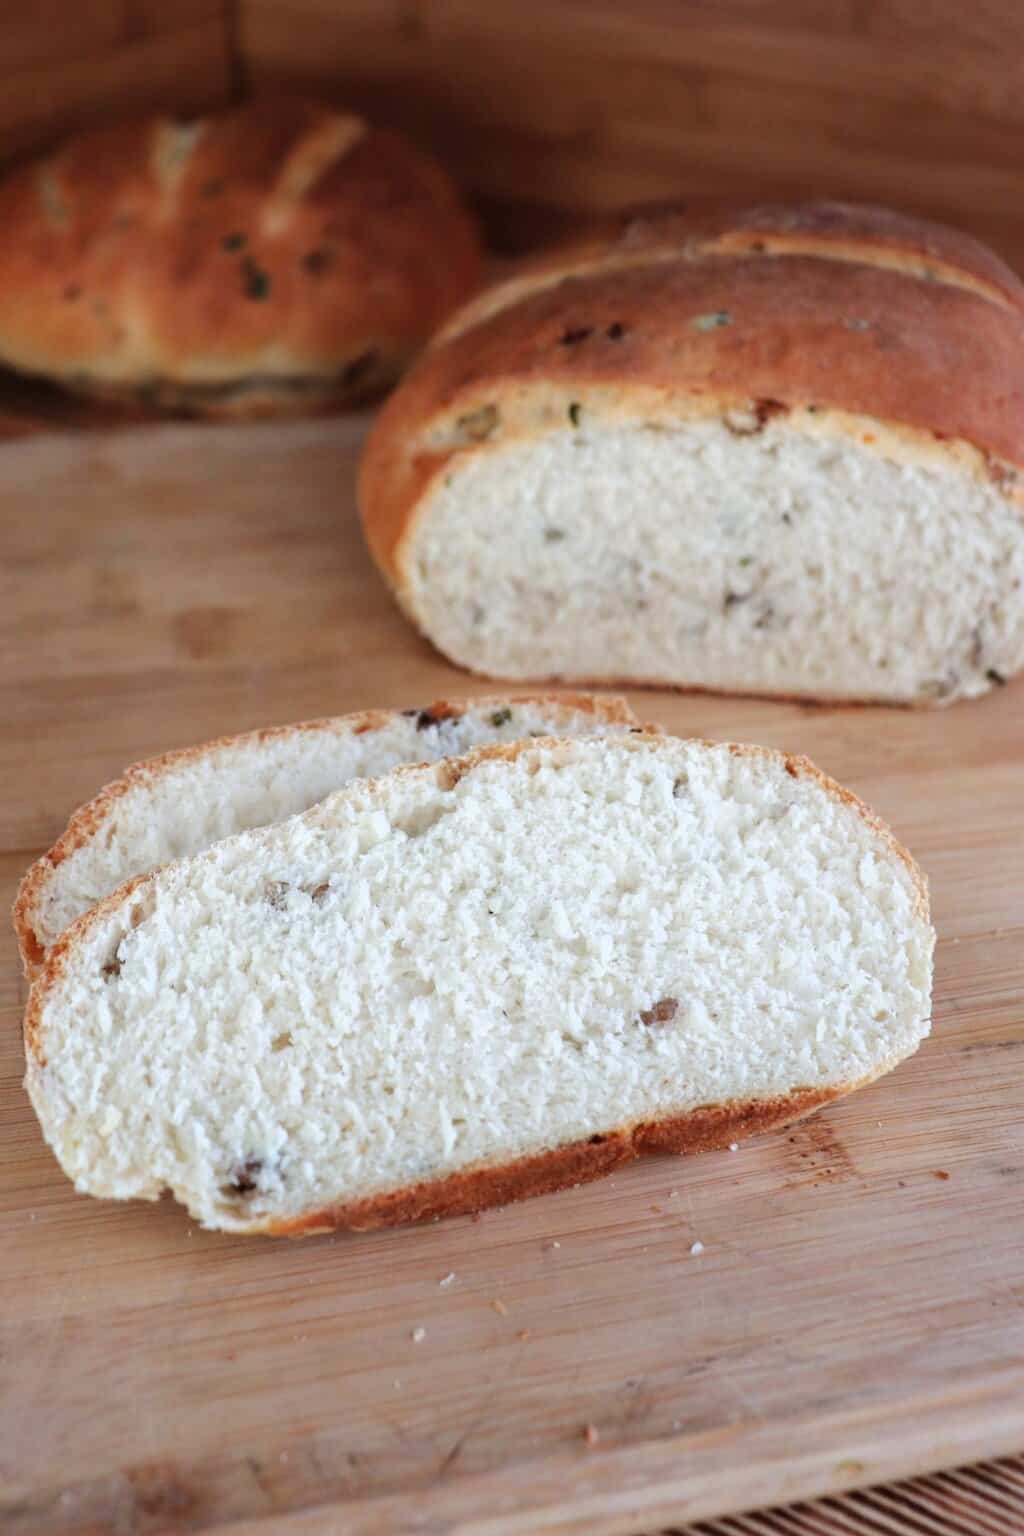
The final result of bread is a dense, moist loaf even with the drying of cooked potatoes.

Simple but Flavorful
The best breads are simple. And these ingredients are definitely simple and yet they bring together something quite amazing.
Do remember to save the potato cooking water to dissolve the yeast. It’s simple thing but there’s additional salt and flavor there that add much to the final loaves (says the girl who’s forgotten to save it and used plain water instead).
Snip the chives well so that their flavor gets spread out throughout the loaves.
Not Your Typical Bread
These potato loaves are not made in the same way a basic loaf of bread is made. The ingredients are similar but it will not pull together in the exact same way.
In fact, it takes quite a bit of mixing for this dough to form. It will almost feel like it’s not going too. You’re going to be tempted to add more flour – don’t, keep mixing.
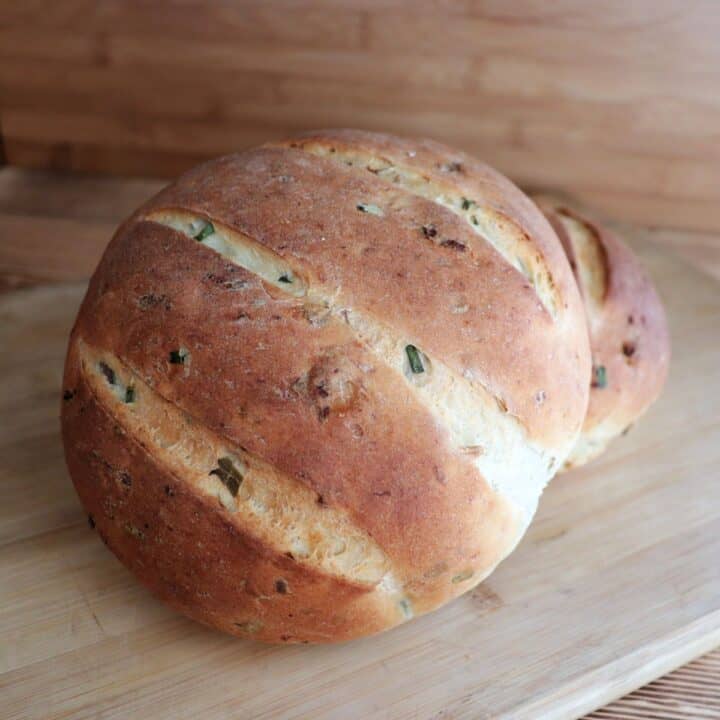
Loaf Shape
The recipe results in about two 1.5 pound loaves of bread. You could shape these loaves however you prefer.
I like a round loaf, but you could use loaf pans, shape into rolls, or make oblong loaves. Simply do what you prefer.
Different shapes may require different cooking times, so check often.
Crispy Crust
The recipe includes instructions to spray the oven with water. This creation of steam helps give the bread a crispier crust while keeping the interior soft.
If you don’t prefer that crusty kind of loaf, skip the steam.

How to Serve
Use this bread alongside any savory meal. It’s perfect as a simple side with soup and salad meals.
It makes great savory sandwiches and toast for breakfast with eggs.
Toast it and spread it with cream cheese for a simple snack.
Truly there’s no wrong way to eat this bread.
How to Store
Keep any leftover bread stored in an airtight container where it should stay fresh for up to 5 days at room temperature.
For longer term storage, freeze the baked and cooled loaves. Simply store in an airtight container in the freezer. Thaw completely before serving. Use up within 6 months for best flavor.
Potato Chive Bread
Potato chive bread combines all of the classic flavors in a rustic and delicious loaf perfect for soups, salads, and feasts of all kind.
Ingredients
- 1 1/2 Pounds Potatoes
- 4 teaspoons Salt, divided
- 1/2 Cup Reserved Potato Water
- 1 Tablespoon Dry, Active Yeast
- 2 Tablespoons Olive Oil
- 4 3/4 Cups Unbleached, All Purpose Flour
- 1/3 Cup Snipped Chives
Instructions
- Scrub the potatoes and cut them into quarters.
- Place in a saucepan (peels & all), cover with water and add 2 teaspoons salt.
- Boil until soft and can be pierced easily with a knife.
- Save 1/2 cup of the water, then drain the potatoes in a colander.
- Spread the potatoes out on cooling rack over a pan.
- Let the potatoes air dry for at least 30 minutes. Longer is okay but they need to be dry so don't skip this step.
- Once the potatoes are dry, reheat the reserved potato water to be about 110 degrees Fahrenheit.
- Add the yeast to the warm water and allow to sit until creamy, about 5 minutes.
- Mash the potatoes (do this with the paddle attachment of your stand mixer, if desired).
- Add the dissolved yeast and olive oil to the potatoes. Mix until the liquids are incorporated.
- Switch to a dough hook if using a mixer.
- Add the chives, flour and remaining 2 teaspoons of salt. Mix on low speed for a few minutes, then increase to medium speed. Keep mixing until the dough comes together. It will take some time and it will feel like it's not going to work but let it mix. The dough will eventually clean the sides of the bowl.
- Once the dough comes together, cover the bowl with a towl and let rise for about 60 minutes. It will not exactly double but it will have noticeably risen.
- Cut the dough in half. Knead and shape the dough as desired.
- Cover the shaped loaves with a towel and let rise another 30 minutes.
- While rising, preheat the oven to 375 degrees Fahrenheit.
- When ready to bake, spray the walls of the preheated oven with clean water and close the door to trap the steam. This is optional but helps create a crispier crust.
- Place the bread loaves into the oven. Spray the walls with water again.
- Bake for 40 to 50 minutes or until the loaves sound hollow when tapped with a knuckle.
- Remove from pans (if used) immediately and cool on wire racks before slicing.
Nutrition Information:
Yield:
24Serving Size:
1Amount Per Serving: Calories: 131Total Fat: 1gSaturated Fat: 0gTrans Fat: 0gUnsaturated Fat: 1gCholesterol: 0mgSodium: 357mgCarbohydrates: 26gFiber: 2gSugar: 0gProtein: 4g
We try our best but cannot guarantee that nutrition information is 100% accurate.
thank you for the recipe, I shall try this..
You are welcome, enjoy!
When do the chives go in?
Oh goodness, sorry about that. Step 12, I fixed it in the recipe.
Thanks! I might have miscounted cups of flour. Dough was dry, not wet. Dry and dense for first rise, but I’m hopeful. Very humid day, but I’m dreaming of BLTs with this loaf.
Yum—good outcome, thanks!
I am new to breadmaking- what kind of loaf pan did you use to get that bread shape? It looks beautiful…and delicious!!
Oh no bread pan. I did the second rise in a towel lined basket, so that they were rounded. For baking, I just transferred to a baking stone in the oven. You could let it rise in the basket, then put onto a baking sheet to bake in the oven.
Can you convert this loaf to gluten-free using an all purpose bean flour and xanthan gum?
I have not tried so I can’t confidently say.