
I may earn a commission if you click on links in this post and make a purchase.
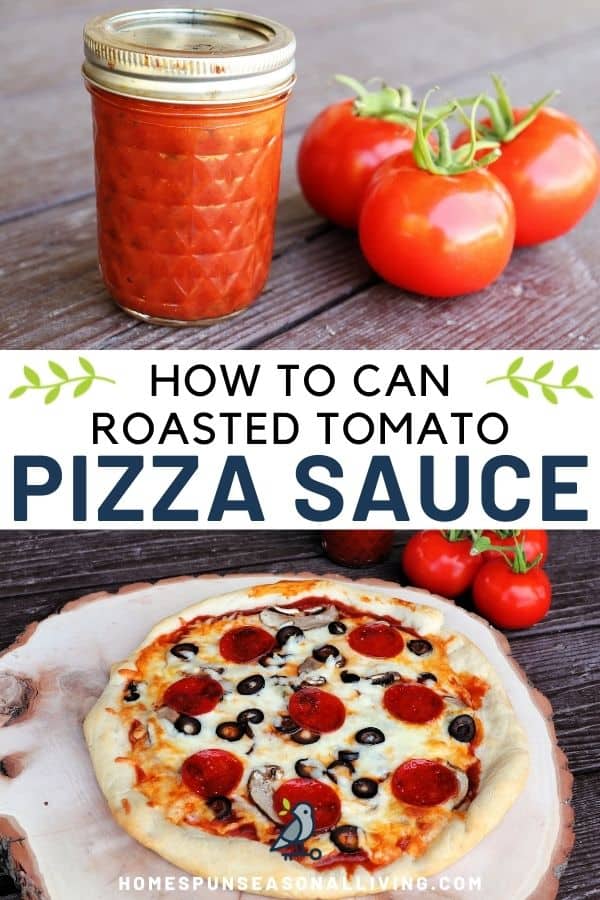
Every summer I put up a batch of this roasted tomato pizza sauce, and it’s one of those preserving projects I look forward to. Roasting the tomatoes first pulls out their natural sweetness and drives off some of the water, which means the sauce cooks down faster and skips any added sugar entirely. The slow cooker does the finishing work while I get on with other things. By the time tomato season winds down, I have enough jars to keep pizza night going well into winter.
Why Roast?
Roasting the tomatoes first helps bring out the natural sweetness of the tomatoes meaning additional sugar is simply not necessary.
The roasting process also convinces the tomatoes to give up some water making the cooking down process go faster. It also makes everything more flavorful.
Paste or roma tomatoes are always nice for sauce because they tend to be less watery but this recipe will work with any type coming in from the garden. Cooking time will vary to make the sauce thick but doing that in the slow cooker means time to do other things beyond standing at the stove and stirring.
Pressure Can or Freeze
I recommend pressure canning this because of the pureed onions, peppers, and garlic. Those things bring down the acidity level of the tomatoes making it iffy for water bath canning without adding some lemon juice to bring up the acidity, which I believe would change the flavor too much.
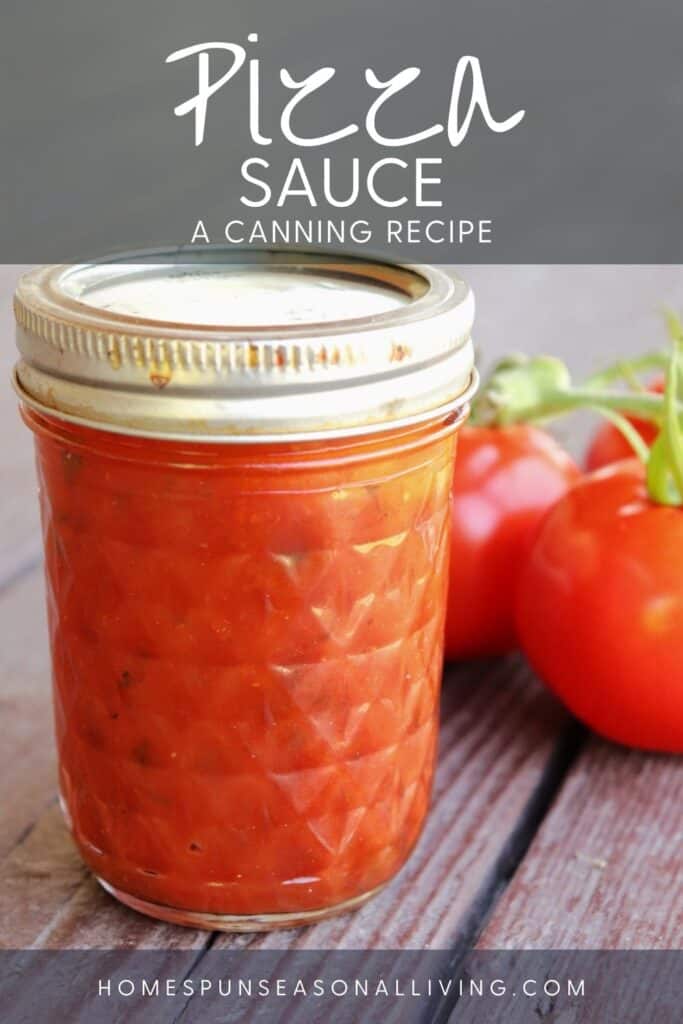
A half pint jar is usually enough sauce for a 12 to 16 inch pizza and means no waste. Pint jars would also work.
If you don’t want can, it will freeze beautifully in jars or other containers.
Slow Cooker
Use the slow cooker after the tomatoes and other veggies have been roasted to cook it done. Keep the lid off and stir occasionally. This process lets the water evaporate slowly and means that the cook doesn’t have to stir constantly or watch for scorching.
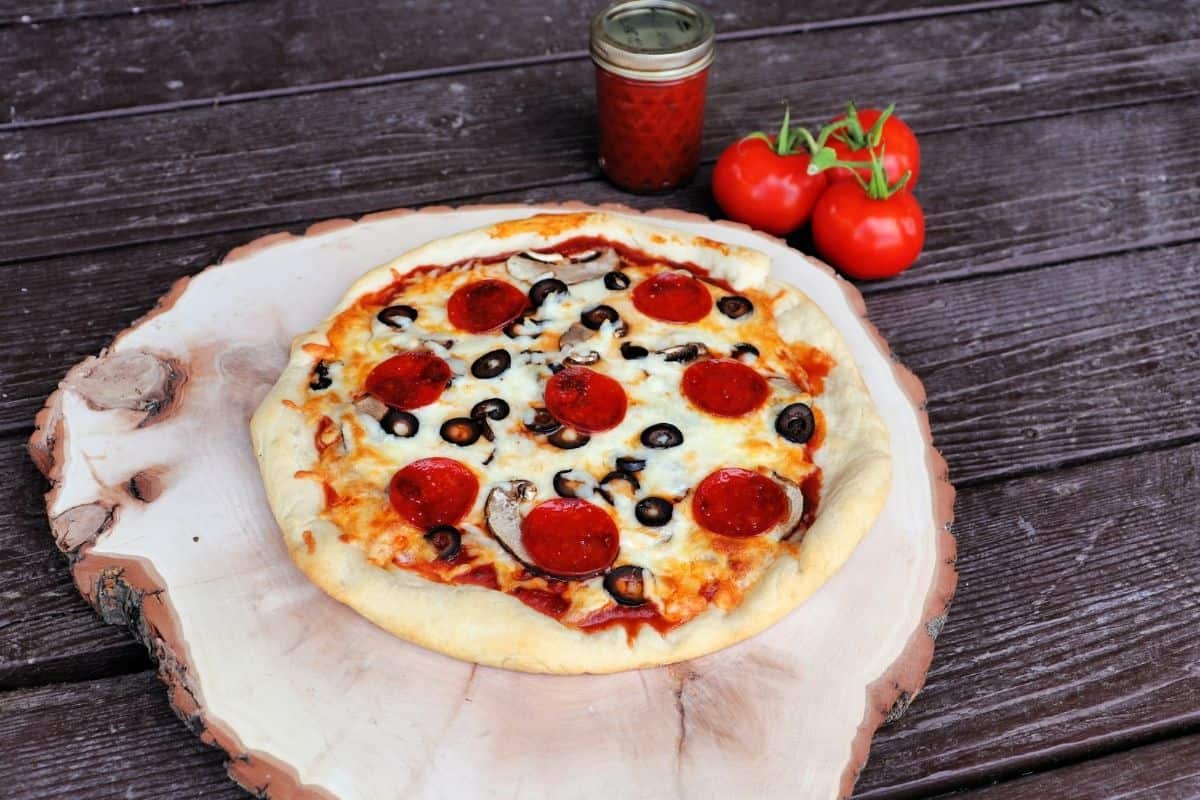
Get more tips for the great homemade pizza here.
Roasted Tomato Pizza Sauce
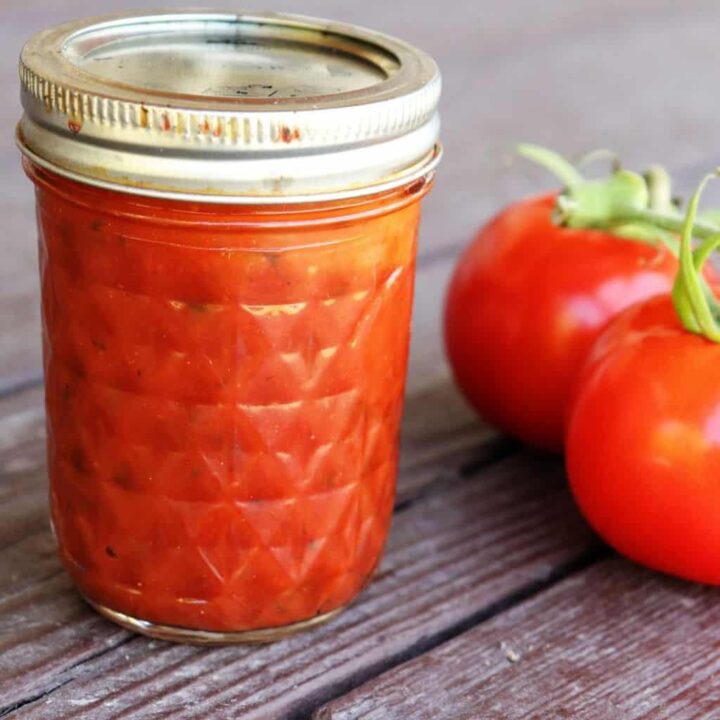
Preserve summer tomatoes for delicious homegrown pizza all year long with this easy to make and can roasted tomato pizza sauce.
Ingredients
- 10 Pounds Ripe Tomatoes, cut large tomatoes into quarters, small ones in half
- 1 Bulb of Garlic, separated into individual cloves and peeled
- 4 Large Bell Peppers, cut into quarters, seeded and cored
- 2 Large Onions, peeled and cut into quarters
- 4 teaspoons Salt
- 1 Cup Fresh Basil Leaves, chopped
- ½ Cup Fresh Oregano, chopped
- 1 teaspoon Ground Black Pepper
Instructions
- Preheat oven to 450 degrees.
- Place tomatoes, garlic, onion, and bell peppers onto rimmed baking sheets. Use two sheets or shallow roasting pans. Place in preheated oven and roast 30-40 minutes or until vegetables are soft and tomato skins blister.
- Remove from oven and drain off extra water. Place vegetables in a blender or food process and purée until smooth.
- Pour the sauce, herbs, salt, and pepper, into a slow cooker. Leave the lid off and turn the cooker onto low. Cook, stirring occasionally, until the sauce is thick almost paste like.
- Pour the hot sauce into jars, leaving 1/2 inch headspace. Put on lids and rings.
- Process at 10 pounds of pressure (adjusting for elevation) for 35 minutes.
Nutrition Information:
Yield:
192Serving Size:
4 TablespoonsAmount Per Serving: Calories: 6Total Fat: 0gSaturated Fat: 0gTrans Fat: 0gUnsaturated Fat: 0gCholesterol: 0mgSodium: 45mgCarbohydrates: 1gFiber: 0gSugar: 1gProtein: 0g
We try our best but cannot guarantee that nutrition information is 100% accurate.
I can’t wait to try this. We take our homemade pizza very seriously, too! :) I have always wanted a good pizza sauce that I could make from the garden (I currently have a favorite recipe that uses a can of tomato paste, but an all-the-way-from-the-garden-scratch recipe would be awesome. Thanks for the recipe!
About how many pints does this yield? Just trying to work out the amount of sodium per pizza, since we have to watch that so closely now. This sounds like an amazing sauce. We are currently tinkering with pizza because low-sodium pizza that tastes good is harder to make than it sounds, so this is quite timely. :)
About 6 pints and I’ll update the post to include that info. I can’t believe I forgot.
I am so looking forward to making this! I was recently stunned how simple it is to whip up homemade pizza for dinner and this sounds like such a delicious sauce! I agree that lemon juice would probably change the flavor far too much to justify water bath canning, but do you think citric acid would do the trick to make water bath canning safe for this sauce?
I think citric acid would do the trick, but I would double check the times – it’s going to be longer in the water bath, even acidified, than it is a pressure canner.
I made it with a few tweeks to the spices based on what I had on hand and it smells AMAZING! I pressure canned it in half pint jars and interestingly, half of the jars released almost all of their liquid leaving me with a few jars of pizza sauce flavored tomato paste, but I can totally work with that! Thanks again for sharing this recipe!
I’m so glad it worked for you! Did your pressure fluctuate much? That’s a common reason for liquid loss. Just a guess.
Looks great, but can I freeze it instead of can it? Thanks.
Oops, just reread and saw the freezing advice…sometimes I get so excited about a recipe that I skip the writing and go straight to ingredients!!
No worries, enjoy!
What kind of bell peppers are used in this recipe?
I just any sweet bell pepper I have growing in the garden.
Can you used dried basil and oregano instead? If so, how much would you recommend? Thank you. Looking forward to trying this!
Use half as much dried as fresh.
About how long does it take to thicken in the slow cooker? I know you said it will vary, but can you give me an approximation? Thanks.
Depending on the tomatoes and the amount you are starting with at least 4 hours but could go to 8.
Would this work to pressure can in 1/2 pint jars? Wuld I need to adjust the time at all with 1/2 pint versus pint?
You can do it 1/2 pint jars but I’d leave the time the same as pint jars.
I do not see where you add the onion. Does it roast too?
Yes roast with the tomatoes. I’m so sorry, I missed that, I’ll go fix it.
What would you recommend freezing it in? Bags or plastic containers?
Either would work based on your personal preference. Bags would make for easy squeezing later but honestly it’s not hard to spoon out of a container either. If you’re not opposed to freezing in glass jars (leave headspace and make sure they stay standing up) go that route.
I freeze it in ice cube trays then pop them out and into a food saver bag. I’ve done it in containers and jars, but those don’t work as well for me. When I make the pizza, I thaw a couple of cubes depending on what size pizza I’m making.
Because of food sensitivities, I have to limit how much sauce I use. Pizza is still very good with light sauce. For the person who was concerned about sodium, try using less sauce instead of not using sauce. That way you get full flavor, no compromise, but keep the sodium down. Still such good flavor.
Thank you for sharing this. If I freeze this in bags, how long will it keep in the freezer?
I would use it up within 6 months from the freezer. It wouldn’t likely go bad as long as it stayed frozen, the quality will go down. Watch for freezer burn.
I would rather use The water bath canning method. Can I use just 1 tsp of lemon juice? How long in the boiling water bath?
Because of the peppers, onions, and garlic I would not use the water bath method. I can’t even begin to figure how to make it safe in my home kitchen. All those added veggies bring down the level of acidity and you would need a bunch of added acidity to bring it up (think of the vinegar in salsa to make it safe for water bath canning).
Do you peel the tomatoes before you Puree everything or do you leave them on?
I don’t peel. I know most purists would but it seems ridiculous to me when I’m just going to puree it all and I’ve noticed a bitterness or anything from leaving the peel.
do you use the whole tomato or do you peel it before you Puree it?
I don’t peel. I just puree.
I just made this recipe,followed the recipe but I added more basil,I love basil,pressure canned and keep some for tasting on Friday pizza night
The smell was divine,thank you
Enjoy!
This is delicious! I made it primarily on cherry tomatoes. We are organic market gardeners, so have a lot of beautiful surplus vegetables that I like to preserve. Thanks for the recipe.
I’m so glad to know it worked well with cherry tomatoes too!
Hi,
Can i put them in quarter pints? Can i stack in a pressure canner ?
Thanks
You sure could do the 4 ounce jars (I do all the time but use the same time as the 1/2 pints). Yes, to stacking in the pressure canner as directed by your canner’s instructions – usually with a rack in between the jars and off set a little. Enjoy!
My tomatoes have been ripening a few(4 or 5) at a time and I have been putting into freezer until I have enough to can a full load – will I be able to still roast the tomatoes?
Once they’ve been frozen, they don’t roast so well. Just skip the roasting and puree and cook in the slow cooker. It’ll take longer to cook down but will still be quite tasty.
Do you cut the tomatoes in half and cut out the seeds & cores before you put them in the oven?
The recipe clearly states to cut large tomatoes. I would remove large cores, I don’t worry about seeds.