
I may earn a commission if you click on links in this post and make a purchase.
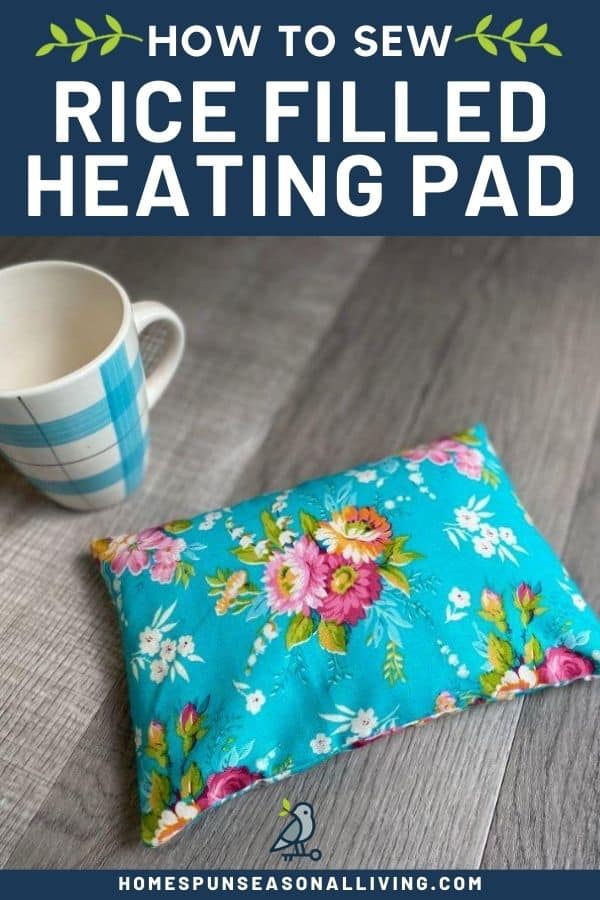
Sore muscles and joints are a part of life – even the simple life. A homemade heating pad is perfect for relieving minor aches and pains, and it’s easy to make.
The secret to our DIY heating pad is rice. Uncooked rice can be heated and re-heated easily in a microwave. It holds a mild heat that can be placed on the skin for relaxing relief over an extended period of time.
Rice hand warmers use the same concept and many of the same steps to make them. A matching set of hand warmers and a homemade heating pad would be thing to include in care packages.
The heating pad was designed to hold a 32 oz bag of rice. This size can typically be found for $1.00 or less.
Use 100% cotton fabric for this project since it will go into the microwave. Quilting cotton is typically 100% cotton and available in a wide variety of colors and prints.
Refrain from adding any metal closures or hook and loop to the heating pad. For safety reasons, it should only be made of 100% cotton fabric and rice.
Continue reading for the list of supplies and step by step instructions for how to make a homemade heating pad.
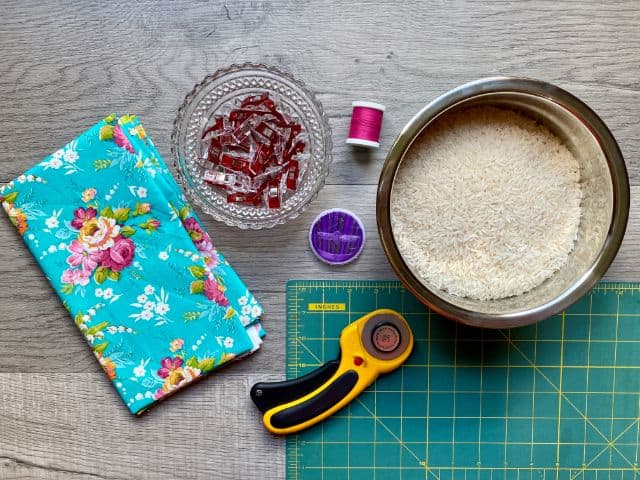
Supplies
- 100% Cotton Fabric
- 32 oz Rice
- Thread
- Sewing Clips
- Hand Sewing Needles
- Rotary Cutter
- Cutting Mat
- Turning Tool (Optional)
- Funnel (Optional)
Tutorial
Before cutting, wash, dry and press your fabric.
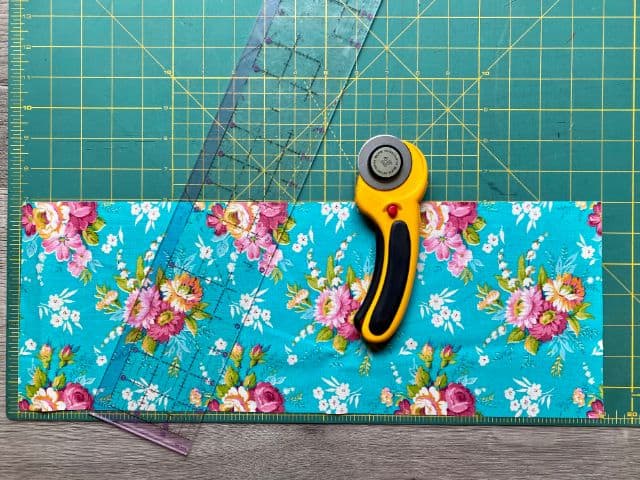
Then cut the fabric to 7″ x 20″ with a rotary cutter and cutting mat or scissors, if you prefer.
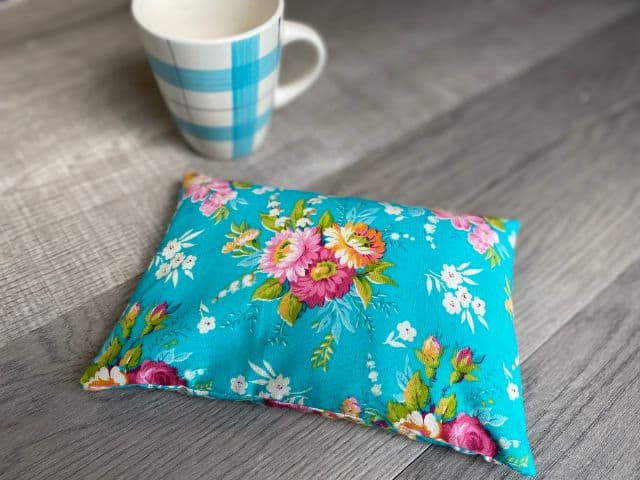
If your fabric has a print, keep in mind that the rectangle will folded in half. In other words, the center of each half will make up the center of each side of the heating pad.
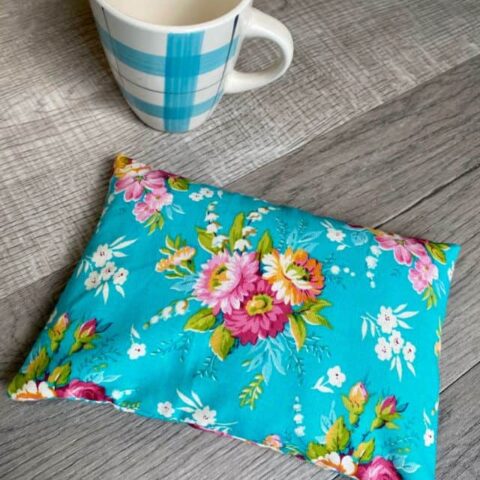
A burst of flowers is shown in the center of the example.
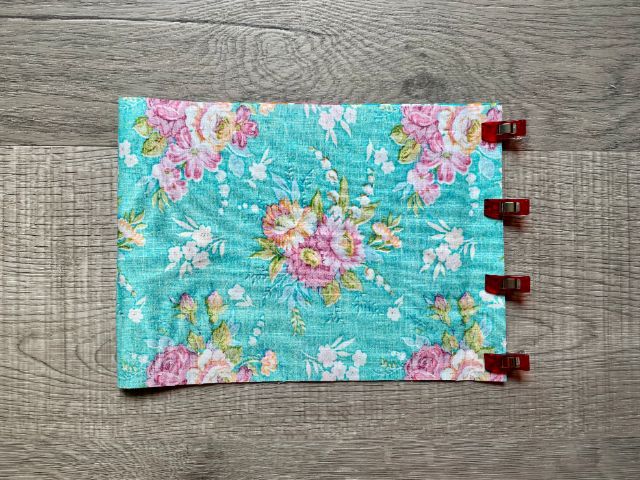
Fold the fabric in half, right sides together, with the short ends meeting. Clip or pin to hold.
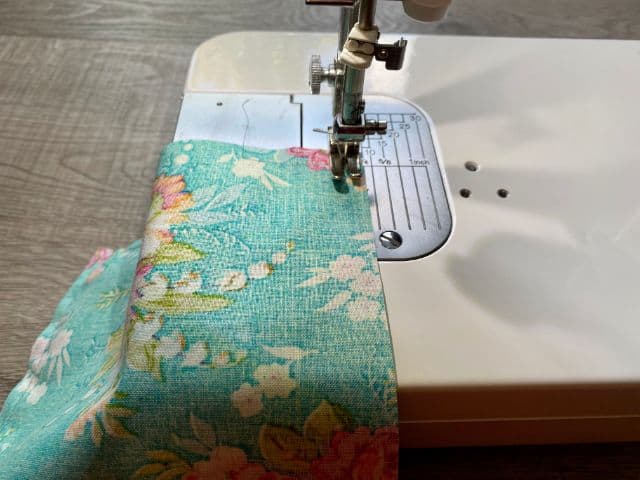
To sew, you will make two lines of stitches. Beginning one inch from the corner of the short sides where the ends meet, sew to the corner with a 1/4″ seam allowance.
Then lift your presser foot, and continue sewing down the side and off the fabric at the bottom.
Repeat on the opposite side of the fabric rectangle. Essentially, you are making a rectangle that is closed all the way around except for 3″ at one end.

Turn the fabric right side out. A turning tool can be helpful to press out the corners. Take care not to punch through the fabric.
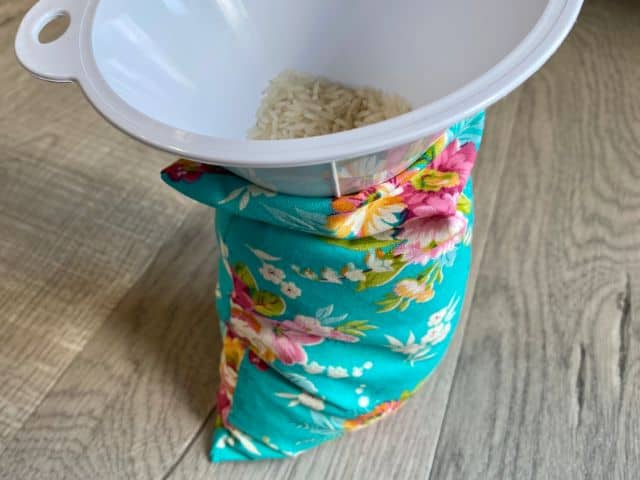
Next, fill the fabric pouch with rice. A funnel makes this step quick and easy.
Now prepare a needle and thread for hand stitching.
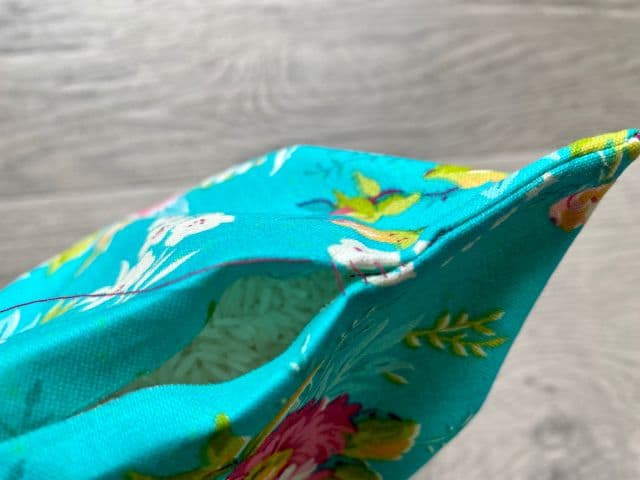
Use a ladder stitch, sometimes called an invisible stitch to close the opening. If you need guidance for this part, check out our guide on How to Sew Common Stitches by Hand.
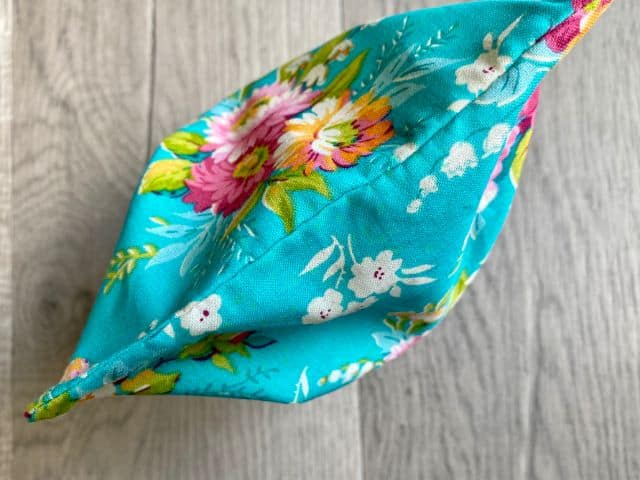
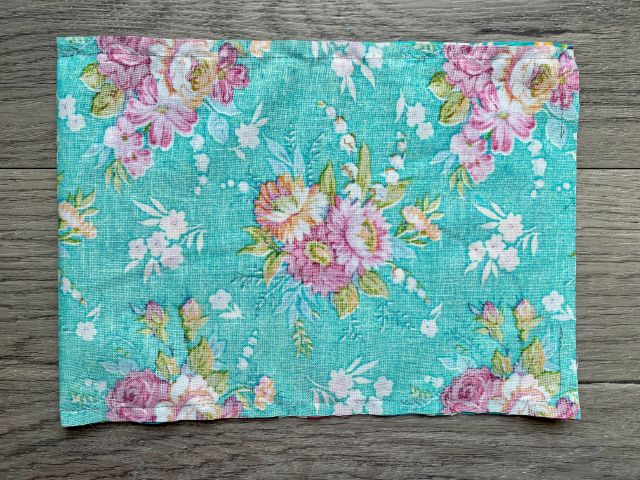
Continue stitching until the rice is fully enclosed.
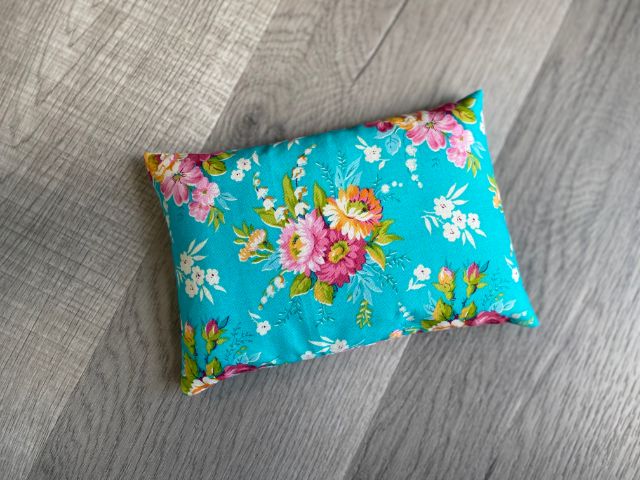
Your homemade heating pad is ready to use!
Use
To use the heating pad, heat it in the microwave for 2-3 minutes. Microwave ovens can vary, so take care to test the warmth before placing it directly on the skin.
If the heating pad is too hot, you can either wait for it to cool down, or place a towel between the heating pad and your skin.
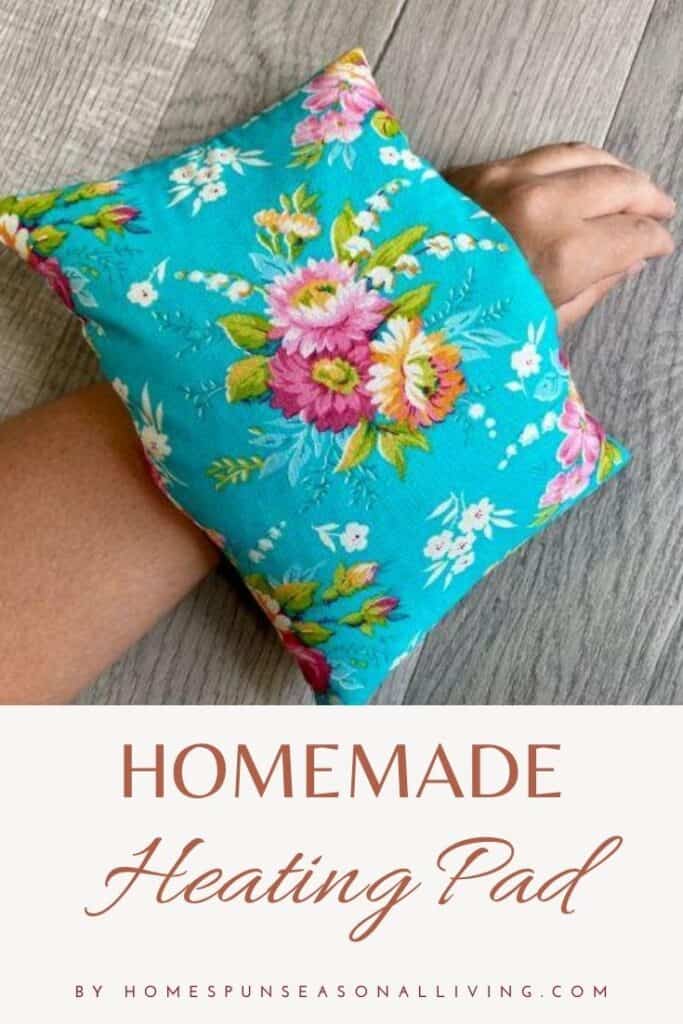
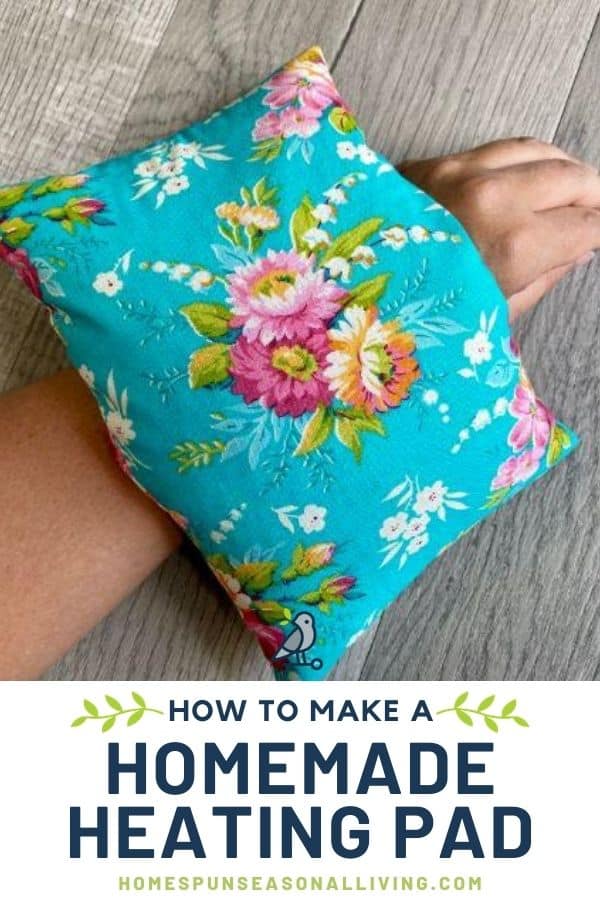
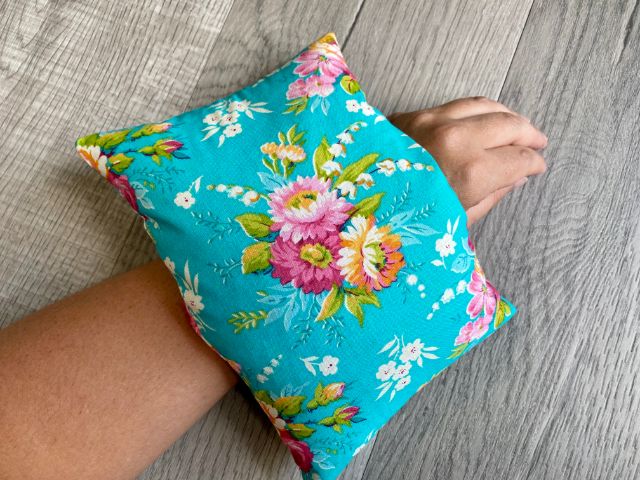
Lay the heating pad across the affected area – shoulders, knees, ankles and wrists are most common. Allow the heat to relieve aches and pains. Re-heat as desired.
Care
It is best to spot clean the heating pad by hand when it it gets dirty. Heavy soils can warrant a spin in the washing machine. However, the rice takes quite some time to fully dry. Time in the warm sunshine is helpful.
How to Make a Heating Pad
Step by step instructions for how to make a homemade heating pad with rice.
Materials
- 100% Cotton Fabric
- 32 oz Rice
- Thread
Tools
- Sewing Clips
- Hand Sewing Needles
- Rotary Cutter
- Cutting Mat
- Turning Tool (Optional)
- Funnel (Optional)
Instructions
- Cut fabric 7" x 20"
- Fold fabric in half, right sides together, where short ends meet
- Sew 1" from corner of short side and down one open side
- Repeat on opposite side
- There should be a 3" opening between stitches
- Turn right side out
- Fill with rice
- Prepare needle and thread for hand stitching
- Close opening with a ladder stitch
Notes
To use, heat in microwave for 2-3 minutes.
I love the way you made us a “recipe” to follow! Saved me a lot of time. Didn’t have to copy & paste all the tutorial! Thank you!
Oh I’m so glad to hear it was easy to follow / print for you!
Very clear instructions. I have also used dried beans to make larger bags. Thank you.
Thank you for this. I think it would also be great for putting under the covers if you have a freezing cold bedroom!