
I may earn a commission if you click on links in this post and make a purchase.
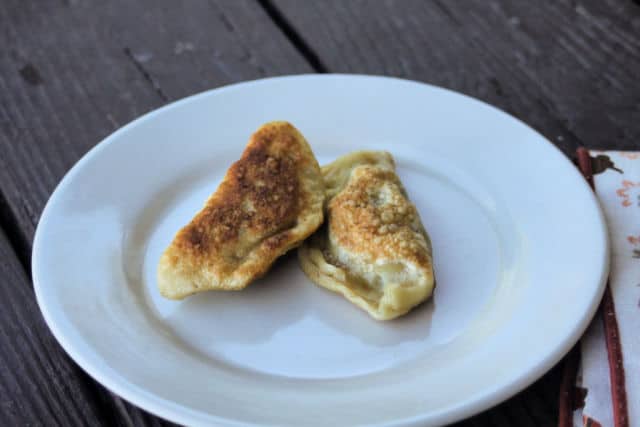
If you’re faced with an abundance of cabbage and looking for a new way to use it try bacon and cabbage pierogies for a comforting, filling, and delicious dish.

These can easily be made for meals right away but as a bonus, cabbage pierogies freeze delightfully well for eating later in the year, too.
Big Batch
This recipe intentionally makes a big batch, so that there are some leftover to freeze. One could scale it up or down based on available cabbage, time, and desire.
Time-Consuming Not Difficult
I don’t want to lie, making bacon and cabbage pierogies is a time-consuming, hands-on endeavor. It is not, however, a difficult one.
Making the filling and dough takes time, letting it cool and rest is more time. Rolling, cutting, filling, and then sealing the dough takes more time. Boiling needs to be done in batches and then the freezing too takes hours.
This is most definitely a worthwhile cooking and preservation effort, just know ahead of time that it requires some time in the kitchen.
If you can’t be on your feet for some reason for long periods of time, get yourself set-up with a stool or chair on a solid work surface.
This is the kind of slow work that can provide a lot of purpose and joy in our simple lives. It’s also the kind of work that gets us set up for eating quick and easy meals later.
Some Notes for Making
The recipe is very versatile. A little more or less cabbage will not ruin the recipe. Same goes for the bacon, use more or less. Skip the onion and use a generous bit of onion powder instead. Consider using some garlic or garlic powder, if desired.
Pierogies are incredibly sticky. They will stick to the counter, to the pan, and to each other. I use a pie pastry mat to minimize extra flour and keep the dough from sticking to the counter.
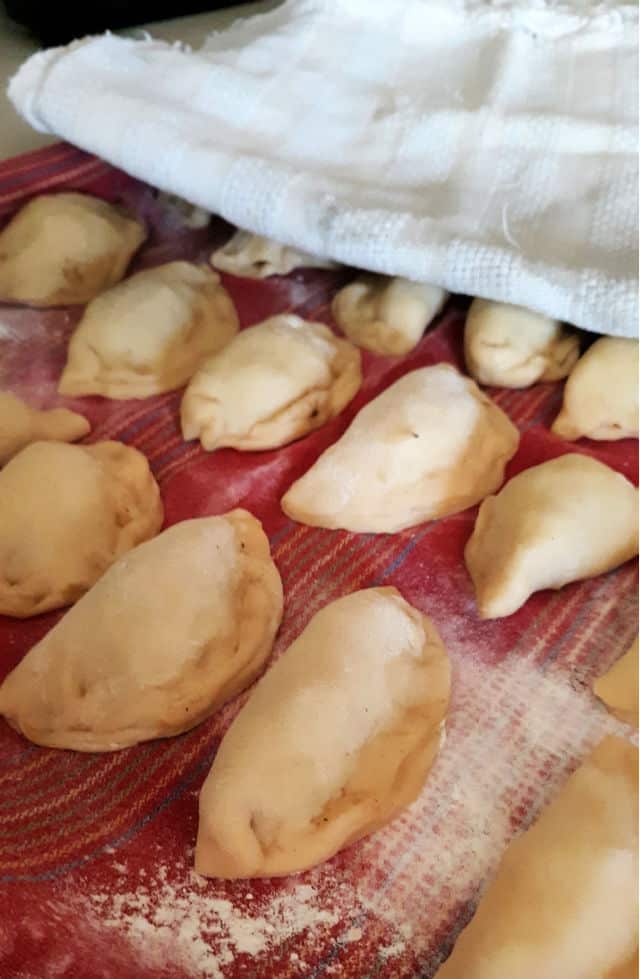
Do use a tea towel that’s been sprinkled with flour to line up the pierogies before boiling.
Make sure to oil the baking sheet that the pierogies will freeze on. Don’t let pierogies touch until they’ve been frozen completely.
What to Do with Extra Filling
If you get to the end of your pierogi dough and still have some filling leftover, you have options.
Let me be honest, I generally just eat the last several spoonfuls as a reward for finishing the pierogi making. Do that yourself if you’re so inclined.
Reheat the filling and serve it as a side dish at dinner.
Add some cooked egg noodles and reheat it all together for a kind of haluski that is excellent as both a side or main dish.
I quite like the extra mixed with a beaten egg for breakfast.
What to Do with Extra Dough
Roll the dough out thinly and cut into egg noodles. Use those egg noodles for soup or casserole.
Wrap the dough tightly and store in the refrigerator for up to 3 days. Then let it come to room temperature and use for noodles or more pierogi making.
How to Freeze
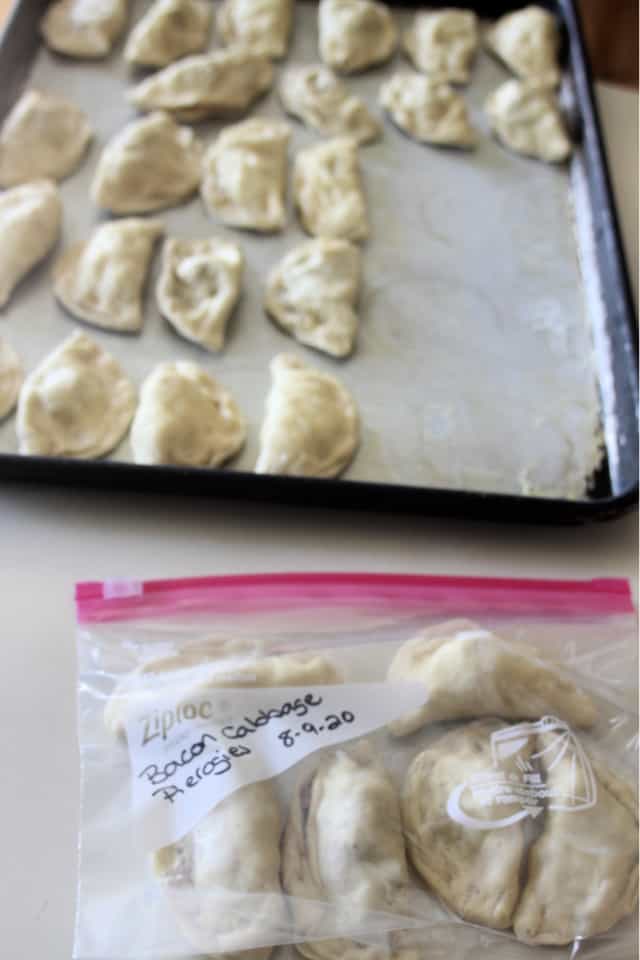
Place the boiled pierogies onto greased baking sheets. Place the baking sheets in the freezer for at least 3 hours to overnight.
Once completely frozen store the pieorgies in airtight bags or containers.
How to Serve
The pierogies are technically cooked once they’ve been boiled. Plenty of people will eat them just like that: boiled and warm.
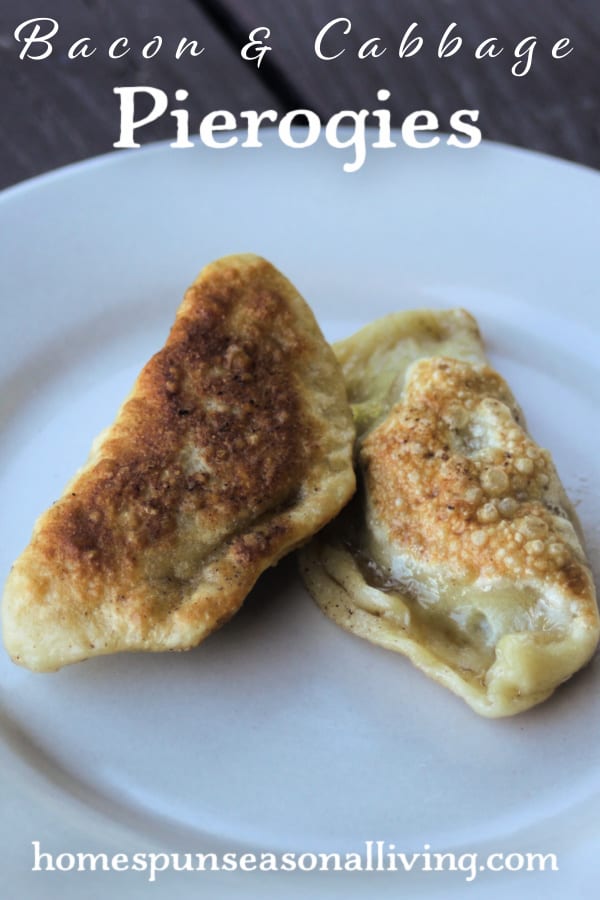
Growing up my family always fried the boiled pierogies in butter with sliced onions until the pierogies are golden brown and a bit crispy. This is still my preferred option.
Serve several pierogies as a main dish alongside a nice salad for a simple, filling meal.
I’ll often serve just a couple small pierogies as a side dish alongside simple roasted meats.
Cooking the Frozen Pierogies
Thaw the pierogies in the refrigerator. Once thaw simply fry in butter or oil until crisp.
You could also reheat them gently in the oven until warm.
Bacon & Cabbage Pierogi
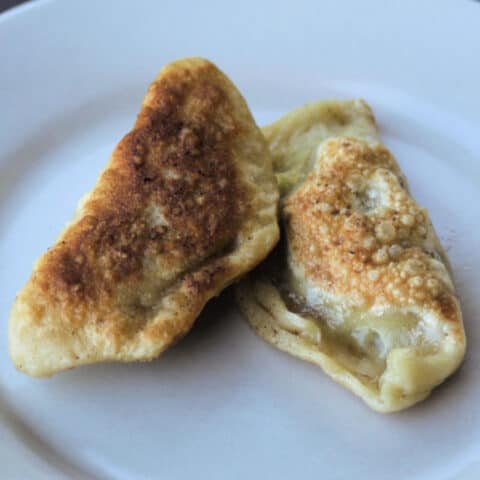
Basic and comforting pierogies great for eating right away or freezing for quick meals later.
Ingredients
- Oil or Melted Butter for greasing pans
Bacon & Cabbage Filling
- 6 Strips Bacon, diced
- 1 Large Onion, chopped
- 2 1/2 Pounds Cabbage, shredded
- Salt & Pepper, to taste
- 1 Tablespoon Butter
Pierogi Dough
- 4 Eggs
- 2/3 Cup Lukewarm Water
- 1/2 teaspoon Salt
- 4 Cups Unbleached, All-Purpose Flour
Instructions
Make the Filling
- Fry the chopped bacon in a large dutch oven over medium-high heat.
- Remove the bacon with a slotted spoon and drain on a paper towel.
- Add the butter to the bacon grease (you want about 2 Tablespoons of fat in the bottom of the pan).
- Stir in the cabbage and onion to coat with the fat. Season with a pinch of salt and a bit of pepper.
- Stir frequently and keep frying until the cabbage reduces and begins to caramelize just slightly. This could take about 20 minutes. Remove from heat and stir in the bacon bits.
- Let cool to room temperature. Meanwhile, make the pierogi dough.
Make the Pierogi Dough
- In a large bowl, whisk together the water, salt, and eggs until completely combined.
- Add the flour and mix well. Use your hands to knead it slightly in the bowl until everything comes together into a stiff dough.
- Lightly flour a tea towel and wrap the dough in that. Leave sit on the counter to rest up to 1 hour. Do let rest for at least 30 minutes for ease of rolling.
Assembly
- Divide the dough into 4 pieces. Work with one quarter at time, leaving the other 3 pieces wrapped in the towel.
- Line a baking sheet with a floured tea towel.
- On a lightly floured board, roll out the quarter of dough to 1/8" thickness. (Alternatively, use a pasta roller / machine).
- Using a 3" inch round cookie cutter, cut the dough into circles.
- Spoon a bit of the filling into each circle of dough.
- Fold the dough over the filling to make crescent shapes. Pinch the edges together. If the dough is too dry, moisten your finger in a bowl of water and rub on the edges before pinching.
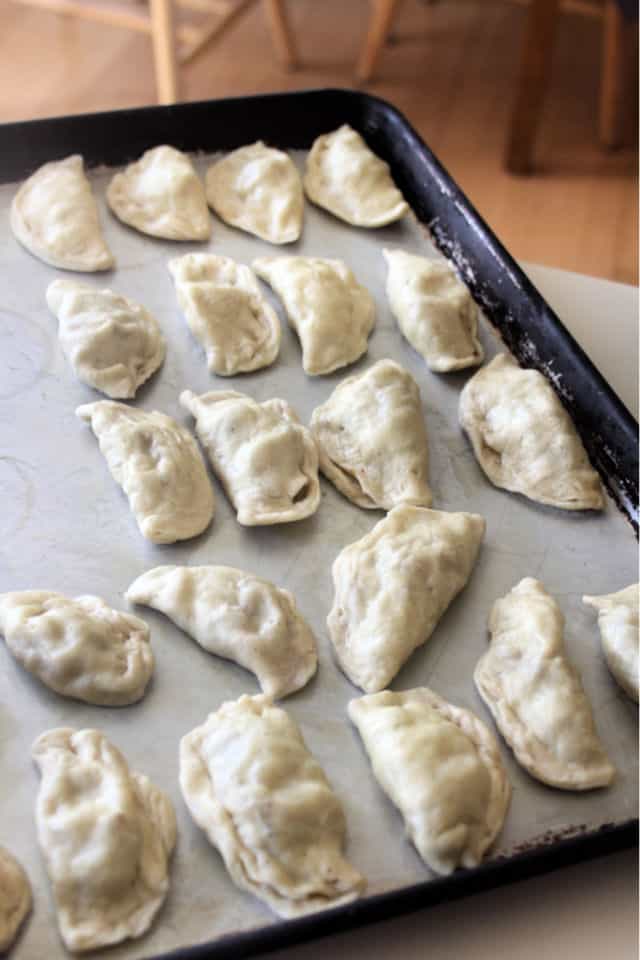
- Place the raw pierogi on the towel lined baking sheet. Cover the raw pierogies with another towel to prevent over-drying.
- Repeat (re-rolling dough as necessary) until all the dough and filling is gone.
Boiling
- Using a large stock pot, fill it about 3/4 full of water and bring to a boil. Add a healthy bit of salt and keep water boiling.
- While you wait for the water to boil, brush olive oil or melted butter all over the bottom of a cookie sheet (one that will fit in your freezer).
- Drop 8-10 pierogies (more or less depending on the size of your pot - give them room to avoid sticking) into the boiling water. Stir gently to prevent sticking. When the pierogies float, boil for another 3 minutes.
- Using a slotted spoon, remove the pierogies from the boiling water and place onto the oiled baking sheets. Make sure the pierogies don't touch.
- Repeat until all the pierogies have been boiled.
Eat, Fry, or Freeze
- Technically, the pierogies are cooked and can be eaten as is, if desired.
- Alternatively, fry the boiled pierogies in a bit of butter and more onions until golden brown.
- To freeze, place the cookie sheets into the freezer and let freeze for 4-5 hours or until sold.
- Once frozen, remove from the cookie sheets and place into freezer bags for long term storage.
Notes
To cook frozen pierogies: Let thaw and then fry in butter.
Recommended Products
As an Amazon Associate and member of other affiliate programs, I earn from qualifying purchases.


Nutrition Information:
Yield:
55Serving Size:
1Amount Per Serving: Calories: 56Total Fat: 2gSaturated Fat: 1gTrans Fat: 0gUnsaturated Fat: 1gCholesterol: 16mgSodium: 56mgCarbohydrates: 8gFiber: 1gSugar: 1gProtein: 2g
We try our best but cannot guarantee that nutrition information is 100% accurate.