
I may earn a commission if you click on links in this post and make a purchase.
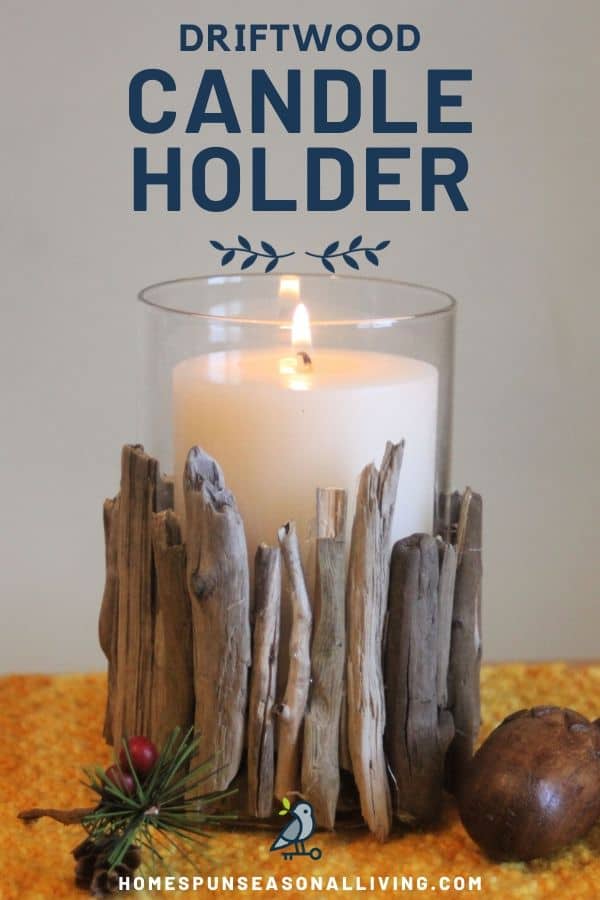
Making your own driftwood candle holder is a fun and easy craft project. It’s also a great way to bring the natural world inside your home walls while also providing some soft light on dark nights.
Use the completed candle holder as a driftwood centerpiece for your holiday and feast table. Make several in various sizes for a truly unique and beautiful tablescape.
Find a Jar
Any jar that can withstand the heat of a candle can be used. Do choose something with a smooth surface. Jars with bumps or writing on them will prevent the glue and driftwood from adhering well.
Hit the thrift shop and find something inexpensive. Do make sure you find something with a wide enough opening to fit candles. You could use something narrow for tapers or something wider for pillars.
Clean the surface of the jar well so that it’s free of dirt and grease. The cleaner everything is the better the glue will adhere later.
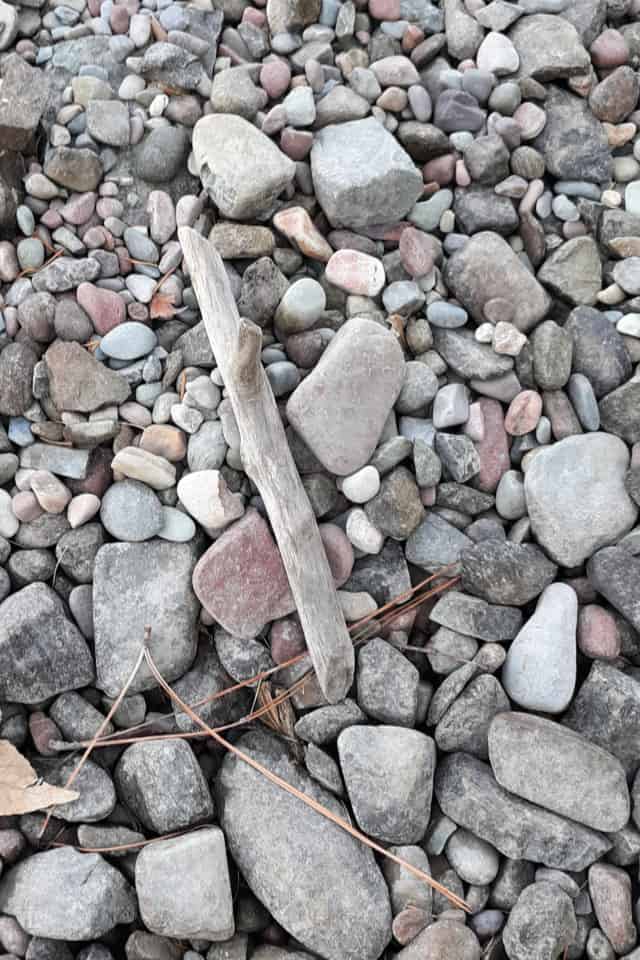
Gathering Driftwood
Obviously driftwood is needed to start this project. While driftwood can be purchased, use this project as a reason to comb a local beach or river bank.
Take time to find the pieces you want to use. This could be a variety of thicknesses and shapes. It could be extremely uniform pieces – look for what most suits your personal decor style.
Branches Instead
If finding natural driftwood isn’t so easy in your corner of the world, look for dead, dry branches to use instead. You may want to find branches missing most of their bark but look for what best suits your ideal design. Again use this as a reason to get outside into nature.
Cleaning Driftwood
Obviously these natural bits are likely to have some dust, dirt, and sand on them. It’s best to clean these off to help the glue actually adhere and keep dirt from the table.
To clean these natural bits just use a damp washcloth to wipe down the pieces. I didn’t find it necessary to soak or clean heavily, just remove the surface dirt.
Let the pieces dry completely after they’ve been wiped down by placing on a towel. Once the pieces are dry proceed with the rest of the project.
Cutting the Driftwood
You’ll want to cut the driftwood pieces to be the correct size for your jar. This could mean covering the jar from bottom to top or just part of the jar. Simply decide on a length and cut all the pieces to be this length.
You could do like I did and just keep the pieces close but not exact. I like the jagged, rustic appearance but if you prefer something more uniform, go for it.
Use a simple handsaw to do this. I’m sure a power saw could do this as well but driftwood isn’t hard to cut at all.
Gluing the Pieces
Use a hot glue gun with clear glue to adhere the driftwood to the jar.
Simply put a bead of glue down the piece of driftwood – choose the flattest side of the driftwood. Press the driftwood piece, glue side down, onto the glass jar and hold for about 5 seconds to get a good set.
Repeat this step until the jar is surrounded by driftwood pieces.
Optional Decorating
Want to give your candle holder some extra decoration or color? Tie a ribbon or two around the driftwood. Use some twine for a more rustic appearance. Add some beads or other bobbles for depth and color if desired.
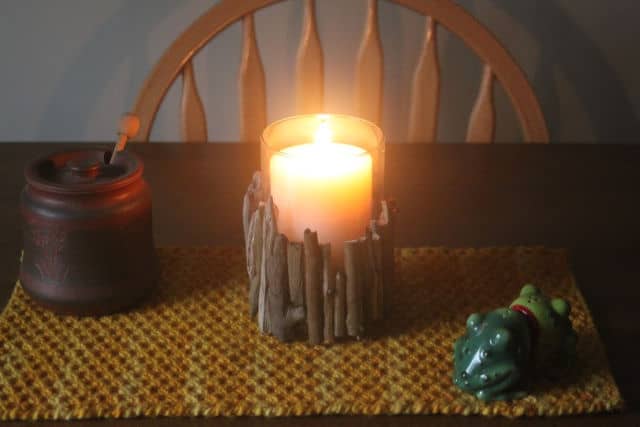
Candlelight
Place your candle inside the jar and light. That’s truly it and yet it’s such a lovely natural touch to the dinner table.
Alternatively, use the candle holder for scented candles and burn in living areas for scent and soft light.
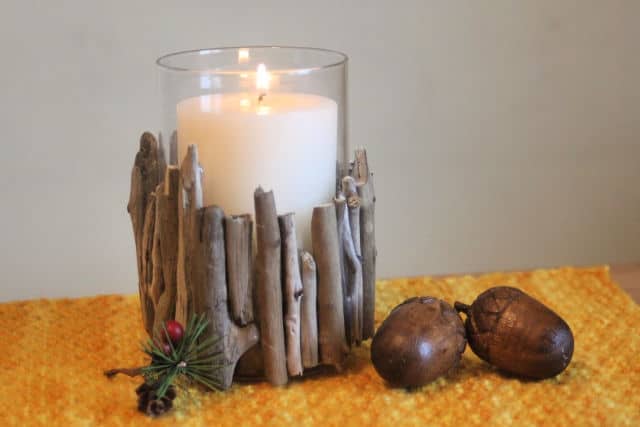
Driftwood Candle Holder
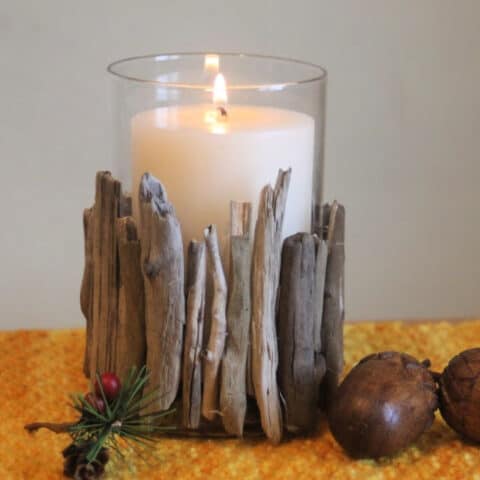
Make this driftwood centerpiece as a simple and natural way to light the table and bring the outdoors inside the home.
Materials
- Driftwood (Enough pieces to surround your jar)
- Glass Jar
- Hot Glue Sticks
- Candle (that fits inside your jar)
Tools
- Hot Glue Gun
Instructions
- Wipe down the driftwood pieces with a damp wash cloth to remove any dirt and debris. Let sit at room temperature until completely dry.
- Cut the driftwood pieces down to a size that matches the jar. Either the same length or a bit shorter as you desire.
- Heat the glue gun.
- Place a line of glue of the flattest side of one piece of driftwood. Press the glue side down onto your glass jar. Hold for about 5 seconds for a good set.
- Repeat step 4 until the jar is surrounded with driftwood pieces.
- Put candle inside jar and light.
Notes
Tie ribbon or twine around the driftwood for extra color and decoration.
What a lovely idea for a holiday centerpiece! No driftwood here, but I could see how easily this could be done with smaller, dried branches. Maybe then carefully set on a plate with some pine/greenery and pine cones. Thank you for the idea (and instructions)!
wow nice!