
I may earn a commission if you click on links in this post and make a purchase.
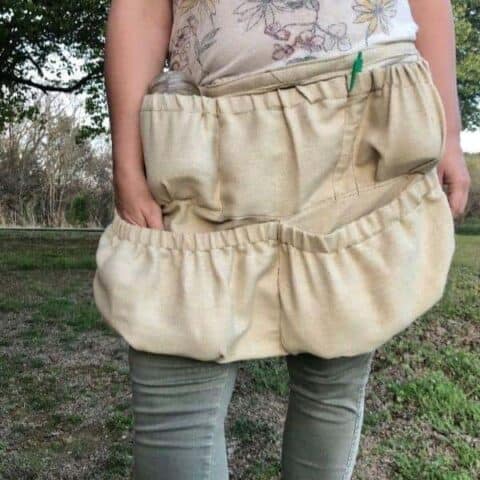
A foraging apron has pockets for supplies and the harvest you collect. It comfortably carries everything while keeping your hands free.

Tuck your foraging kit supplies into the apron pockets, when foraging in the wild or tending your own garden. When you make it yourself, the pockets can be customized for any task.
Made of only rectangles cut from a painter’s drop cloth, the apron is easy to assemble. Beginners can easily tackle this project by following the step-by-step instructions and photos below.
Gathering Apron
Upcycling a canvas drop cloth is cheaper than purchasing fabric. You may even have one leftover from another project. Paint splotches will give it character, and this apron is bound to get dirty anyway.
The canvas is also breathable which helps keep everything stay fresh. Upper pockets can hold jars for keeping delicate treasures like berries or flowers to avoid squishing them.
There is also room for a knife, your phone, a small notebook or field guide – everything you need for a successful foraging trip.
If you are learning to sew, you might want to check out these clever things to help you sew a straight line. Now let’s get started!
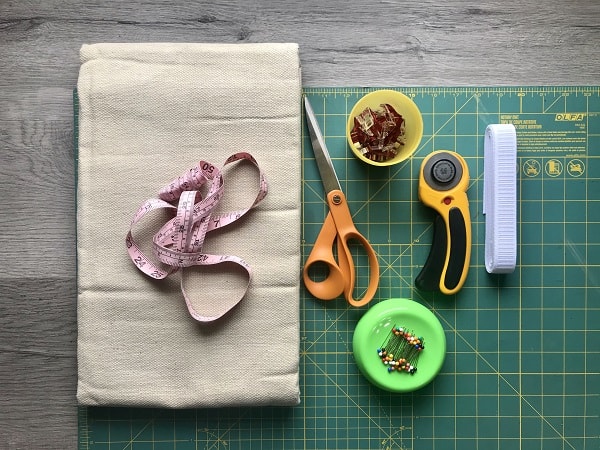
Supplies
- Canvas Drop Cloth
- 1″ Elastic
- Thread
- Measuring Tape
- Scissors
- Sewing Clips
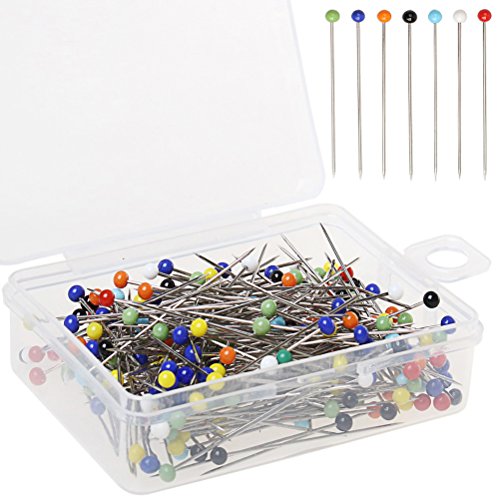
- Straight Pins
- Rotary Cutter (Optional)
- Cutting Mat (Optional)
- Sewing Machine
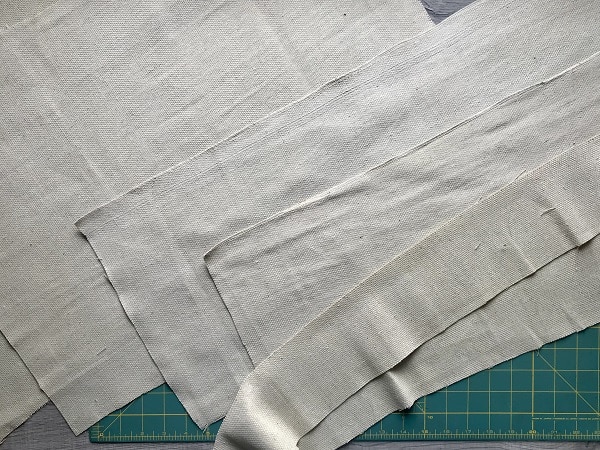
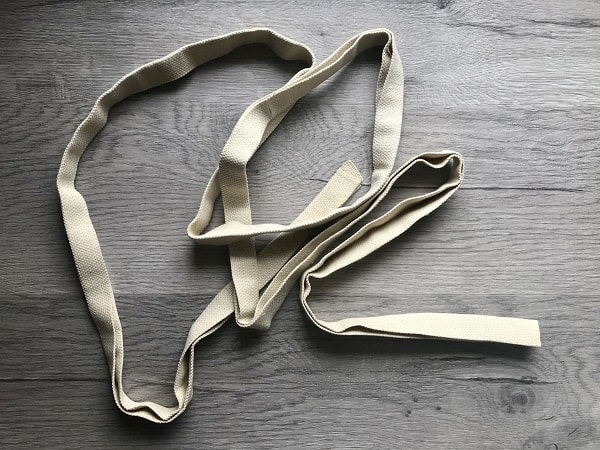
Nearly two aprons can be cut from one canvas drop cloth. The fabric is easy to cut with either scissors or a rotary cutter.
Sewing clips are recommended, but can be substituted for straight pins.
Non-roll elastic is also preferred, so it doesn’t twist over time while using the apron. Regular elastic can also be used.
Gathering Apron Tutorial
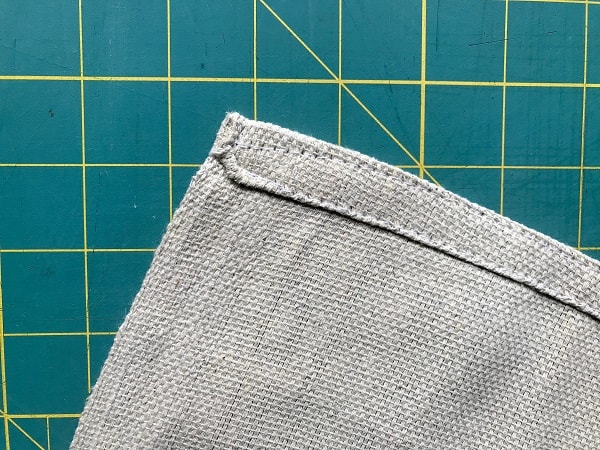
Before cutting into your canvas drop cloth, take note of which edges are hemmed and which are selvage edges (not hemmed).
Time spent on this project can be reduced by cutting the pocket pieces with their tops along the selvage edge. This eliminates the need to fold, iron and hem it yourself.
Cut 6 pieces to the following dimensions:
- Main: (2) 17″ x 24″
- Top Pocket: 10″ x 32″
- Bottom Pocket: 8″ x 32″
- Strap: (2) 4″ x length of drop cloth
You can also go ahead and cut two lengths of elastic to 22″ each.
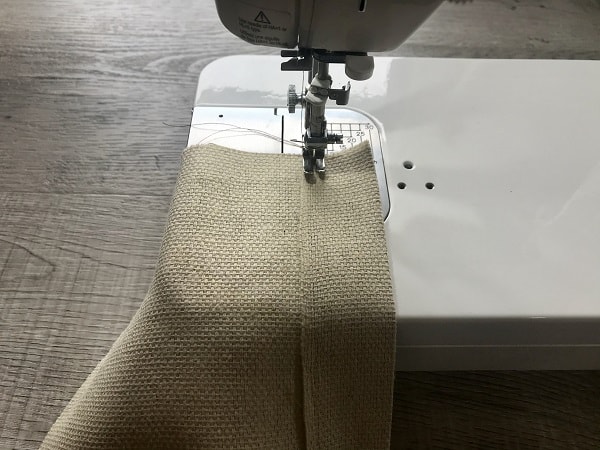
Let’s begin by forming the straps. Essentially, we are making double fold bias tape with the two long strips of drop cloth.
Lay one strip perpendicular to the other to form a 90 degree angle. There are no right or wrong sides.
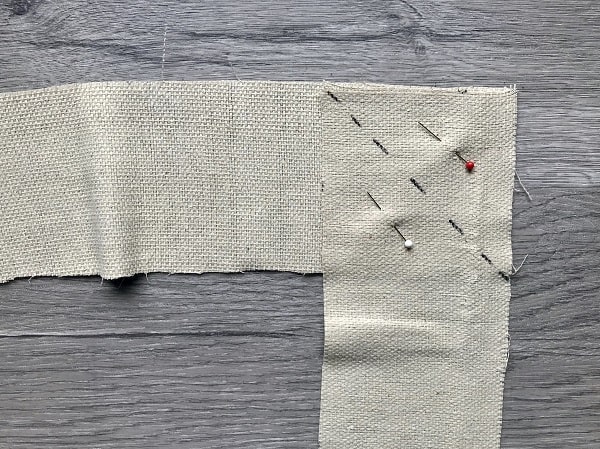
Pin the strips in place. Then draw a diagonal line from the top left corner to the bottom right as shown.
Sew along the diagonal line you drew.
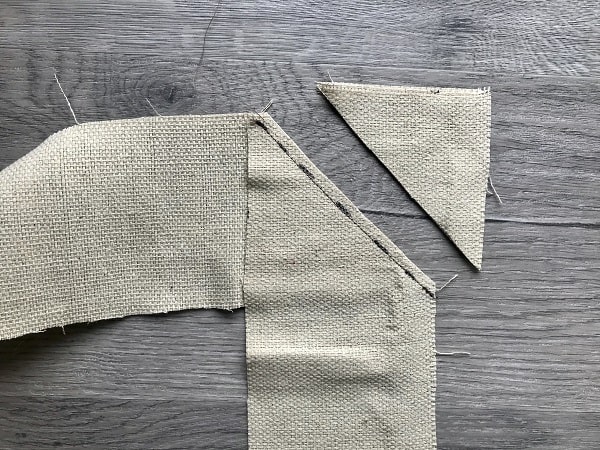
Remove the straight pins, and trim any excess fabric remaining to the right of seam.
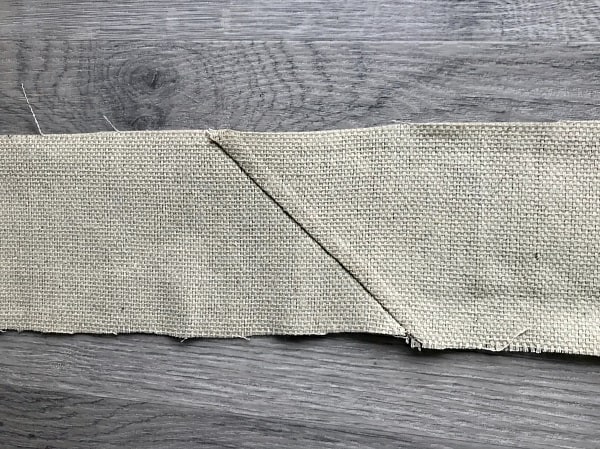
Now open up the seam and press. You should have one continuous strip of drop cloth with a diagonal seam in the center.
Fold the strip in half lengthwise and press.
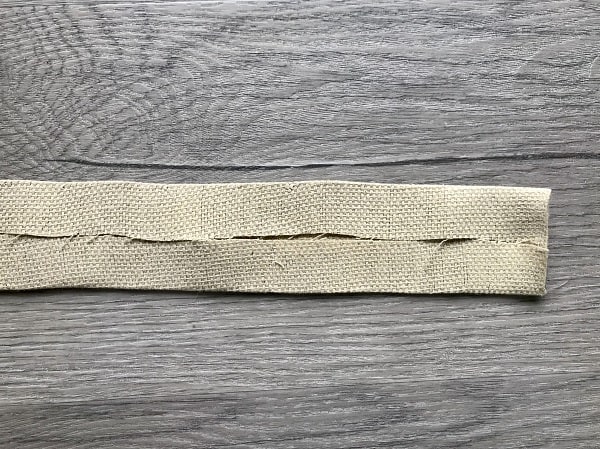
Then open the strip and fold each side to the center. Press.
Fold it in half in lengthwise once more and press.
Your strap is completed. Set it aside for now.

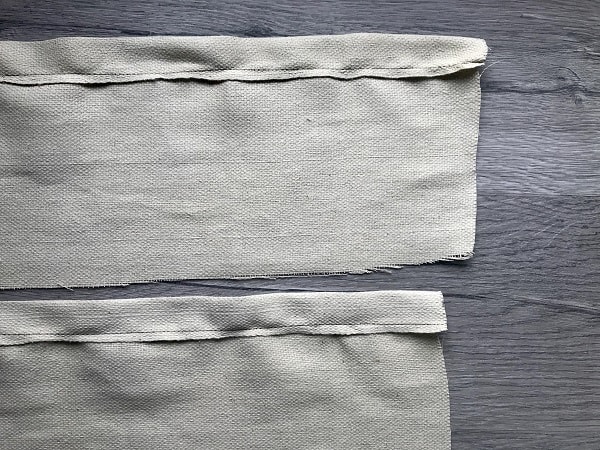
Next, fold the selvage edges of the top and bottom pocket pieces down 1.5″ and press.
Sew the at the bottom of the folds to form a casing in each pocket.
Then pin a safety pin to the end of a 22″ length of elastic, and feed it through the casing.
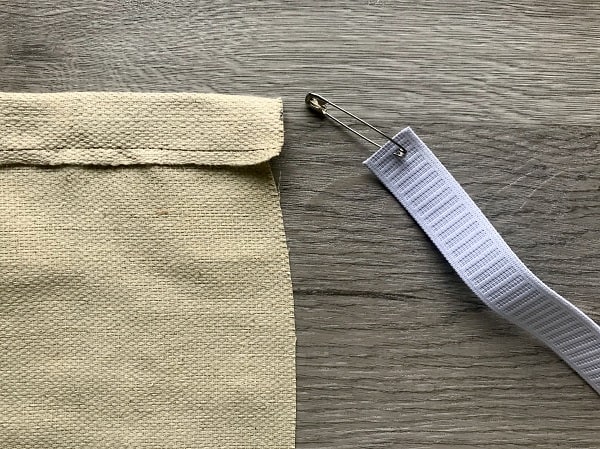
Use straight pins to secure the elastic at either end of the casing. Repeat for the other pocket.
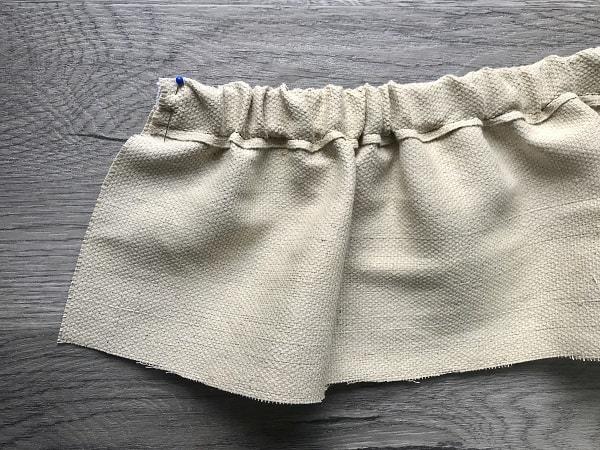
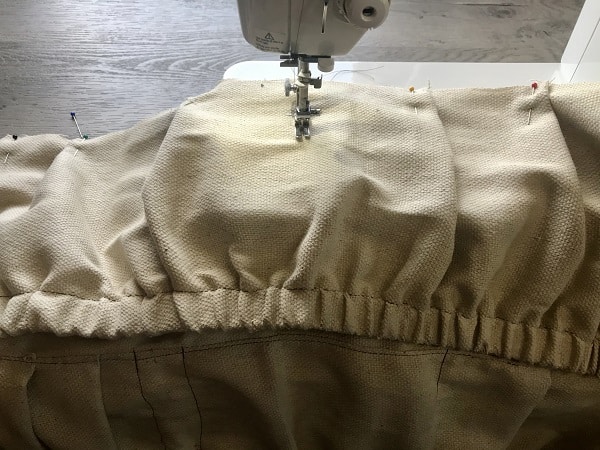
Now take one of the main pieces (17″ x 24″), and lay the top pocket on it with the right side facing down. With the elastic at the bottom (upside down) pin the raw edge of the pocket 8″ from the top of the main piece.
Align the edges from left to right. Then pinch 1/2″ pleats or gathers wherever the pocket fabric is not touching the main fabric piece. Pin the pleats in place.
Sew across the raw edge of the pocket with a 1/4″ seam allowance.
Then flip the pocket over your sewn line, so it is right side up.
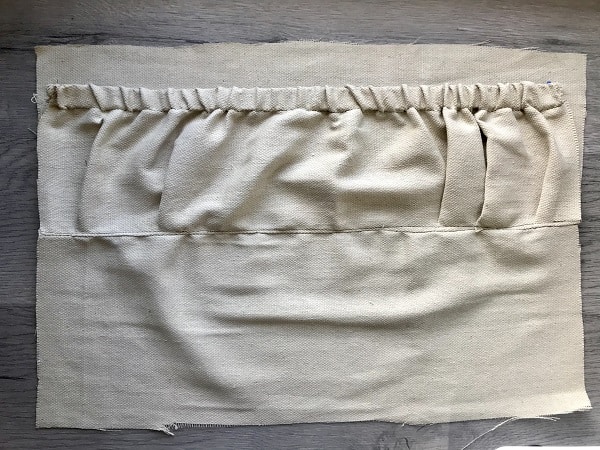
Top stitch along the base of the pocket.
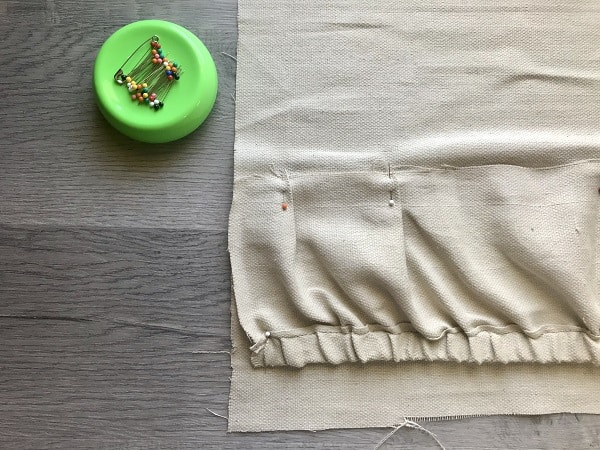
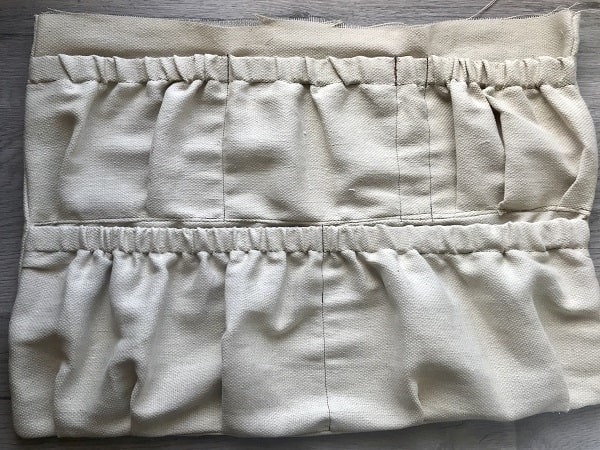
At this point, think about how you will use the pockets and how many you’d like. Do you want a pocket to hold a jar? A pencil? Your phone? Only vegetables? How many pockets will you need?
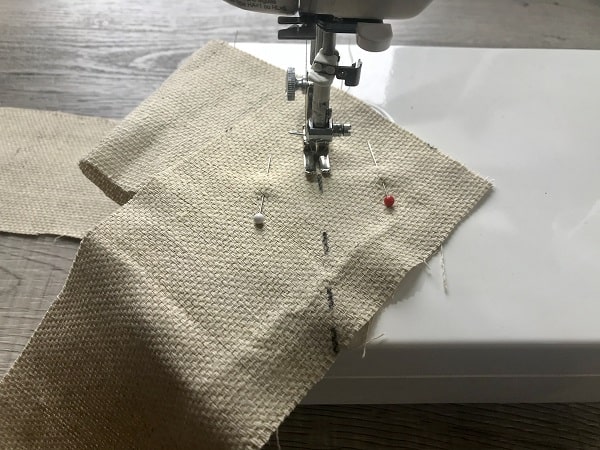
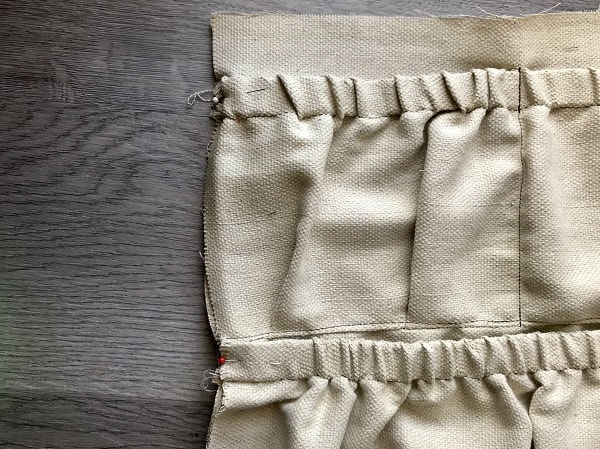
Once you have that figured out, mark where you would like to form the pockets. In the example shown, the top row has two pockets meant to hold jars, one in the center for snips and a field guide, and a skinny slot meant for a pen or pencil.
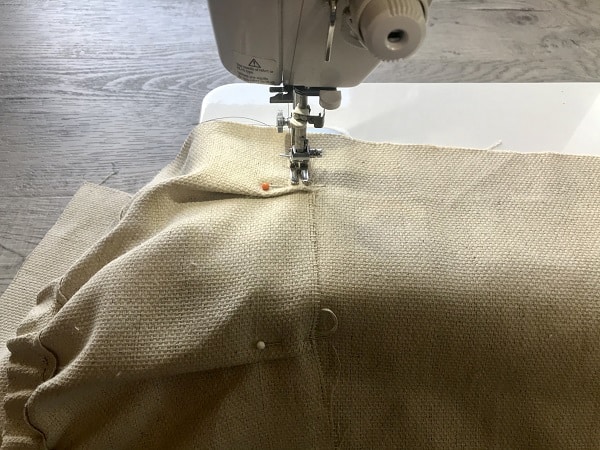
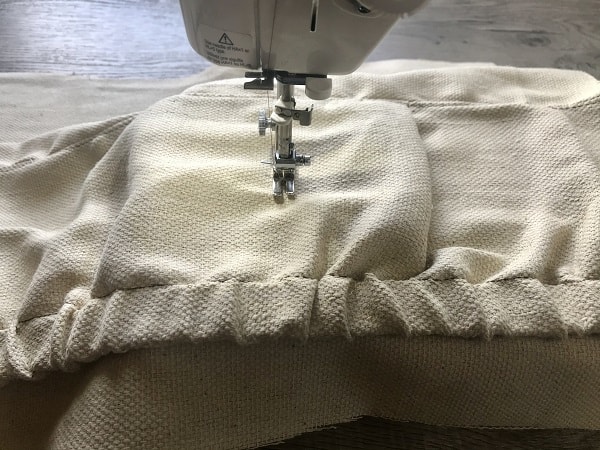
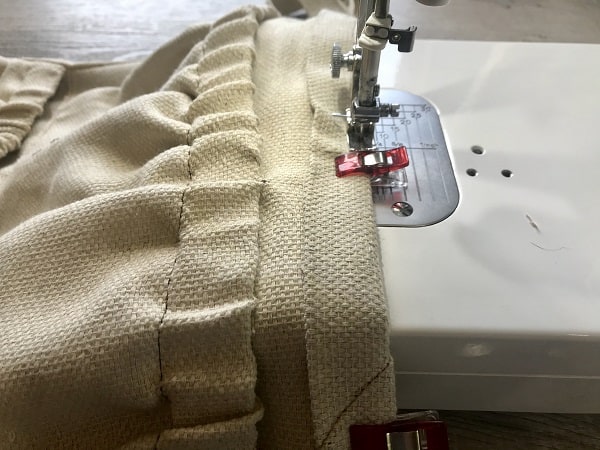
Sew from the base of the pocket through the elastic, ensuring you back stitch at the beginning and end for security.
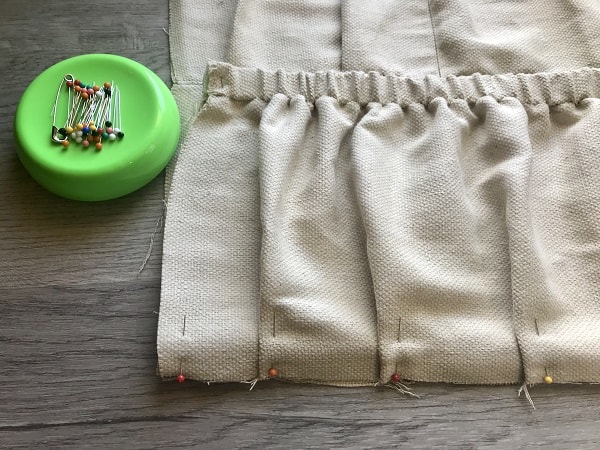
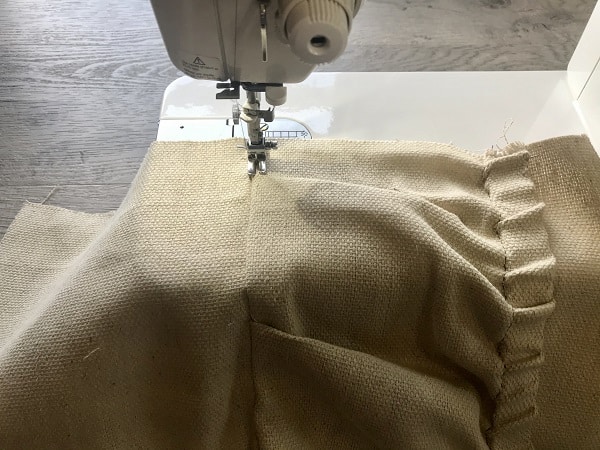
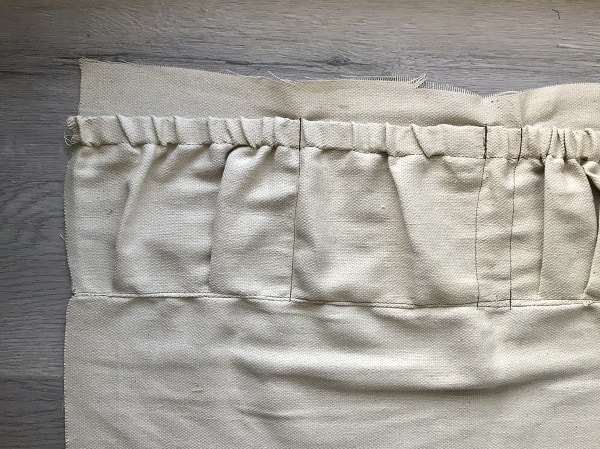
Next pin the bottom pocket piece to the main piece, right side up.
Once again form pleats or gathers until the length of the pocket is flush against the main piece and pin.
Sew from the bottom of the apron to the top of the elastic for form as many pockets as you’d like.
Then pull the elastic to meet the edge of the main fabric piece and pin them together.
Place the remaining piece (17″ x 24″) on top of the pockets, and align all edges.
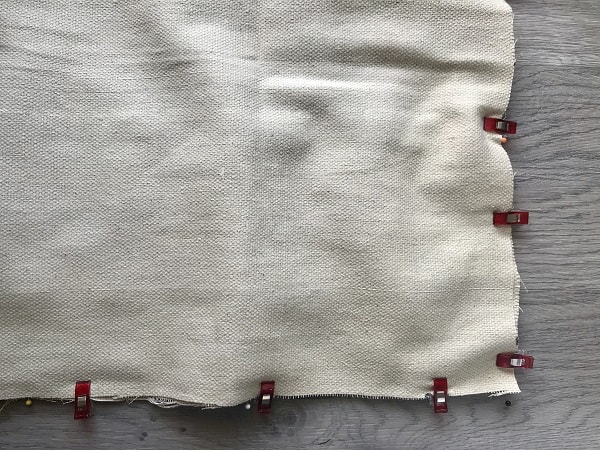
Use sewing clips or straight pins to hold the layers together at the bottom and sides of the apron.
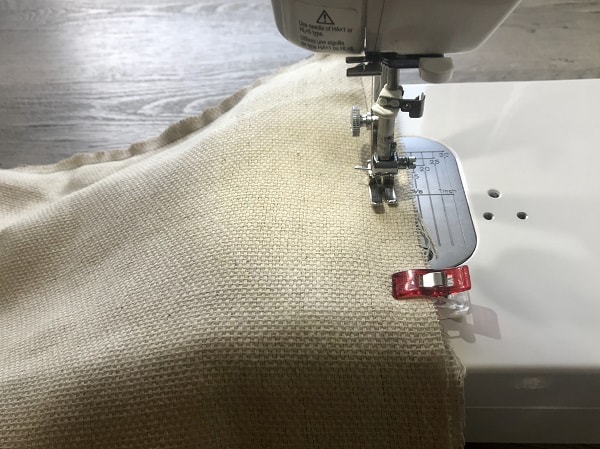
Sew the sides and bottom (not the top!) with a 1/2″ seam allowance.
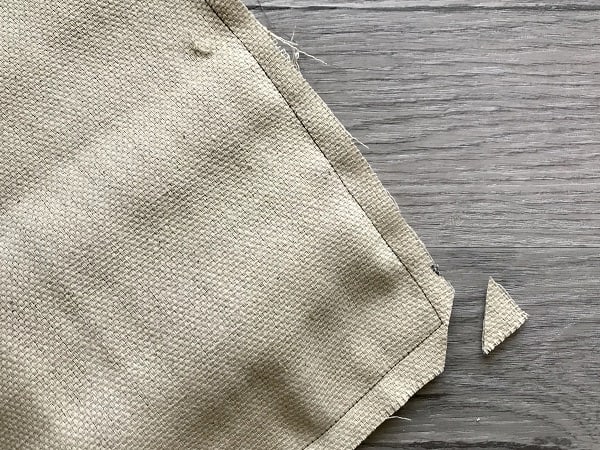
Trim the corners to remove excess bulk.
Then turn the apron right side out.

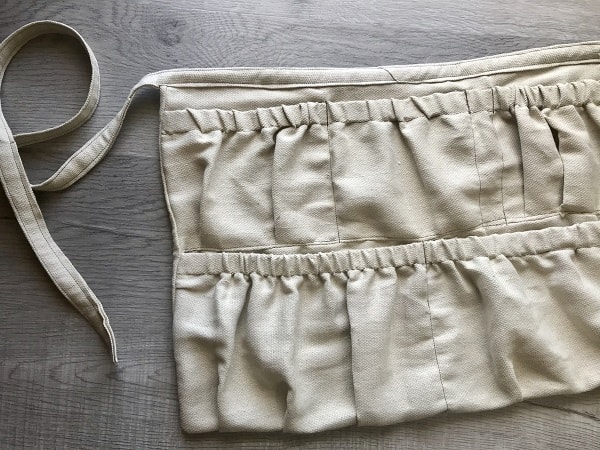
Finally, it is time to add the strap. Find the center of the strap by folding it in half.
Then insert the top, open end of the apron into the center opening of the strap, aligning the center of the strap with the center of the apron. Clip or pin it in place.
Top stitch along the top, bottom and sides of the strap, continuing all the way down the length of the strap.
Your foraging apron is ready to gather nature’s abundance.
After bringing home your harvest, you might want to make some hanging mesh produce bags to store it in too.
Foraging Apron
Follow this tutorial to make a foraging apron for harvesting berries, mushrooms, vegetables and more.
Materials
- Canvas Drop Cloth
- 1" Elastic
- Thread
Tools
- Measuring Tape
- Scissors
- Sewing Clips
- Straight Pins
- Rotary Cutter
- Cutting Mat
- Sewing Machine
Instructions
- Cut drop cloth pieces: Main - (2) 17" x 24"; Top Pocket - 10" x 32"; Bottom Pocket - 8" x 32"; Strap - (2) 4" x length of drop cloth
- Cut elastic: (2) 22"
- Lay strap 1 perpendicular to strap 2 and pin.
- Draw line from corner to corner.
- Sew across line.
- Cut excess fabric to right of seam.
- Open and press.
- Fold in half lengthwise. Press.
- Fold top and bottom to meet center line. Press.
- Fold in half lengthwise again. Press.
- Set strap aside.
- Turn tops of pocket pieces down 1.5". Press.
- Sew with 1/4" seam allowance.
- Insert elastic through pocket casings.
- Pin ends of elastic at each edge.
- Place top pocket on main piece 8" from top, wrong side down and upside down.
- Align right and left edges.
- Pinch and pin pleats until the pocket lays flat.
- Sew with 1/4" seam allowance.
- Flip pocket right side up.
- Top stitch at base.
- Mark and sew vertical lines to form pockets.
- Place bottom pocket at bottom edge of main piece, right side up.
- Align edges and from pleats again. Pin.
- Pull elastic to each edge and pin.
- Place remaining main piece on top of the pockets with edges aligned.
- Pin or clip bottom and sides.
- Sew sides and bottom.
- Turn right side out.
- Insert top of apron into the middle of the strap.
- Clip or pin in place with center of apron meeting the center of the strap.
- Sew around perimeter of the strap.
Notes
The pockets can be adjusted to fit any materials or supplies you choose. Feel free to move them around or add more.
Recommended Products
As an Amazon Associate and member of other affiliate programs, I earn from qualifying purchases.


I’d like to try this foraging apron project. What size is the drop cloth? (There are several sizes online and at stores, hopefully not too thick. Also, will need to use larger quilting needle, yes? )
When you noted that the drop cloth is almost enough for 2 aprons, how short in material is it so that 2 may be made?
Thank you! Best wishes,
Sharon
Hi Sharon! I used a 5’x 5′ drop cloth. The next size up, which I think is 6′ x 9′ will easily make two aprons. My needle was a size 12. Hope that helps!
‘
Love this apron idea. I used to have a similar apron I used when picking up. I would transfer items from one room to another. Can’t wait to make this one!
Thank you for posting this pattern and tutorial. I didn’t have canvas cloth, but still was able to fashion a lovely, most useful apron based on this pattern!
I am so very glad to hear it!