
I may earn a commission if you click on links in this post and make a purchase.
The great thing about gardening to me, is that it about so much more than simply food. Though food is more than reason enough. The garden can, however; also provide nourishment in the form of healing and skin care. Take for example this handmade chamomile carrot soap recipe.

This natural soap recipe comes to us from Jan Berry of The Nerdy Farm Wife and author of the amazing new book, Simple & Natural Soapmaking. Containing skin-soothing chamomile flowers along with nourishing carrot juice, a gentle soap that’s perfect for those with sensitive skin is created. Both carrot juice and carrot puree (such as baby food) will work equally well in this recipe. If you don’t have cocoa butter handy, try using tallow, lard, kokum or shea butter instead.
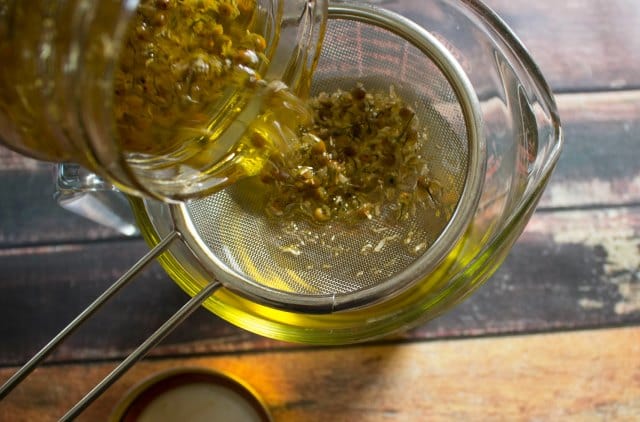
Start with a Chamomile Oil Infusion
Before you make this recipe, you’ll first need to make a chamomile oil infusion. To do so, fill a canning jar about halfway with dried chamomile flowers. Pour olive oil over the dried flowers until completely covered by several extra inches of oil. Cover with a lid and infuse for several weeks, then strain. For a quicker infusion, set the uncovered jar into a saucepan filled with a few inches of water. Heat the pan over low heat for 2 to 3 hours. Cool and strain. Use in place of regular olive oil in soap recipes.
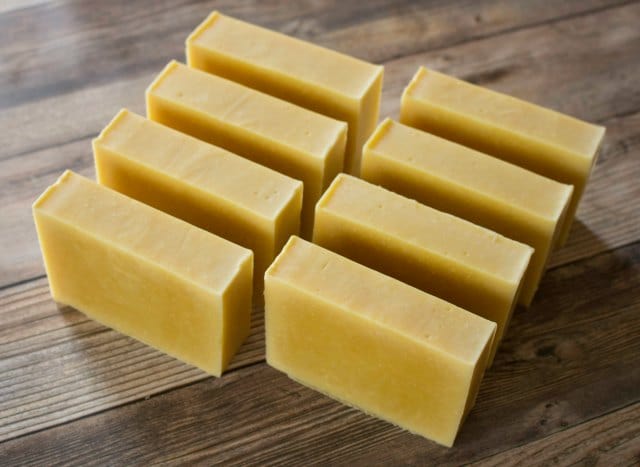
Makes 7 to 8 bars (2.5 lbs/1.13 kg)
Lye Solution
- 6 oz (170 g) distilled water
- 3 oz (85 g) carrot juice (or puree/baby food)
- 3.95 oz (112 g) sodium hydroxide (lye)
Solid Oils
- 4 oz (113 g) unscented cocoa butter (or shea/tallow/lard)
- 7.5 oz (213 g) coconut oil
Liquid Oils
- 13.5 oz (383 g) chamomile infused olive oil
- 3 oz (85 g) sunflower or sweet almond oil
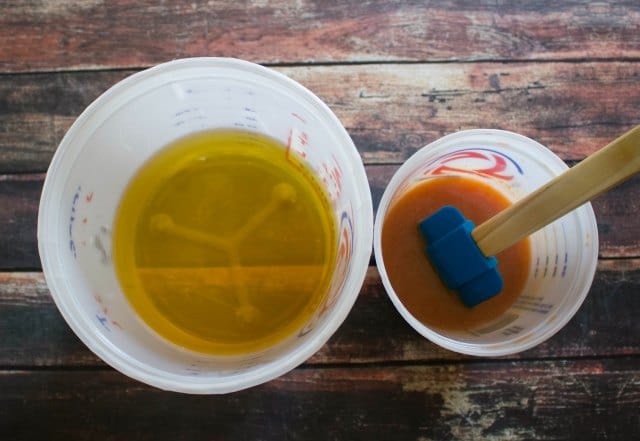
Step 1: Make the Lye Solution
Combine the distilled water and carrot juice/puree. Wearing protective gloves and eyewear, carefully stir the lye (sodium hydroxide) into the water/carrot mixture until dissolved. Work in an area with good ventilation and be careful not to breathe in the fumes. Set the lye solution aside to cool for about 30 or 40 minutes or until the temperature drops to around 100 to 110°F (38 to 43°C).
Step 2: Prepare the Oils
Gently heat the coconut oil and cocoa butter (or shea/tallow/lard) on low heat until melted. When the solid oils are melted, take the pan off the heat and pour in the liquid oils. This helps cool down the melted oils while warming up the room temperature oils.
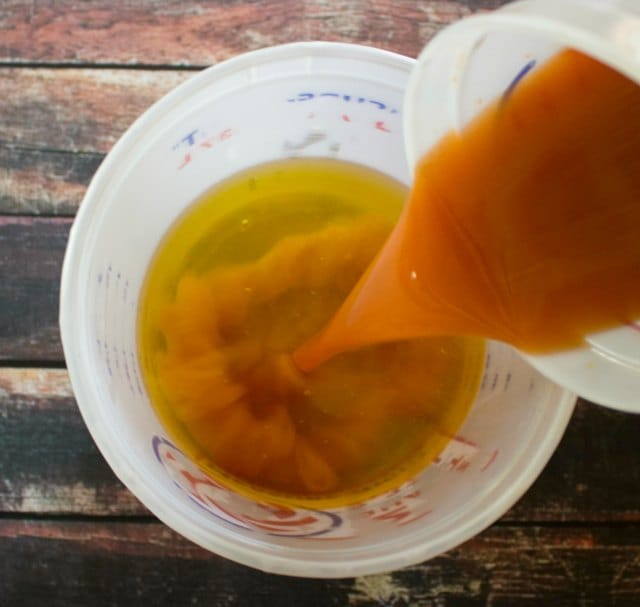
Step 3: Mixing
Pour the cooled lye solution into the warmed oils. Using a combination of hand stirring and an immersion blender, also called a stick blender, stir the soap batter until it thickens and reaches a light trace. Trace is when the soap has thickened enough so when you drizzle a small amount of the batter across the surface, it will leave a fleeting, but visible imprint or “trace” before sinking back in.
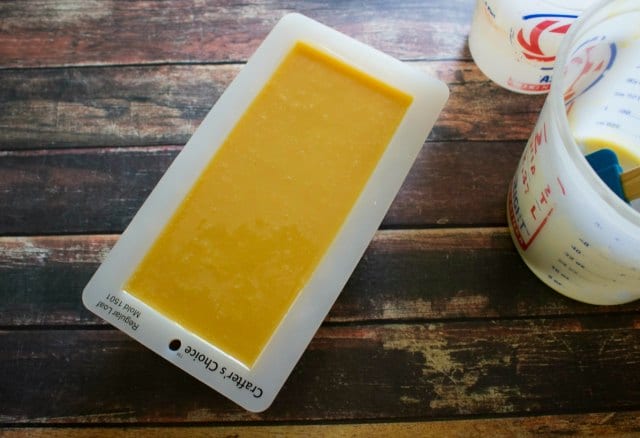
Step 4: Pour in Mold
Pour the soap batter into your soap mold. Cover lightly with wax or freezer paper, then a towel or light blanket for insulation. Peek at the soap every so often; if it starts developing a crack, uncover and move to a cooler location.
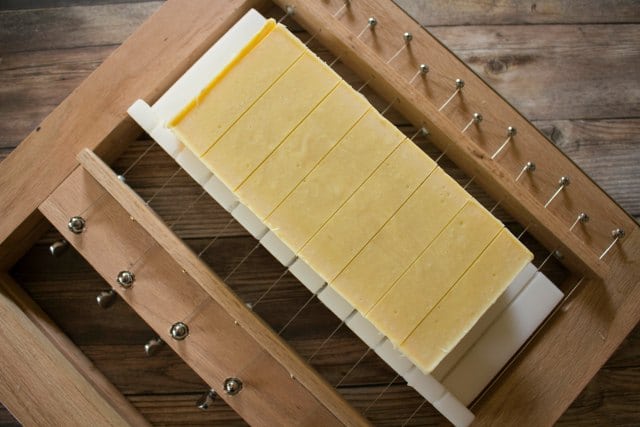
Step 5: Cut & Cure
Keep the soap in the mold for 1 to 2 days, or until it’s easy to remove, then slice it into bars when it’s firm enough not to stick to your cutting tool. Cure on coated cooling racks or sheets of wax paper for about 4 weeks before using. The soap is safe to touch 48 hours after making it but it needs the extra time to allow the excess moisture to evaporate out.
This looks and sounds like a wonderful soap recipe!
Well done, thank you for sharing
Love that soap mold. Where did you get it? I make goat milk soap but would like to try this recipe.
Useful recipe??