
I may earn a commission if you click on links in this post and make a purchase.
Canning is a rewarding and tasty way to preserve food. It can also be exhausting. Thankfully, there are some ways to make it a bit easier on ourselves and our wallets with these doable and safe canning tips.
Whether you’re new to canning or an experienced canner, these tips and updated bits of information are sure to help you save time, money, and energy in all your canning endeavors.

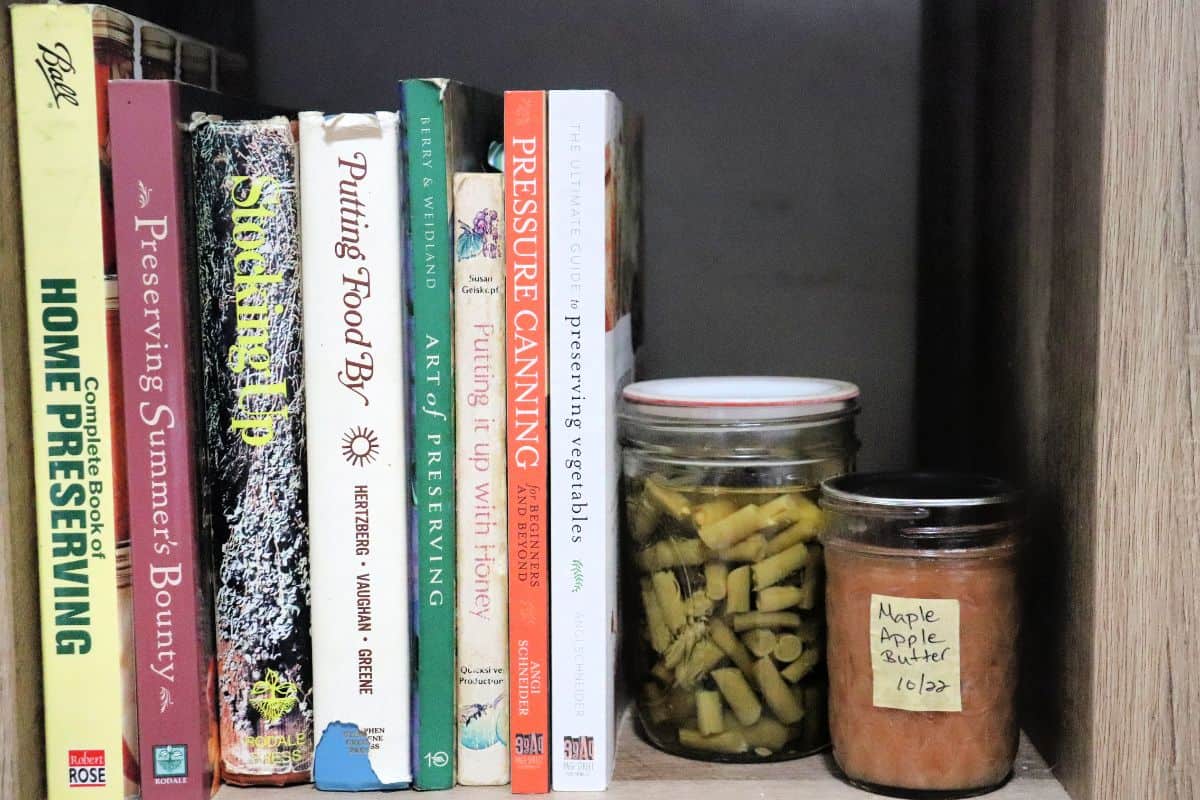
Maintain a Canning Library
There are amazing resources online for canning, I’ve used them myself.
But also make sure you have a few trusted canning books on hand in your own personal reference library. These are good for finding recipes, looking up timing information, and more without having to log-in or even need electricity.
No Need to Sterilize Jars
If you’ve been canning for a long time or looking at older canning books this might be a new idea, but it is a huge time savings. You can warm your jars first but it’s no longer necessary to sterilize.
No Heating of Lids
Single-use lids no longer need to be simmered prior to use. This is a change within the last couple of years. Again, one less thing to do means more efficient canning.
If you’re using reusable canning lids with the two part lids – plastic lid and rubber ring – those likely need to be heated.
For both single-use and reusable lids, always follow the manufacturer’s instructions.
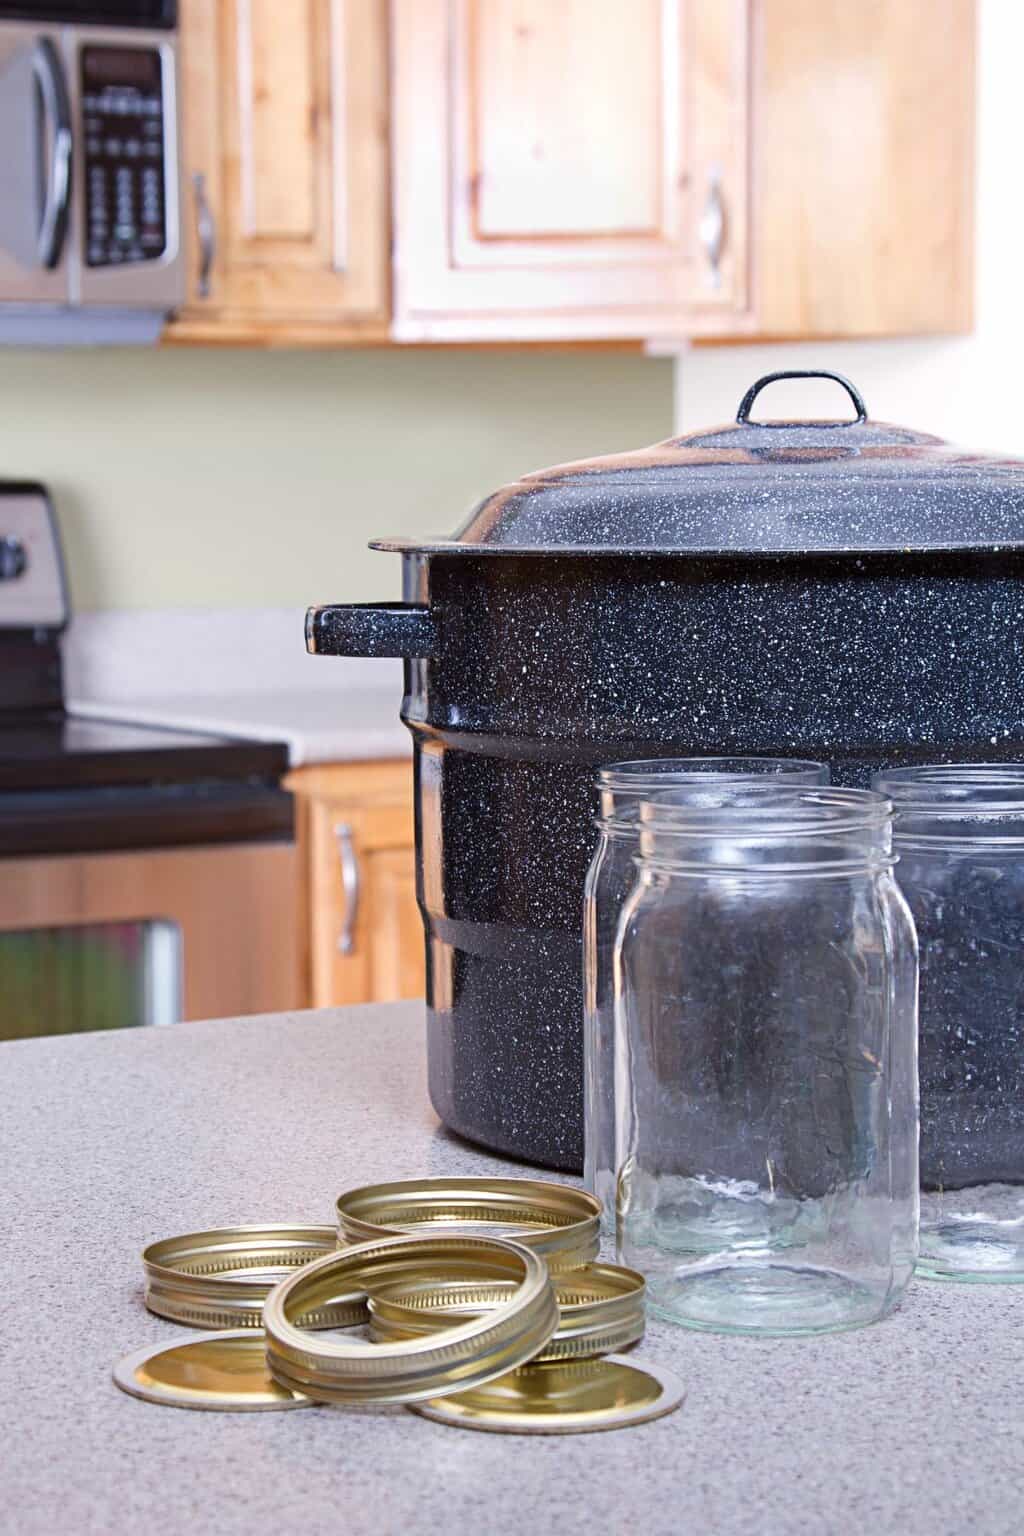
Inspect Those Jars First
Save the heartache of unsealed lids or money wasting broken jars (and ruined food) in the canner by doing a careful inspection first before putting any food inside.
Jars that have nicks or cracks might break in the canner, so check first before using.
Skip the Peeling (most of the time)
Most resources to peel fruit and vegetables before canning. I will be honest, I skip in this most case because it feels like a waste of time and product.
In some cases, this is a personal choice. The peel can sometimes have a bitter taste. If you or your family don’t like the peel, absolutely peel. If it doesn’t bother you, leave it.
There are a few exceptions, however:
- Peaches – the fuzz is odd canned, in my opinion
- Citrus fruits – that peel is going to be bitter
- Root Veggies – there is simply too much bacterial load on the peels to safely can root veggies with the peel.
Again, use common sense, follow your own taste preferences, and definitely use safe and approved methods.
Note: If you’re planning on entering a jar into the fair competition – you must peel or you won’t win a blue ribbon. Otherwise, feel free to skip it like I do.
Break It Up Into Small Steps
Who says it all has to be done in one day? Obviously, it’s not a great idea to peel peaches and leave them to wait but there are some things that can be divided. This tip has saved me so much stress over the years: Break up canning tasks whenever possible.
Some examples:
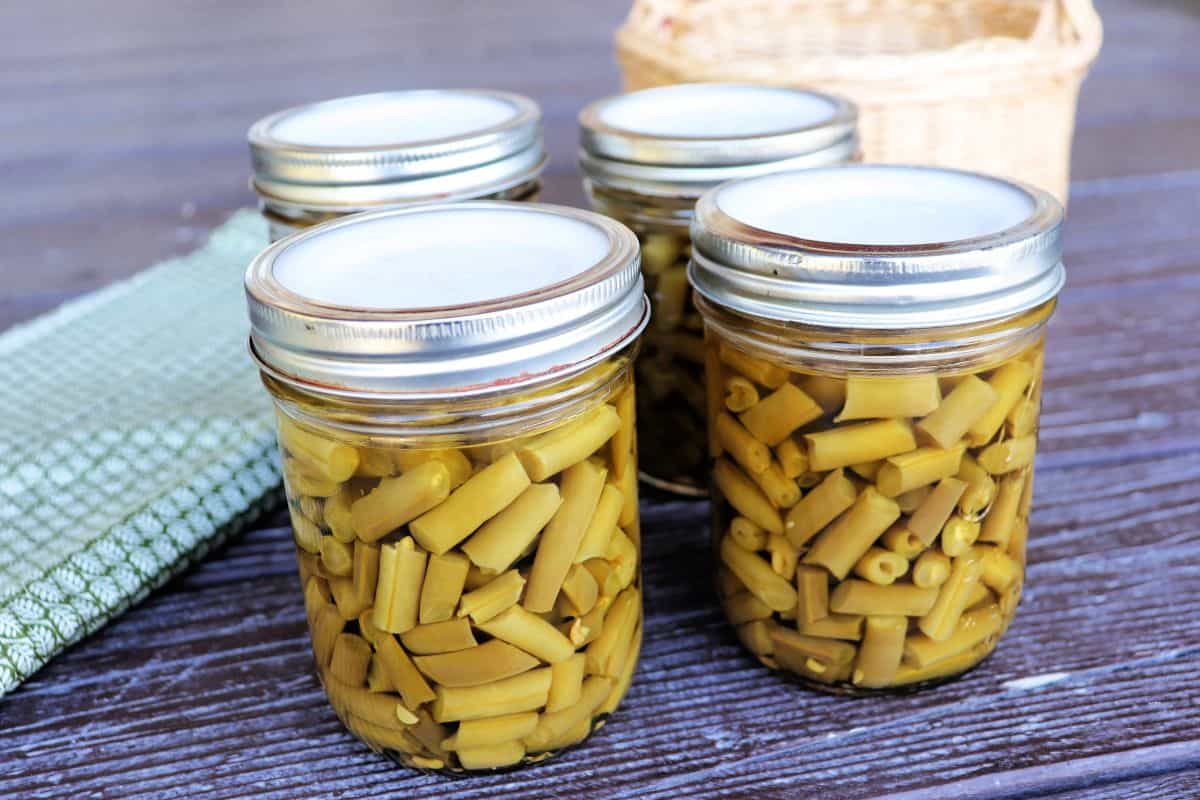
- Pick & wash green beans today, snap them tomorrow, can them the day after that.
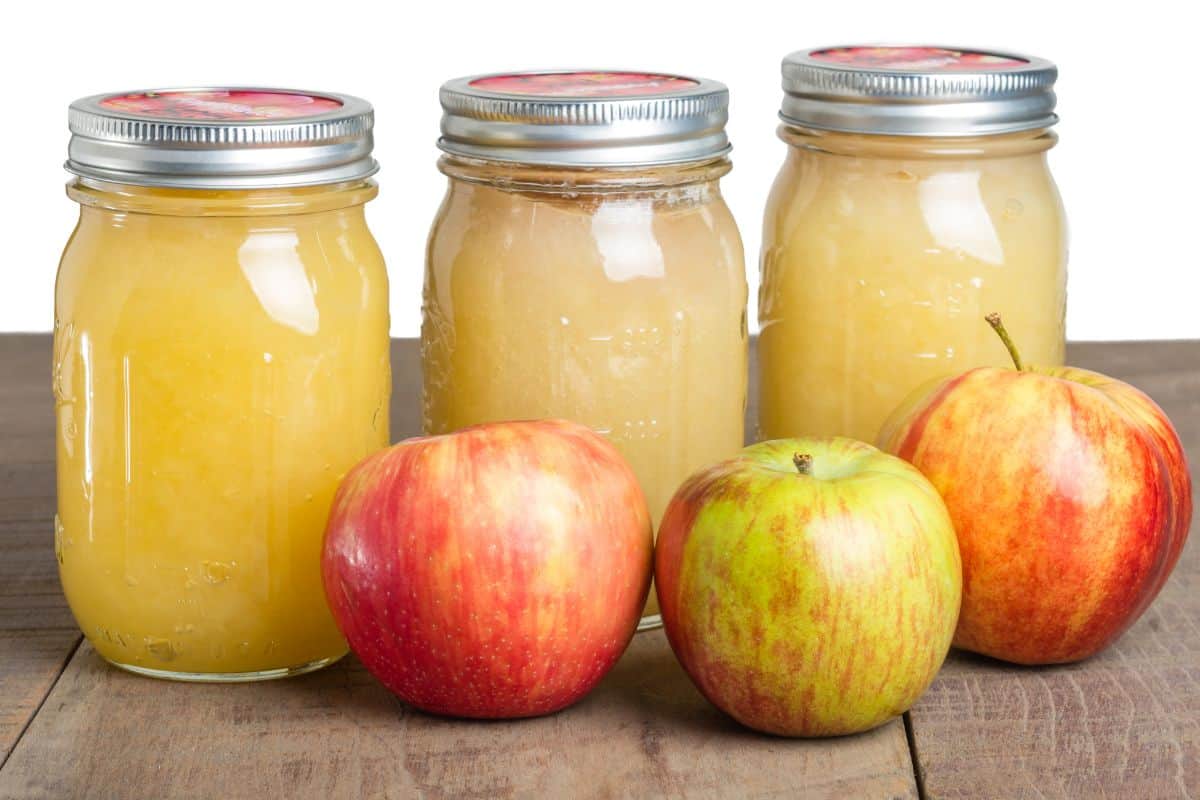
- Cook and mash apples for sauce today and put in the fridge tonight. Reheat and can tomorrow.
- Chop the onions, garlic, and peppers for salsa a few days ahead of time and store in the fridge. On the day you want to make the salsa, chop the tomatoes and add your other ingredients, and continue the process as normal.
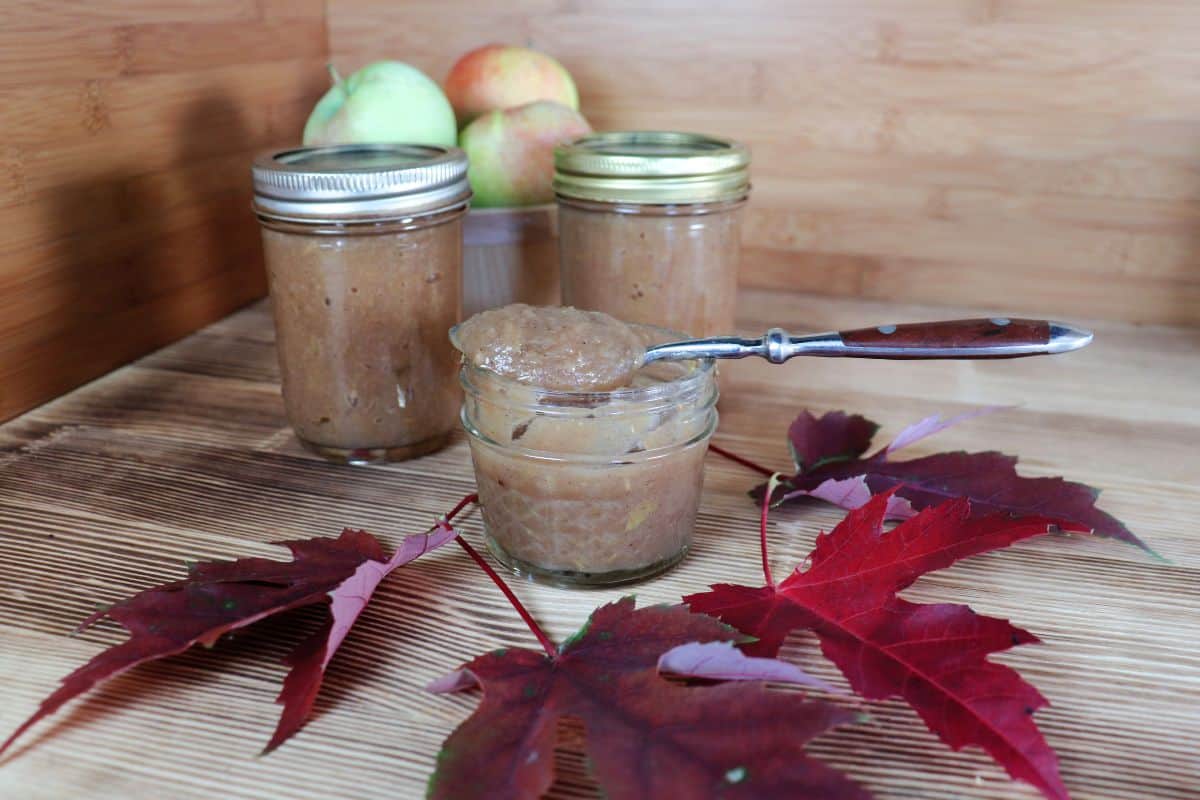
Slow Cook Sauces
When making fruit butters, tomato sauces, ketchups, etc. let the slow cooker do the bulk of the work for you.
Puree the ingredients and put it into the slow cooker. Leave the lid off, so the steam can escape, and put it on low. Let it cook for as long as necessary to get a thick sauce, stirring every now and then.
Once it gets to the desired thickness, make sure its boiling and then put into jars and process accordingly.
This is much easier than standing over a hot stove cooking and stirring for long periods of time.
Have Spare Parts & Keep Things Stocked
If your pressure canner uses a rubber gasket, keep a new one on hand. They degrade over time and never go out when it is convenient, having an extra on hand will save you time and heartache.
Don’t forget to shop yard sales and thrift shops for supplies and always have extra lids, jars, and other supplies on hand to make canning day easier.

Steam Canning
Steam canning is now approved and considered safe for high acid products requiring less than 45 minutes of processing time.
This means you don’t have to wait for a large kettle of water to boil, making the process quicker and a bit easier.
This is also a great method for folks who have trouble lifting a full water bath canner to and from the stove, making it a bit safer for everyone.
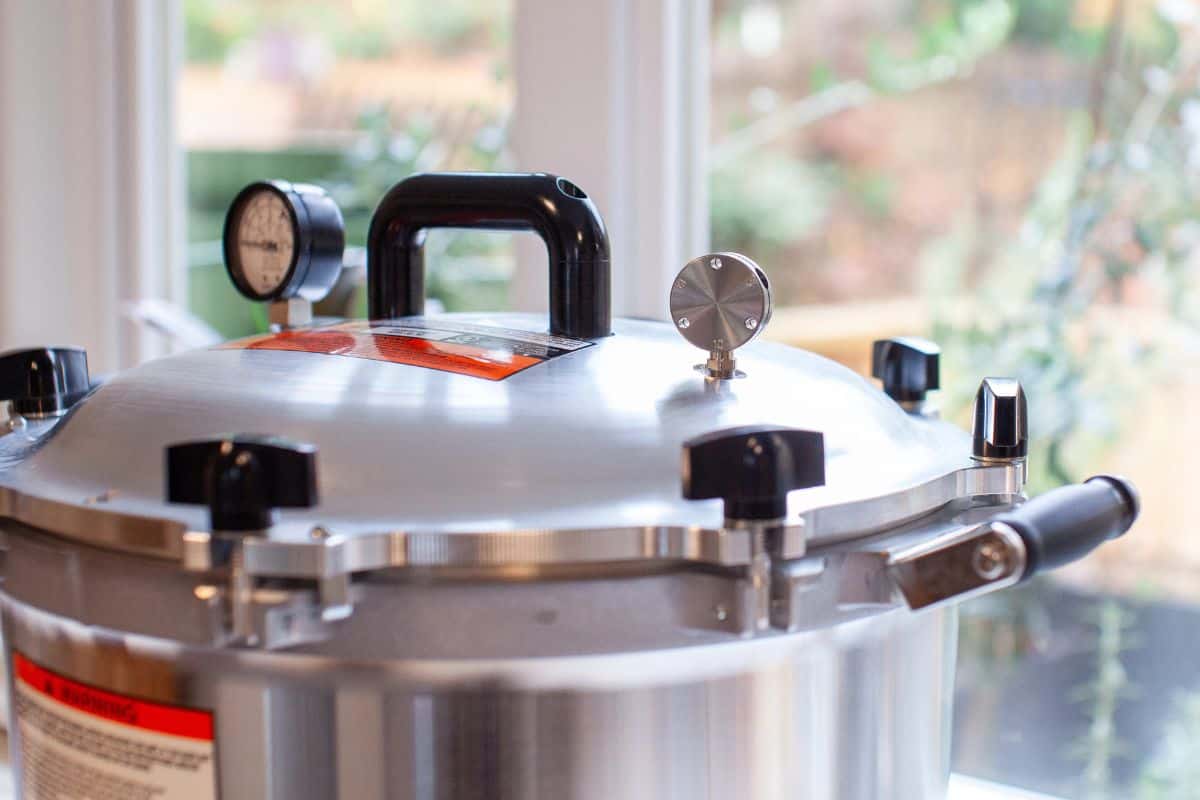
Pressure Can
The water bath canner is fine for pickles, fruits, jams, etc. However, most things can also be pressure canned and when done so – it’s much faster. Pressure canning tomatoes is so much quicker than using a water bath.
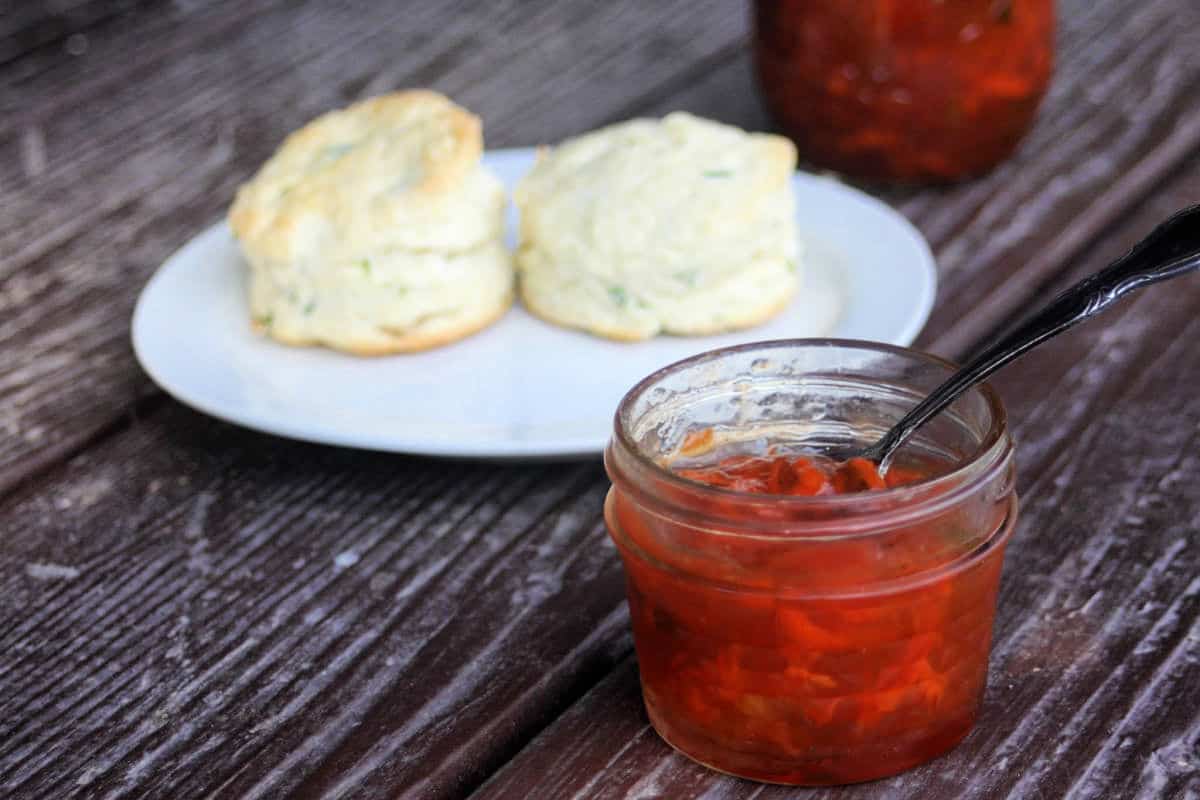
Flavoring Jams
New canners are often nervous about changing up tried and true recipes but you can add small amounts (1 tsp or less per batch) of dry spices and extracts to jams and jellies to change up the flavor and just slightly change a tested and approved recipe while still keeping it safe.
Consider adding a teaspoon of almond extract to cherry jelly for example, or a bit of dried ginger powder to your pear jam.
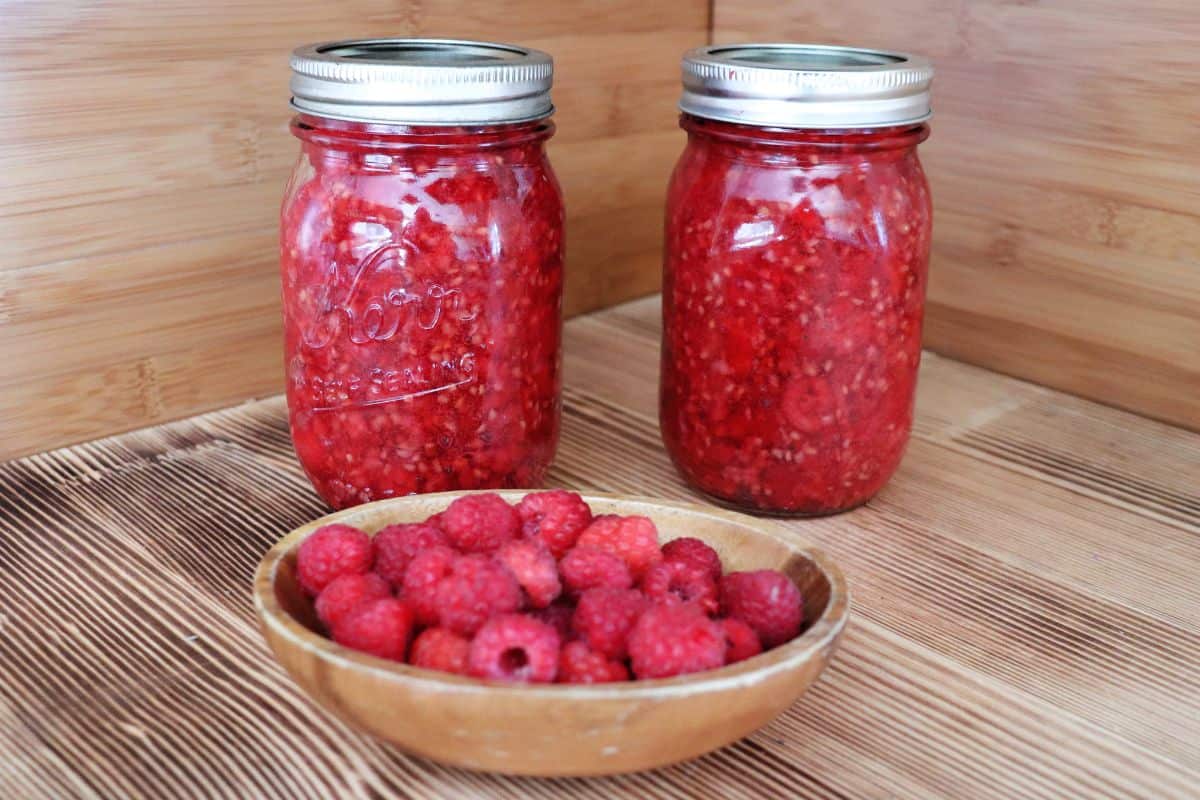
Low Sugar Pectin
These days there are a variety of commercial pectins that will allow you to can low-sugar and even no-sugar jams and jellies safely.
This allows you to skip adding sugar to your recipes for health, flavor, and even frugality.
Waste Nothing
For most of us living close to the earth this is easy to do in different ways. Feed cores and peels to animals like chickens and pigs. Use the waste in your compost piles, etc.
But we can also get creative in other ways for food and flavor in our kitchens and pantries.
If you do peel, consider dehydrating the tomato peels for a tomato powder to flavor soups and more later.
Use the peels and cores of apples to make vinegar.
Dehydrate the tops of strawberries for a simple, flavorful herbal tea, etc.
Freeze First
Freeze pitted fruits when time is crunched. When you’re ready to make jams, jellies, or fruit butters, let the fruit drain in a colander in the sink. The water will drain off making the thickening for fruit butters go a little faster.
Team Work
Whenever you can, find a team to work with you to make the task easier and more fun.
We create little systems in our house to make canning go faster. Jeff pits cherries for example and I put them into jars with sugar syrup. He’ll chop the onions for salsa while I do the tomatoes, etc. We do this work together in the kitchen while listening to our favorite music.
Whenever possible get other household members involved. Even small children can help shell peas or string and snap beans. Make it a family activity – crank up the music, talk, have fun, and later everyone will have a greater appreciation for those jewel-toned jars on the pantry shelves.
Keep Track
Keep records of what you made, recipes you tweaked, and how much you put up. Use those records to ration your pantry out through the winter and as a way to understand what to make more or less of next year.
Canning is a lot of work and while it is worthwhile work, that doesn’t mean we can’t look for ways to make it easier and tastier. Use the tips above as you work through summer and fall produce to maximize your efforts and good eats.
I love Pomona’s Pectin! I ordered it on a whim from our Bread Beckers co-op one time, and loved it. I was able to make my annual pile of strawberry jam much less sweet since it allows for a smaller amount of sugar, and we all like the jam a lot better. I feel like it’s a slightly softer set than I get with Sure-jell, but still totally fine.
You don’t have to sterilize the jars for batches that process a long time? Praise the Goddess and praise you for spreading the word, you domestic goddess! That will make the tomatoes and peaches go that much faster and easier.
It isn’t that most amazing thing? I’m so glad that proved to be a useful tip to you!
No sterilizing even for pressure canning?
Nope no sterilizing for pressure canning. “Empty jars used for vegetables, meats, and fruits to be processed in a pressure canner need not be presterilized.” That per the National Center for Home Food Preservation.
I think the comment about not peeling is fine for everything except root vegetables. My understanding is that home scanners have to peel carrots and potatoes because we have no reliable way of scrubbing out the cracks in the skins.
I’ve actually read a lot of conflicting information here but it is a valid point. I’ve never peeled a homegrown carrot but there is an extensive scrubbing process. I’ve canned potatoes with the skin on too and have obviously lived to tell the tale. Peeling is never a bad idea, just one I often skip.
I put my potatoes and carrots, etc in a vinegar/water bath in the sink for about 30 minutes before scrubbing. Makes for cleaner skins.
Botulism is soil born. So any vegetable grown in soil, needs to be peeled before canning. Carrots, potatoes, beets….. Also, need to use safe and tested recipes when canning from Ball, Bernardin, or Nchfp. Homemade recipes should not be used.
You can use homemade recipes as long as you can to the ingredient that needs processed the longest and use the appropriate method (water for high acid, pressure for low acid).
Thank you for all of the tips to be a better at canning. Specifically, you talk about how it’s important to inspect the jars before putting anything in them, and I agree! As you say, this will save you from having to deal with unsealed lids or wasting broken jars. Overall, doing a thorough inspection before you actually start canning will ensure that you’re prepared for the project and it will ensure that your canning will be successful and the food will last a long time. Thank you for sharing!
thanks for the info
You are most welcome!
My best canning tip is to check your blog first for the most up-to-date time, labor and stress saving tips. What a wealth of info. Thanks so much Kathie!
You’re so funny and you are most welcome!
I’m new to canning. Thanks for the tips-super helpful!
You’re so very welcome!
Great article. I already do most of thesr, but it’s good to feel validated.
#4 is huge. The main things I can are cooked beans and diced tomatoes for chili, and I can so that I can make dinner in an hour. No way I’m going to cook and can beans on the same night; I cook them according to Ball’s recipe, then stick the unprocessed beans in the fridge and can the next morning. Same goes for the tomatoes-easier to dice, refrigerate, and can the next day.
These are some wonderful tips. I like the part about breaking it up into smaller jobs. Thanks for sharing
Breaking it up, really does help!
@Homespun Seasonal Living, I agree. I’ve been making Chow Chow for the last three days. No food proessor so chop, chop, chop.
This is so helpful! I have fibromyalgia and spinal problems. I love canning but it hard on my body. This year I am using some of these tips!
Oh, I’m so glad these were helpful! Be gentle with yourself and happy canning.
As a long time canner, I LOVE these tips! (Really – no sterilizing? How awesome is that!? And why didn’t I think of skipping the peeling? Thank you so much!
I’m so glad these are helpful to you!
So grateful for this post – I am getting back into canning this year, and feeling like such a novice! I know it will get easier with practice, but your tips sure will help!
a wise ol friend taught me to just wash up the jars and rinse. when getting the peppers, or fruit ready- heat in low oven for 10 minutes. works for me! my only fail last year was some peaches (i rushed) didn’t come out right because i didn’t keep the jar under the ring perfectly free of peach goo. quickly saved the ferminting ones by making peach butter in the crockpot. next time wine! lol. and we are all still alive!
The age-old “add acid to tomatoes” question: why do a lot of recipes add acid to tomatoes when pressure canning? I had one industry “expert” tell me it is because “tomatoes have a special growth internally that causes botulism”….what??!? I totally get NOT water bath canning tomatoes as acid levels can alter, but why add to sauce salsa, etc when pressure canning? I don’t add acid to green beans etc. I would love your opinion.
Also…you rock!!! I love your blog
I’ve never heard or read anywhere the tomatoes have a special growth internally that causes botulism. I’ve always heard it was because acidity can vary widely in tomatoes and the tested / approved times have only been tested with acidified tomatoes – meaning if they weren’t acidified they may actually need a longer processing time in the pressure canner.
The folks over at the National Center of Food Preservation said it best ‘There has not been a properly researched process for pressure canning of low-acid tomatoes without added acid, so the available process times still require the addition of acid as if they are being processed in boiling water.’ You can find their whole article here: https://nchfp.uga.edu/publications/nchfp/factsheets/acidifying.html
Thanks for this very informative post! I find some of the comments pretty useful too! I’m excited to start canning again this year after a few years of just freezing or gifting extra produce from the garden.
Hi Ali from the Hollow here. I used to have a HUGH garden but as the years have gone by its getting to be too much for my Husband and I to manage so..I buy bulk.. I get things on sale and can it up… if carrots are on sale.. I will do up 20 lbs.. chicken breast, pork loins … nothing will escape my canners.. I have them out all year all.. I go to the auctions, farms, and I love my Amish friends.. so save time in the fall and do all year long.. hahahah Blessed Be
The canning tip that has REVOLUTIONIZED my canning is cold product, cold canner!
I switched from pressure canning to water-bath canning tomatoes because after being pressure-canned they would disintegrate when I emptied the jar. Think about it…they’re being cooked at a temperature much higher than the boiling point of water, which must surely destroy nutrients along with the texture. Water bath canning may take longer but if it’s an option I’ll do that.
Check jars for chips before storing for next years use. Saves time. Stick some crushed newspaper in them to keep moisture out while storing.