
I may earn a commission if you click on links in this post and make a purchase.
Don’t settle for a thin piece of foam to protect your knees when you can easily make your own garden kneeler pad. This one uses recycled materials as the stuffing for extra softness and support.
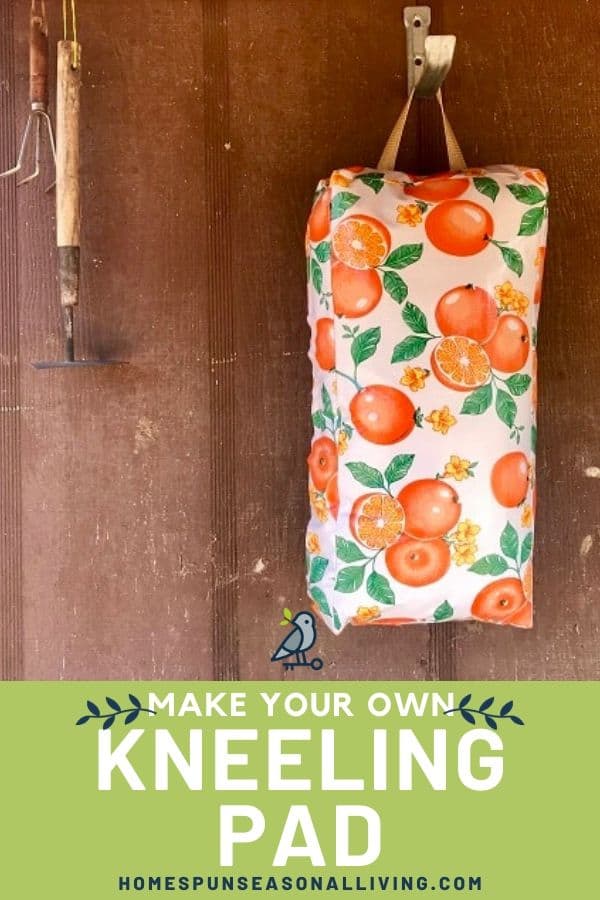
This DIY kneeling pad is made with oilcloth so that it is easy to wipe clean, yet durable for kneeling on the rough ground.
It measures 22″ x 10″ when finished, so there is plenty of room for your knees to rest on the 4″ of plush stuffing.
Garden Kneeler Pad
Oilcloth is both easy to cut and sew. You don’t need a special footer or tools to work with it. Plus, it comes in a variety of vibrant colors that will compete with the beauty of your garden.
With all the designs to choose from, a DIY kneeling pad will make a great gift for the gardener in your life too. How about Mother’s Day? You could even make it into a meaningful care package when combined with gardening tools and seed packets.

DIY Kneeling Pad
Store bought garden kneeler pads are made from a single layer of foam. They typically only last one season after ripping on rocks or just plain wear out. Plus, they don’t offer much support to your knees!
A DIY kneeling pad will last through several gardening sessions, and you will probably find other uses for it in between. My husband grabbed it from the shed to add some comfort to changing a tire. It is also handy when playing in the dirt with our toddler.
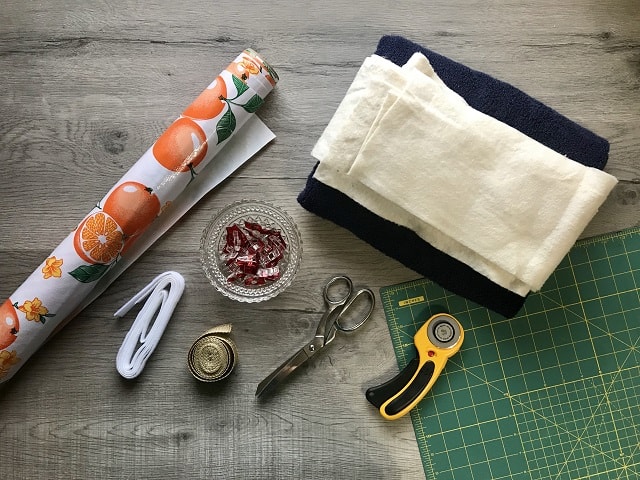
Supplies Needed
- 1 yard Oilcloth
- 21 inches of 3/4″ Hook and Loop (Velcro)
- 12 inches of 2″ wide Vinyl Webbing
- Old Towels, Linens or Clothes
- Coordinating Thread
- Sewing Clips
- Scissors
- Rotary Cutter
- Cutting Mat
- Sewing Machine
Oilcloth is a vinyl fabric that is sold rolls at 47″ wide. Because of the width, you can easily make a garden kneeler pad with just one yard.
Vinyl webbing is sold by the roll, usually at 10 yards or more. It is inexpensive, so go ahead and buy a roll because you will soon find all kinds of projects to use it on.
For the hook and loop, also known as Velcro, made sure it is meant for sewing. You do not want to use the kind with an adhesive backing on this project.
To stuff your kneeling pad, grab some old towels, linens or clothing. Anything soft will work.
How to Make a Garden Kneel Pad
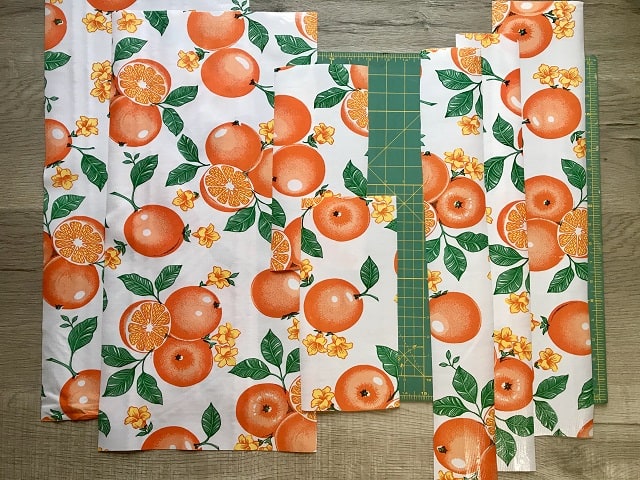
Let’s get started by cutting your oilcloth into all the pieces you will need. Scissors or a rotary cutter and cutting mat will work just fine. Cut out the following dimensions:
- 23″ x 11 (2) – top and bottom
- 23″ x 5″ – back
- 23″ x 2.75″ (2) – front with hook and loop
- 11″ x 5″ (2) – sides
Then cut the vinyl webbing to 12″ and each side of the hook and loop to 21″ so that all the cutting is out of the way.
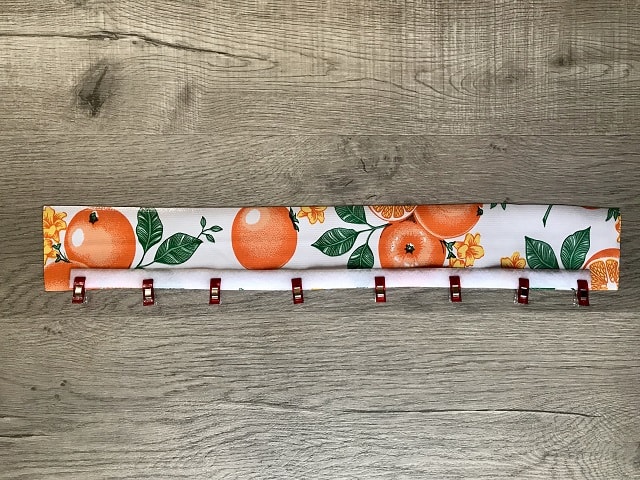
Take one of the front 23″ x 2.75″ pieces of oilcloth, and lay one side of the hook and loop along the edge lengthwise. Then clip it in place.
Do not use straight pins. They will leave holes in the oilcloth.
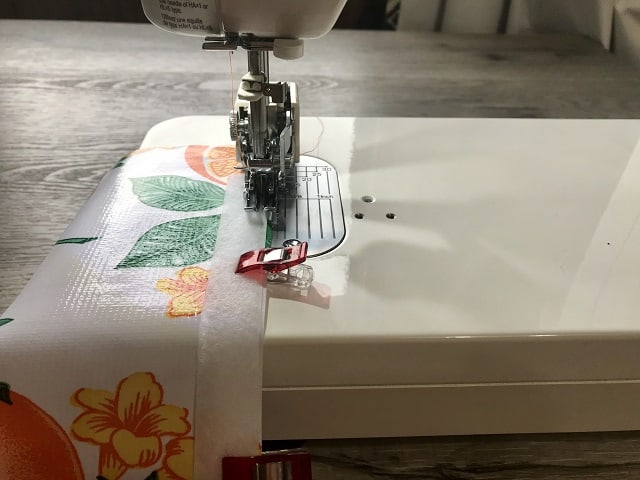
Top stitch the hook and loop all the way around its perimeter with your sewing machine.

For the remaining front piece (23′ x 2.75″), flip it over and clip the matching hook and loop to one edge lengthwise.
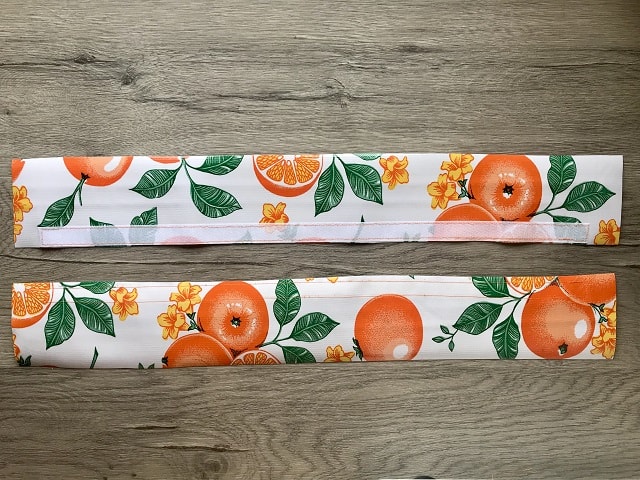
Sew around the perimeter of the hook and loop. You should now have two 23″ pieces of oilcloth with hook and loop sewn to the front of one and the back of the other.
The hook and loop will connect when you overlap these two pieces.
This will later create the opening to stuff your DIY garden kneeling pad.

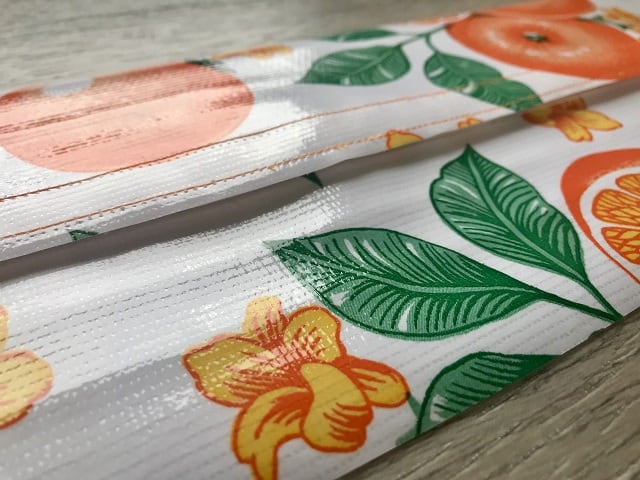
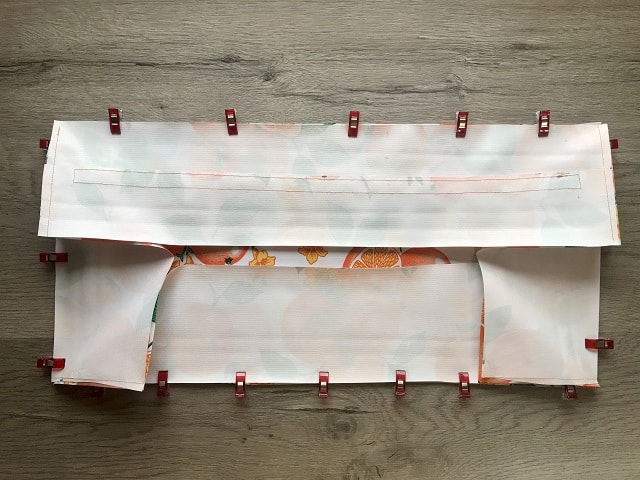
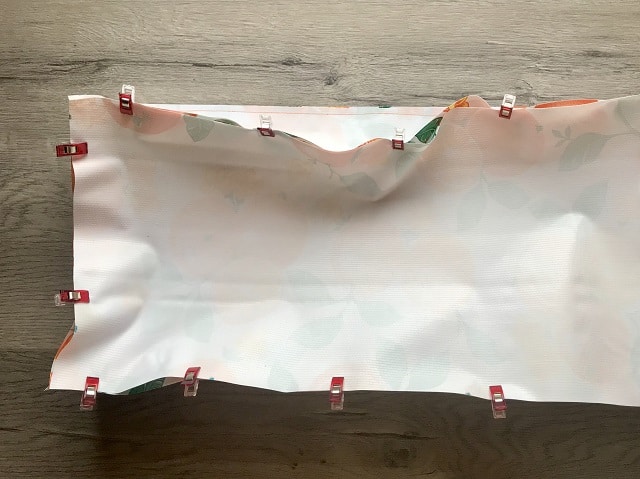
Place one of the side pieces (11″ x 5″) on top of the pieces with Velcro, matching up the shortest edges and with right sides together. Clip in place.
Repeat on the opposite side with the other 5″ piece of oilcloth.
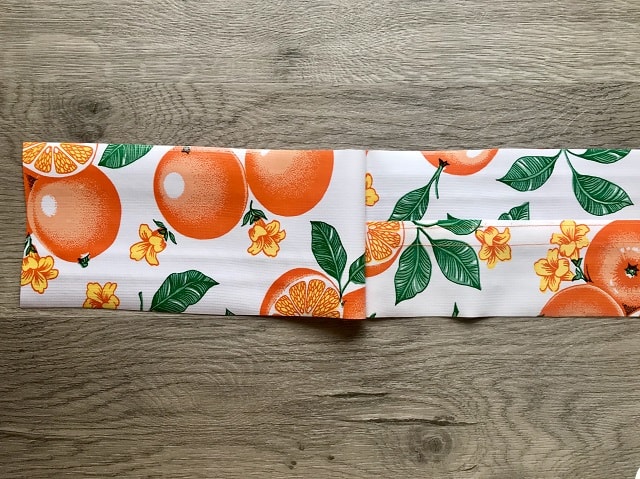
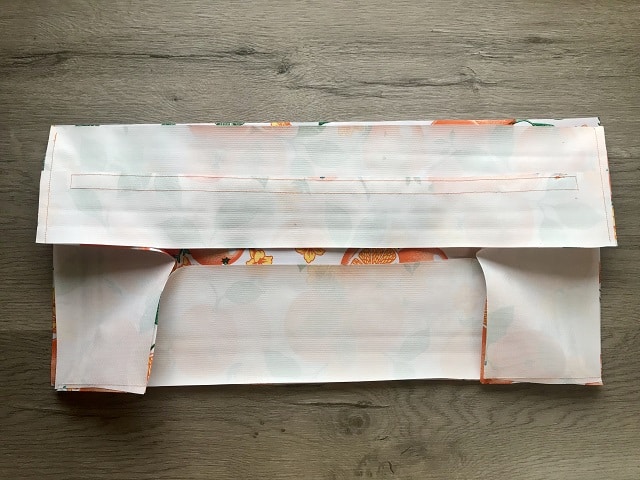
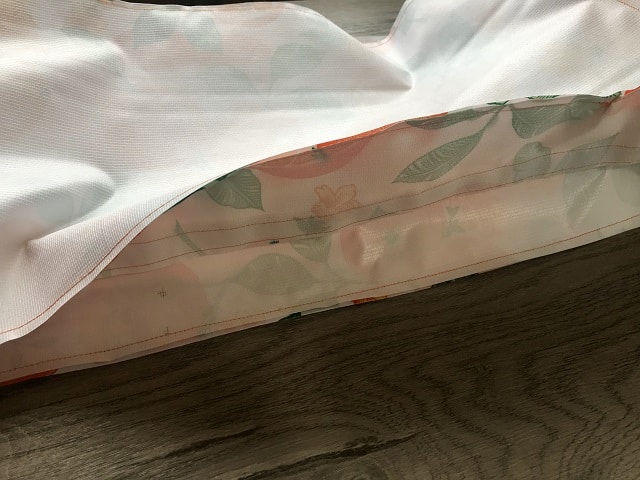
Sew along each edge where the clips where placed. When you open a seam, it should look like the photo above.
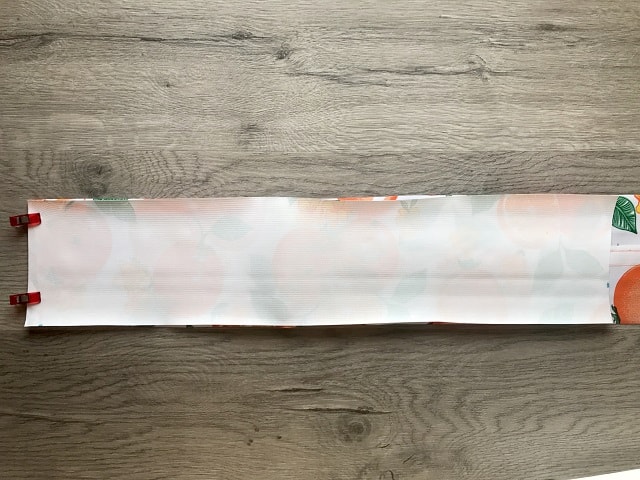
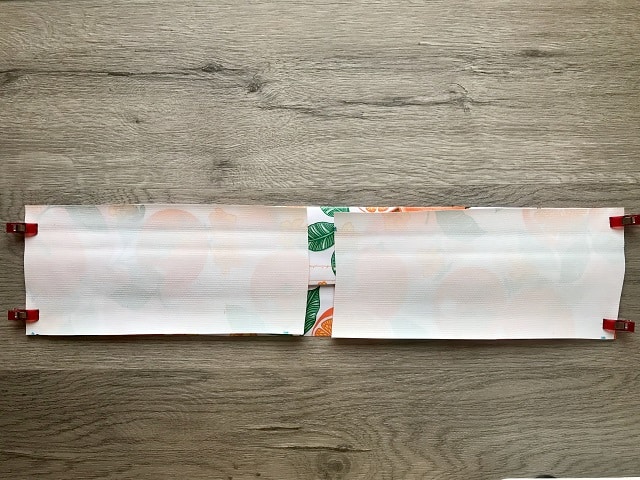
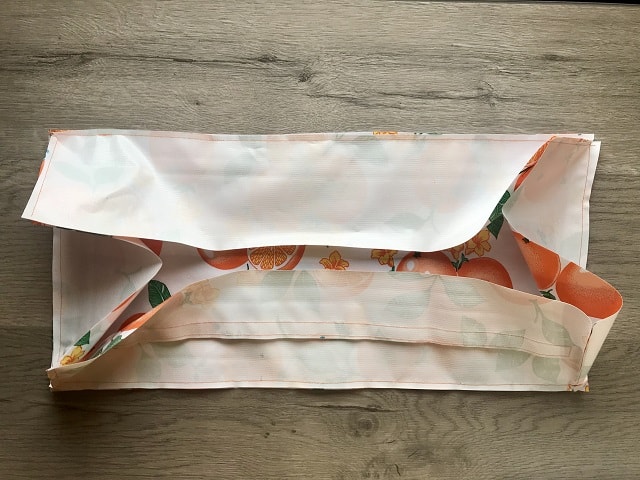
With the seam open, place the back piece of oilcloth (23″ x 5″) on top with right sides together. Clip in place.
Sew down the edge.
Next pull the back piece over to the opposite side piece, still with right sides together. Clip and sew.
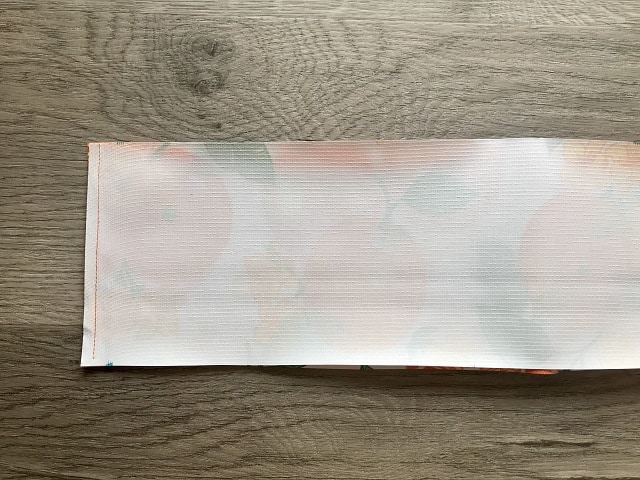
Now it’s time to add the top and bottom.
Lay the sewn pieces on top of one of the largest pieces of oilcoth (12″ x 11″) with right sides together.
Clip to hold being careful to only clip two layers at a time. They will fall onto each other.
Sew around the perimeter again taking care to only sew two layers of oilcloth at a time. You will have to move it around as you feed the kneeler through your sewing machine.
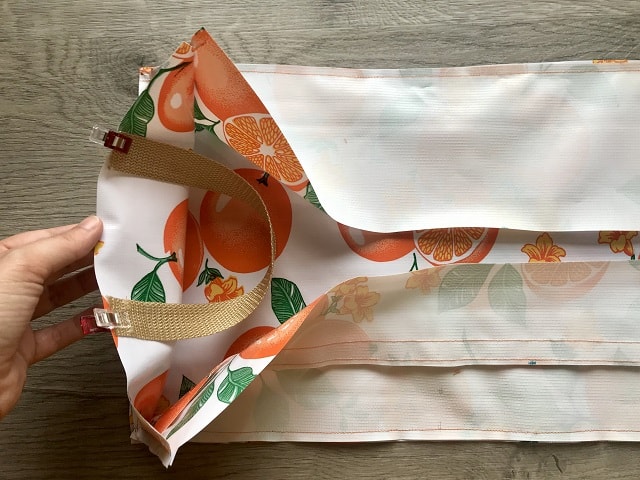
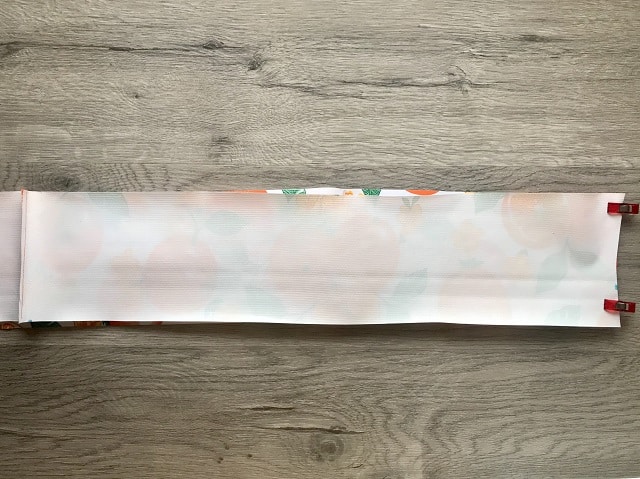
To make the handle, curve the vinyl webbing into a ‘C’ shape. Line up its edges with the inside of one of the side pieces, and pin it in place.
Then open up what you have made so far. It should resemble a box without a lid. Lay the remaining piece of oilcloth (23″ x 11″) on top with right sides together. Clip it in place taking care to keep the handle where it is.

Now sew around the perimeter, including across the vinyl webbing.
You should now have a fully enclosed, rectangle shaped box.
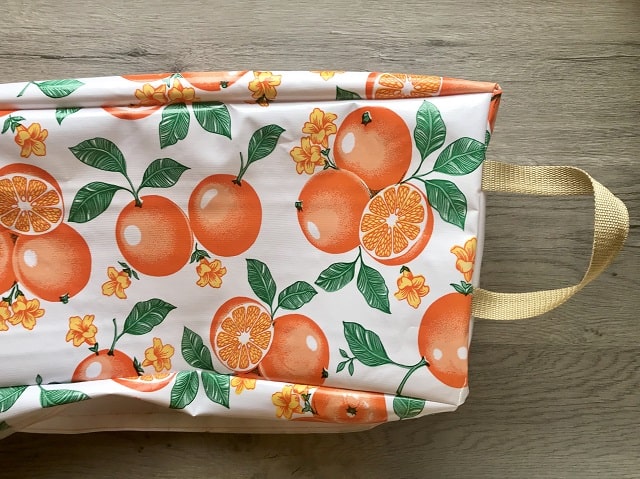
Open up the hook and loop, and turn your kneeling pad right side out.
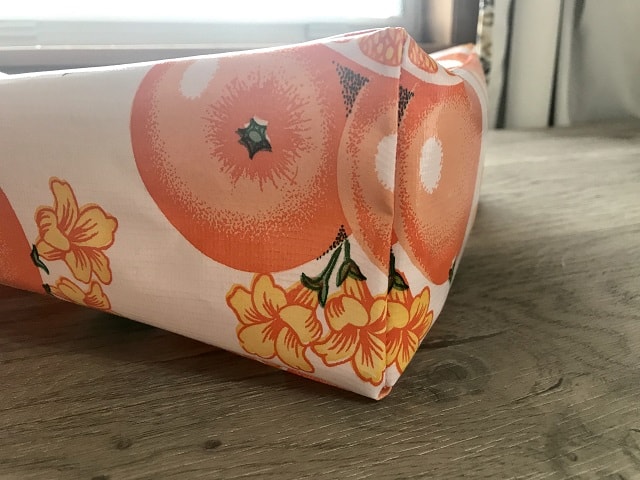
Use your fingers to push the corners out. Do not use a turning tool or chopstick. They can easily damage the oilcloth.
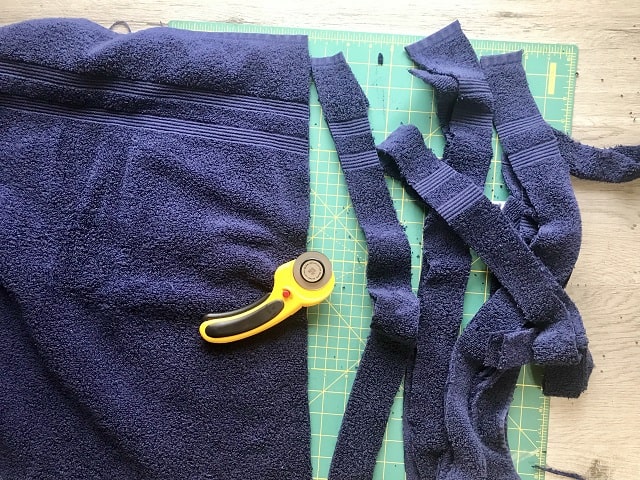
To create the stuffing, use a rotary cutter and cutting mat to cut your material into approximately 2″ strips. This doesn’t have to be exact.
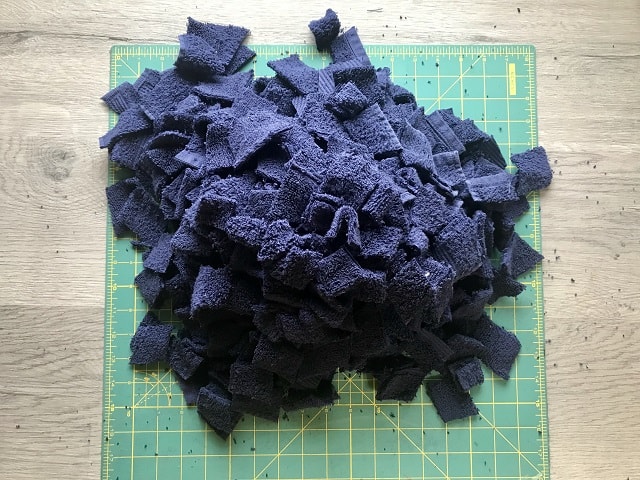
Then cut the strips into squares. Again, this doesn’t have to be exact. Just make the pieces small enough to create a nice cushion.
I had some leftover batting from a quilt I made, so I cut that up too. You will want about three bath towels worth of fabric in total.
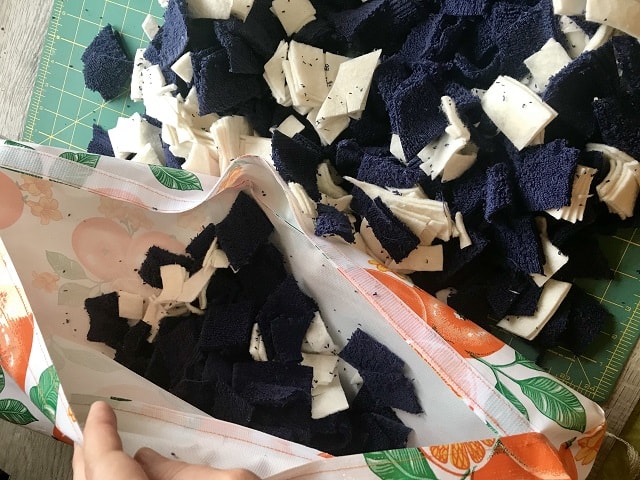
Now stuff the fabric pieces into your garden kneeler until it is fluffy to your liking.
If you enjoyed this project, you might also like to make eco-friendly makeup remover pads or elastic bowl covers to keep all the goodies in that your garden produces.
DIY Garden Kneel Pad
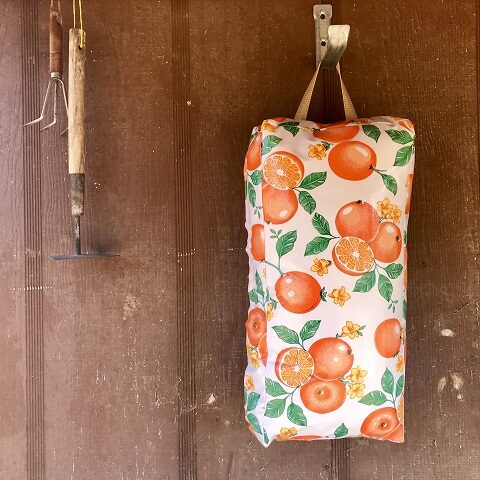
Protect your knees while gardening with a kneeler pad you can make yourself.
Materials
- 1 yard Oilcloth
- 3/4" Hook and Loop
- 2" Vinyl Webbing
- Old towels and/or clothes
- Coordinating Thread
Tools
- Clips
- Scissors
- Rotary Cutter
- Cutting Mat
- Sewing Machine
Instructions
Cut oilcloth to the following dimensions:
23" x 11" (2) - top and bottom
23" x 5" - back
23" x 2.75" (2) - front with hook and loop
11" x 5" (2) - sides
- Cut the hook and loop to 21".
- Place one side of hook and loop to right side of one of the 23" x 2.75" pieces of oilcloth.
- Align to long edge and clip.
- Sew around hook and loop.
- Place opposite hook and loop on the wrong side edge of the matching piece of oilcloth.
- Clip and sew.
- Align pieces to close the hook and loop.
- Place one of the side pieces along the right edge with right sides together. Clip.
- Repeat with other side piece on left side.
- Sew along clips.
- Open seams.
- Place back piece on top with right sides together.
- Clip and sew.
- Repeat on opposite side.
- Lay on top of the bottom piece of oilcloth.
- Clip and sew around perimeter.
- Lift one side, and insert vinyl webbing curved into a handle shape.
- Clip at edges.
- Place the final piece of oilcloth on top.
- Clip and sew, ensuring you sew across the vinyl webbing that is sandwiched in between.
- Open hook and loop.
- Turn right side out.
- Fill with material cut into 2"-3" pieces.
- Close hook and loop.
Notes
Use sewing clips instead of straight pins to avoid poking holes in the oilcloth.
Do not use a chopstick or turning tool to push out the corners when turning inside out. They can easily poke through the oilcloth.
I am so doing 2 of these, Thanks!
Already stuck on first step. Two pieces 2.75″ with 0.75″ hook & loop overlapped (closed) = 4.75″, not 5″, so the closed hook & loop piece does not align with any of the other pieces cut to 5″.
Should the other pieces be cut to 4.75″ instead of 5″?
Or should the hook & loop be 0.5″ instead of 0.75″? Two closed pieces 2.75″ with 0.5″ hook & loop overlapped would = 5″.
Thank you.
Can you please explain more in detail or add video how to attach top or bottom to frame. The top/ bottom measures 23″, but the frame is not 23″. It is shorter because of the seams added in earlier steps. No matter how I try to align, there is always too much material on the top/bottom and if I try to sew there is a lot of bunching.
Hi Sarah. If I’m following correctly, I see two possible solutions for your project: 1) You could add pleats to the top and bottom where needed. Add them with clips first to makes sure everything lines up before sewing or; 2) Cut the top and bottom to match the frame, making a slightly smaller kneel pad.
I have just made my first kneeler. I am so thrilled with this as I have filled it with half a fleece that my husband had from shearing our sheep last year and I had kept. I found the hardest part was sewing the top and bottom pieces around the sides
Congrats! I know it will serve you well.
A little more guidance on fabric choice would have been appreciated. I bought PVC tablecloth from my local fabric shop and have had a lot of trouble with ripping.
I’m sorry for your trouble but we clearly state several times to use oilcloth which isn’t the same as PVC.