
I may earn a commission if you click on links in this post and make a purchase.
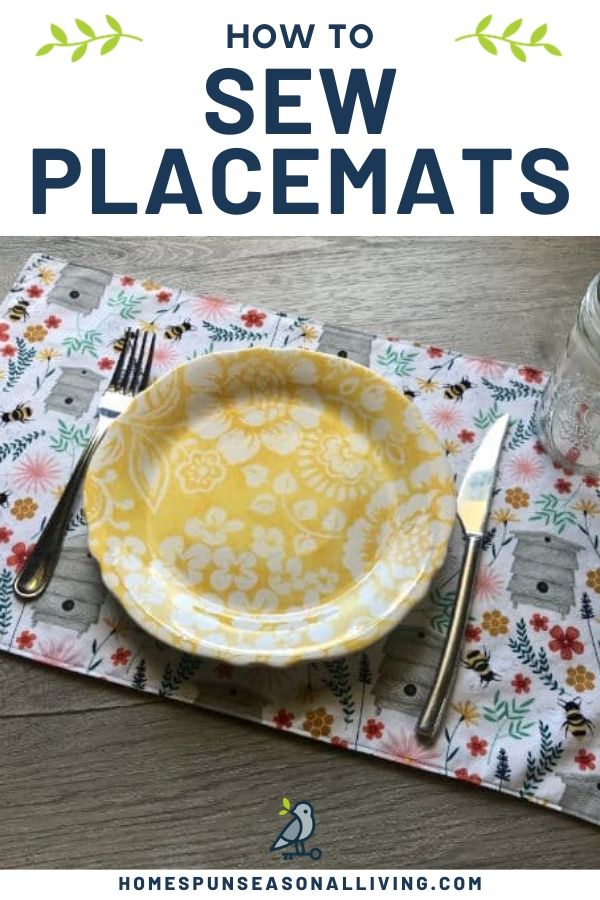
Sewing placemats is one of the absolute easiest sewing projects. It is perfect for children and adults who are learning to sew.
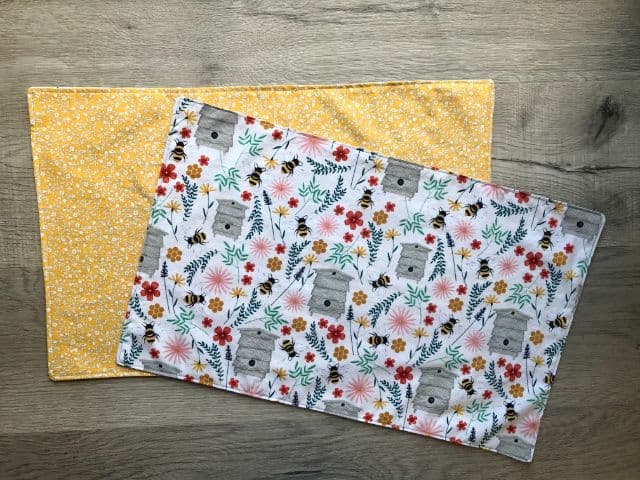
The hardest part is choosing a fabric or two for your placemats. If you use a different fabric on each side, they can be reversible.
This placemat pattern is so quick to sew you will want to make them to set the table for holidays, special occasions, and everyday.
How about a unique fabric for each member of the family?
Stitch along the longs of the paper until you get the hang of your machine. Then move onto sewing placemats when you are comfortable.
Ready to get started?
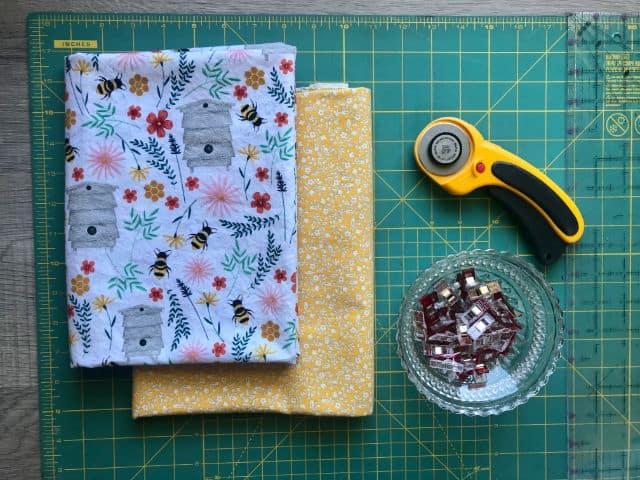
Supplies
- 1 yard Fabric (1/2 yard of each fabric if you are using two)
- Coordinating Thread
- Sewing Clips
- Rotary Cutter
- Acrylic Ruler
- Cutting Mat
- Iron
- Ironing Board
- Sewing Machine
It is best to use 100% cotton fabric for this project. Quilting cotton is available in tons of prints and is a good choice.
It is prone to shrink, so wash, dry and press the fabric. Then make sure square up the fabric before cutting it too.
How to Sew Placemats
Begin by cutting your fabric into 13″ x 20″ rectangles. You will need two rectangles for each placemat.
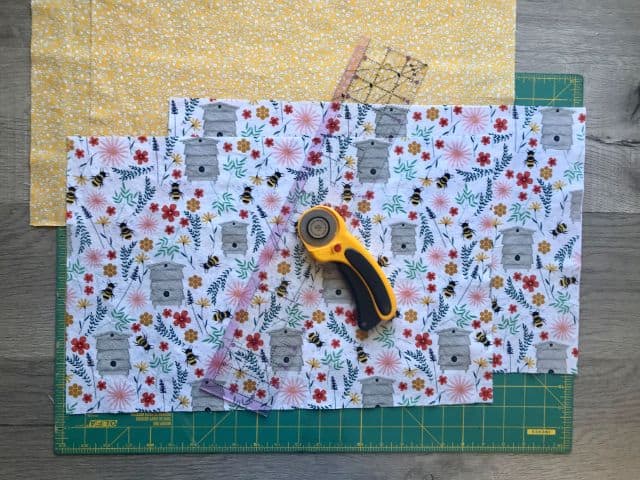
Layer two of the rectangles on top of each other with right sides together.
Align the edges, then use sewing clips or straight pins to hold them in place.
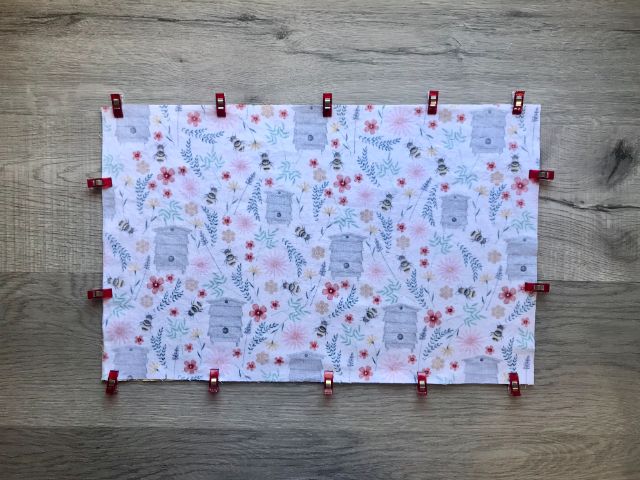
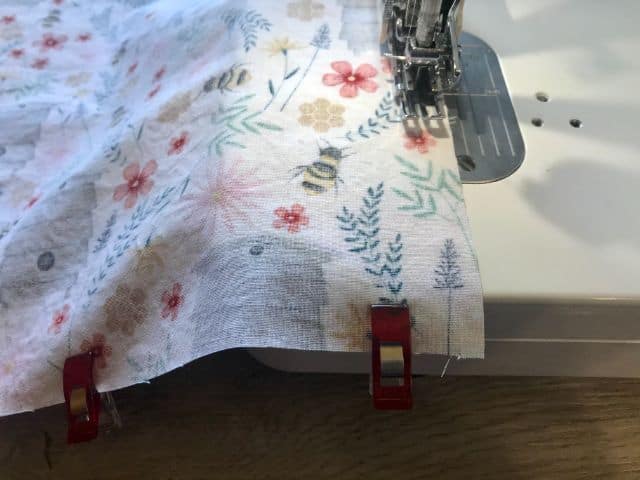
Now use your sewing machine to sew around the perimeter using a 1/4″ seam allowance. Leave a 4″ opening on one side for turning.
When approaching a corner, stop sewing one seam allowance away from the edge. Then lift the footer. Turn the fabric, and continue sewing down the next side.
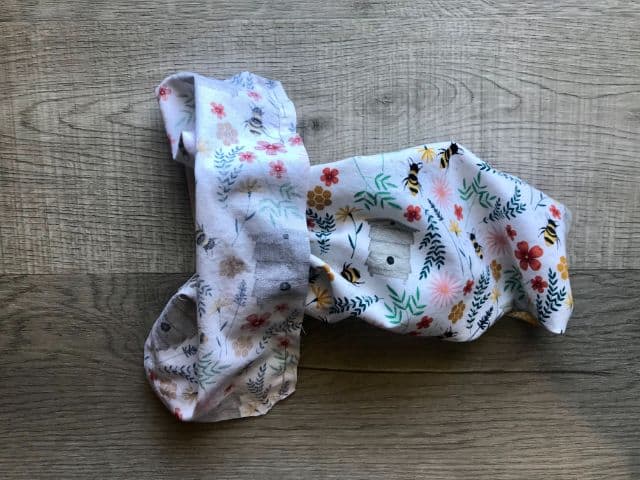
Next, reach through the opening and turn the placemat right side out.
A turning tool or chopstick can be helpful to gently press the corners out to a point.
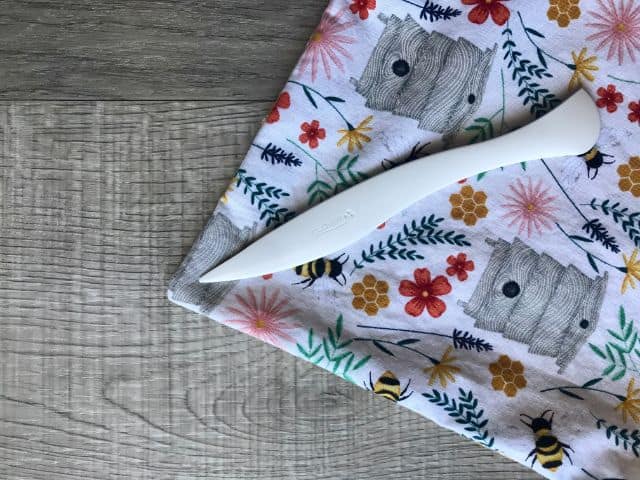
Press the placemat. (Don’t skip this step! Pressing is important to achieve a professional looking sewing project.)
Tuck the opening into itself, and clip to hold.

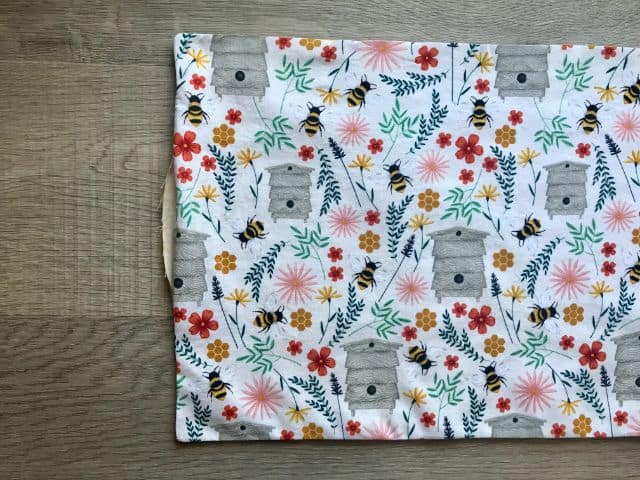
Finally, top stitch all the way around the placemat as close the edge as possible with your sewing machine.
You made a placemat!
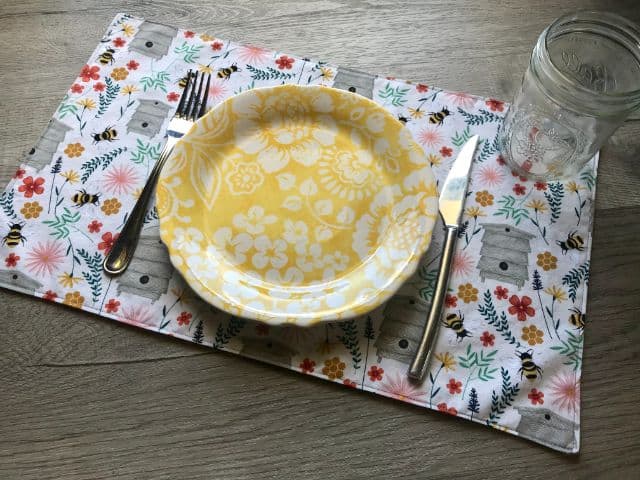
The fabric will hold up well to crumbs and spills. Launder the placemats when needed. Pressing after laundering may be needed.
Placemat Sewing Pattern
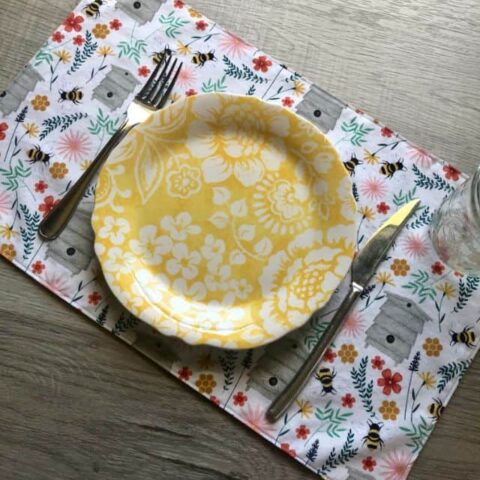
Follow this simple sewing pattern for how to make placemats.
Materials
- 1 yard Fabric (1/2 yard of each fabric if you are using two)
- Coordinating Thread
Tools
- Sewing Clips
- Rotary Cutter
- Acrylic Ruler
- Cutting Mat
- Iron
- Ironing Board
- Sewing Machine
Instructions
- Wash, dry and press fabric
- Square fabric
- Cut four rectangles 13" x 20"
- Stack two rectangles with right sides together
- Clip and repeat for remaining rectangles
- Sew with 1/4" seam allowance, leaving 4" gap
- Turn right side out
- Push out corners
- Press
- Close gap and clip
- Top stitch around perimeter
Notes
100% cotton fabric is recommended
I have some fabric with a chicken print to match my kitchen… or use the fabric with the veggies. Both would look great. Thanks for the idea.
Fat quarters would work for this.
Thanks Kathy. I lived just a block from you in C. Falls and really enjoyed a few classes that you had. Was thrilled to find you here
Thanks so much for stopping by here!