
I may earn a commission if you click on links in this post and make a purchase.
Here is a great way to upcycle flannel shirts into handkerchiefs. Follow this step by step handmade handkerchief pattern to make your own.
These DIY flannel hankies are sure to become favorite homemade and frugal resources around your home for cold season and everyday use.
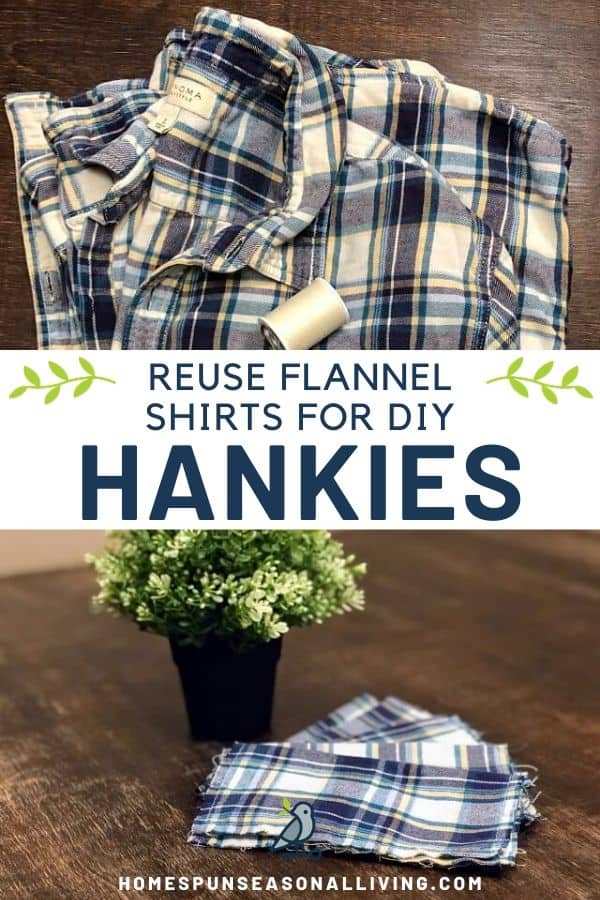
Upcycle Flannel Shirts Into Handkerchiefs
Handkerchiefs, also known as hankies, are hemmed squares of fabric. People carry them for hygiene reasons, or display them in a suit jacket pocket as a fashion accessory.
Making and using hankies is a great way to slow down the pace of life and live more intentionally.
Making them yourself from flannel shirts is a wonderful sewing project for beginners. Practice sewing straight lines by following the lines on the flannel. There’s no problem if you go astray because the edges will fray over time to hide any imperfections.
Handkerchief Uses
The most common use for handkerchiefs to to blow your running nose. Men traditionally carry hankies and offer them to ladies as a chivalrous act. Here are some more handkerchief uses you may not know:
- A soft cloth to clean your glasses
- Cover your mouth for a makeshift dust mask
- Wipe sweat from your brow
- Coaster for a hot or cold drink
- A washcloth for bathing
- Sustainable toilet paper
Reasons to Use a Handkerchief
Handkerchiefs are more sustainable than tissues, especially if you upcycle them from flannel shirts. Give the flannel new purpose, and use them over and over again.
They not only save on waste, they save money too. Tissues, and toilet paper if you use hankies as a replacement, are expensive to purchase. This quick sewing project will reduce your shopping expenses.
Hankies are also more gentle on the skin than paper tissue. The flannel is soft, and you can be assured there are no chemicals or unwanted additives on them.
Supplies to Make Handkerchiefs
- Flannel shirt
- Coordinating thread
- Scissors
- Optional: Rotary cutter and cutting mat
- Iron
- Ironing board
- Sewing machine
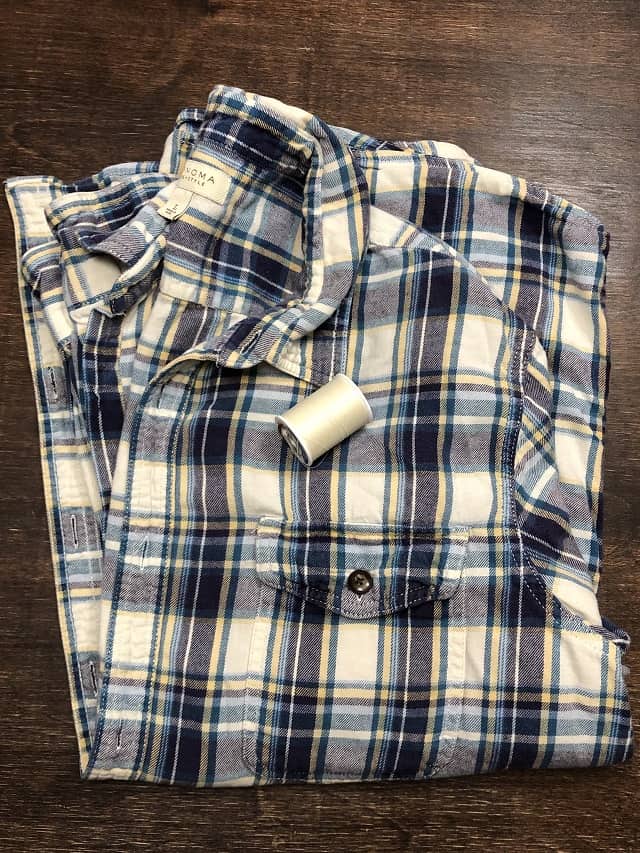
Choose a flannel shirt from your closet or the thrift store. The larger the shirt, the more hankies it will yield.
How to Make Handkerchiefs
First, you will need to take the flannel shirt apart to get the most fabric squares possible out of it.
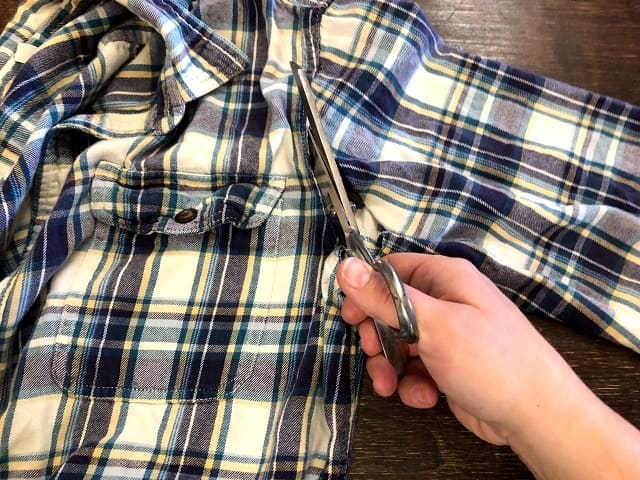
Begin by cutting off both sleeves where they meet the rest of the shirt with scissors. Set these aside for now.
Then cut the front where the buttons meet the collar and straight across the shoulder. Repeat for the other side.
Next, cut straight across the back of the top of the shirt.
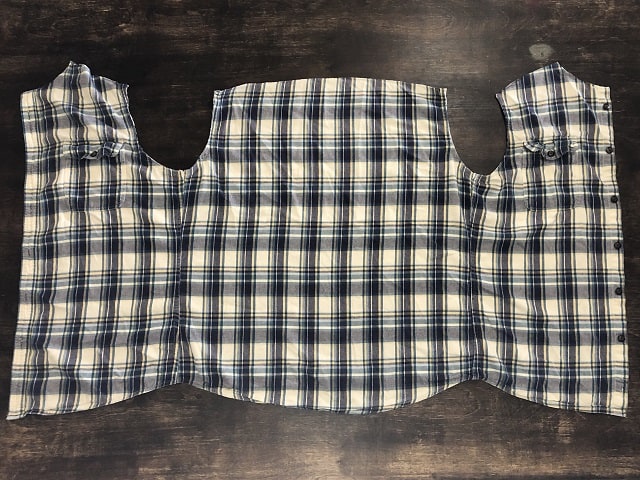
Cut up both side seams to create three panels of fabric.

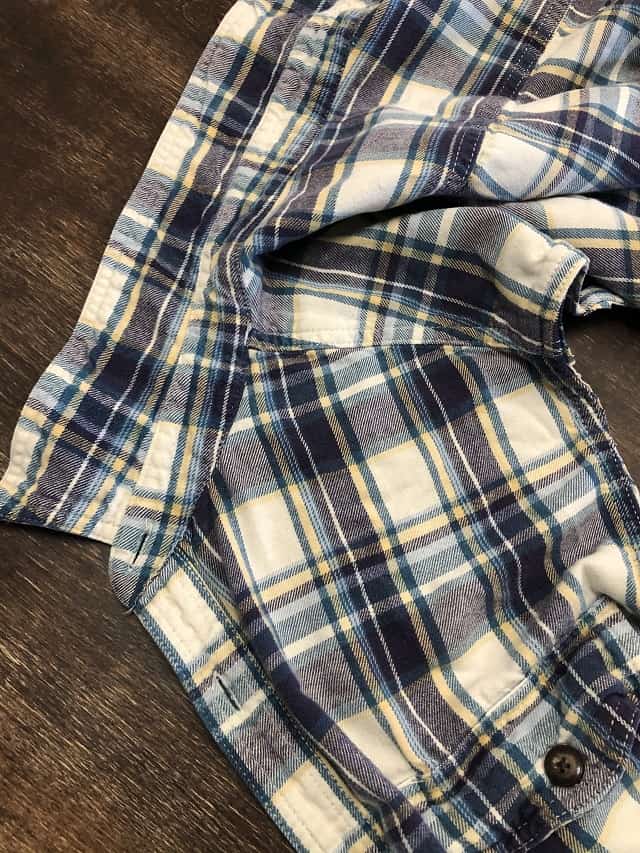
Now cut off all hems. These can cause the fabric to bunch and pull, so it doesn’t lie flat for cutting squares.
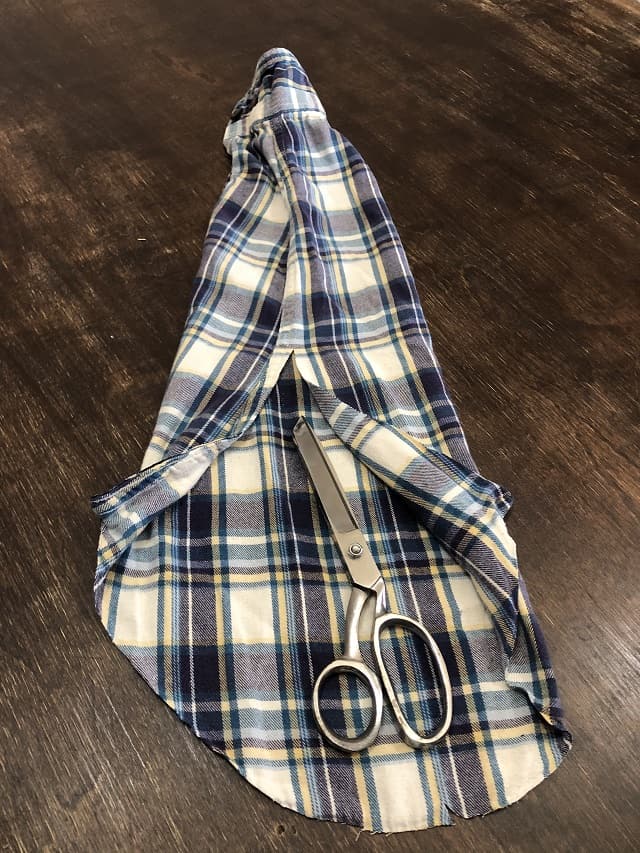
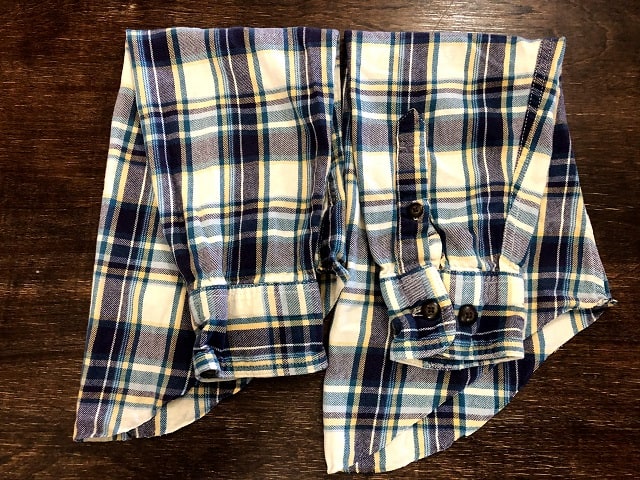
Take the sleeves, and cut along the seam all the way down. Then cut off the cuffs.

Press all panels of fabric with an iron and ironing board to make them flat and free of wrinkles.
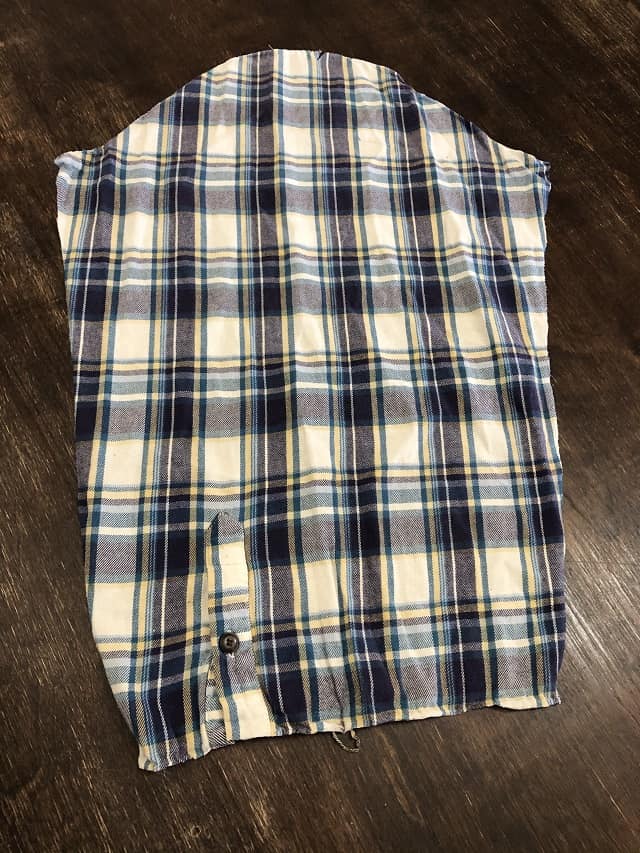
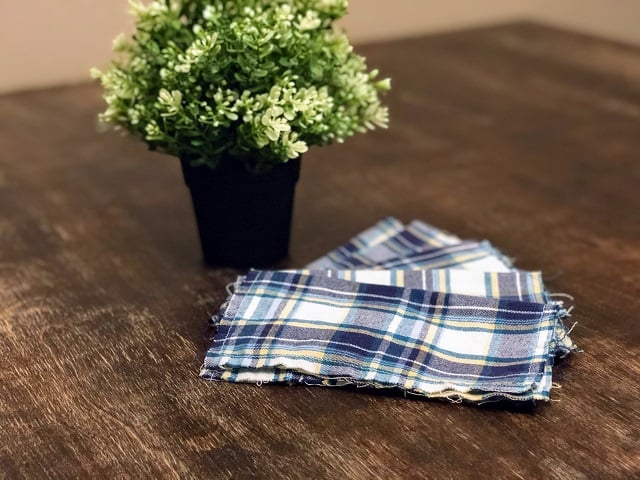
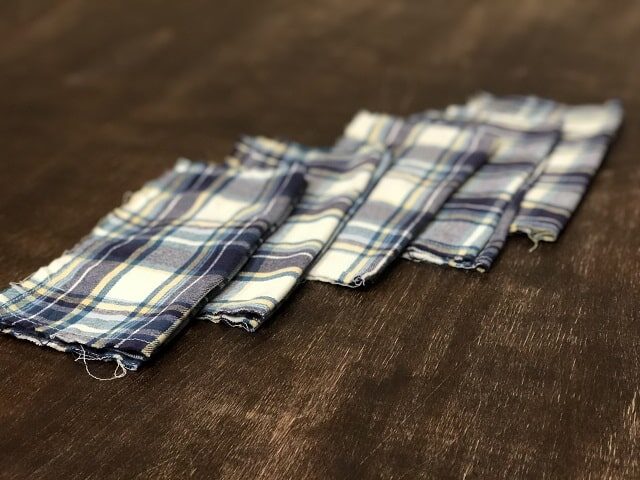
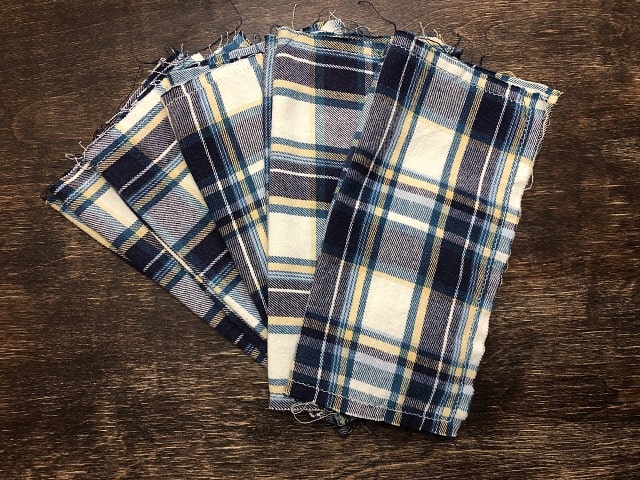
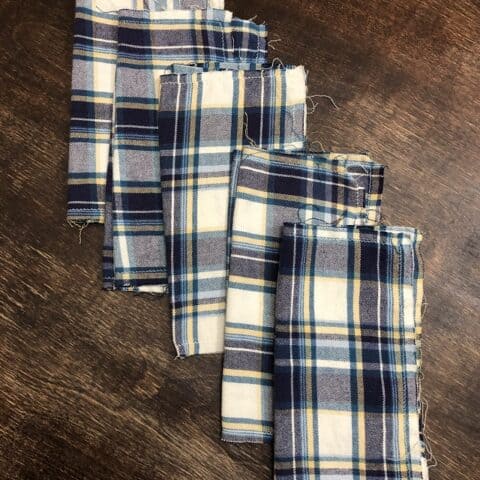
Look at your pieces and think about how you can cut as many 8″ x 8″ squares as possible from the fabric. A men’s size large shirt will yield 8-10 squares.
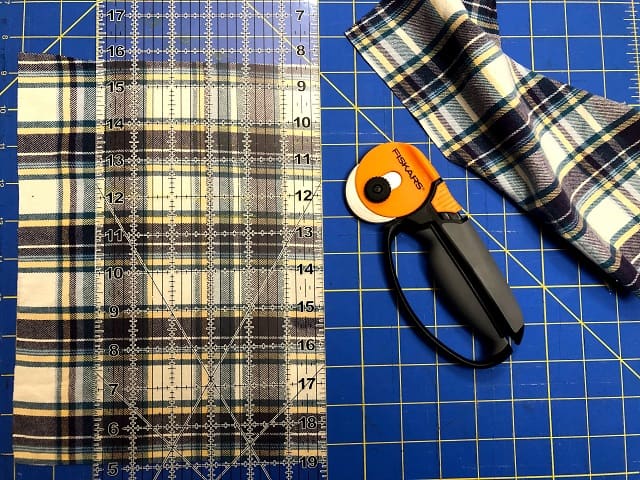
A rotary cutter and cutting mats makes cutting out the squares quick and easy. You can also use scissors if you prefer.
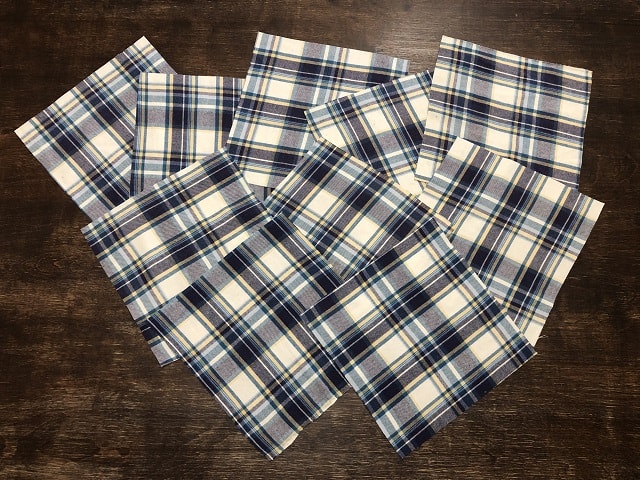
Now your hankies are ready to sew. Stitch around the perimeter of each square with a 1/2″ seam allowance. If your machine can do special stitches, a stretch zigzag stitch will allow the fabric to lay flat and hold up best over time.
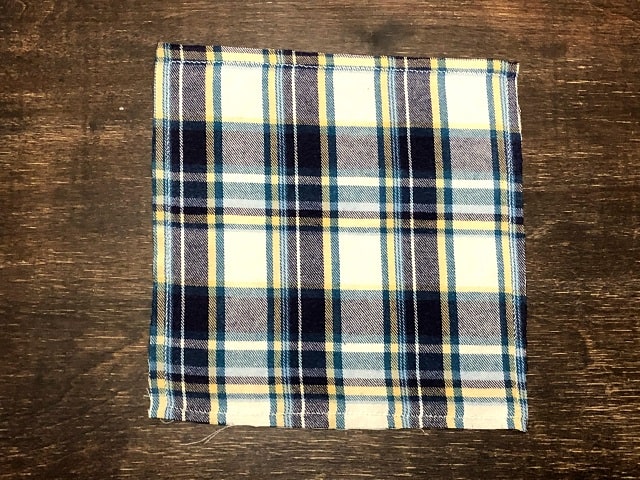
Continue sewing the perimeter of each square until they are all stitched.
You successfully upcycled a flannel shirt into a set of handkerchiefs! You can follow a similar process to make rice hand warmers out of flannel shirts too.
Caring for Your Handmade Handkerchiefs
Wash and dry your handkerchiefs as you normally would. This process will cause the flannel to fray around the edges over time.
The more you use them, the more rugged look they will take on, but the hankies will not fray beyond your line of sewing.
Upcycle Flannel Shirts Into Handkerchiefs
Easily upcycle flannel shirts into handkerchiefs with this simple sewing project.
Materials
- Flannel Shirt
- Thread in a Coordinating Color
Tools
- Scissors
- Iron
- Ironing Board
- Sewing Machine
Instructions
- Cut off both sleeves with scissors.
- Cut across top front of shirt across the shoulders.
- Cut straight across the top back of the shirt.
- Cut up both seams.
- Cut off all hems.
- Cut the sleeves along the seam.
- Cut off cuffs.
- Press all flannel pieces.
- Cut as many 8" x 8" squares as possible.
- Sew around the perimeter of each square in a stretch zigzag stitch with a 1/2" seam allowance.
Notes
The size of your flannel shirt will dictate the number of handkerchiefs you can produce. The bigger the shirt, the more hankies!
I love this idea! Just before Christmas I had one of those colds where I’d used so many tissues the skin under my nose was raw and sore…flannel definitely would have been more comfortable (as well as eco-friendly). I’ll look for a flannel shirt or two next time I’m at the thrift store. This project seems simple enough that even I should be able to brave the sewing machine for it! :)
I ran out of tissues last year in the middle of a bad cold and improvised with some extra flannel I had lying around. Since then I’ve been a handkerchief convert! Sooooooo much softer than tissues and not as gross as I thought it would be. I’ll still need some serious convincing before I try to use it as toilet paper though. 😂
Such a good idea! The leftover pieces that are too small for anything else can be used to wipe out greasy pans, so that less fat goes into the drains.
I bought a few lengths of flannel nursery fabric when a well named fabric store was going out of business. I cut my cloths 6×6 and gave them to all grandchildren as gifts. Two year old granddaughter loves to walk around with a hankie in her pocket (remembering to use it needs a reminder but it’s a start). The Mamas love that they are reusable and can be used for more than a nose wipe. After these were successful, I made some larger ones for me. My nose has been much happier since using flannel hankies.