
I may earn a commission if you click on links in this post and make a purchase.
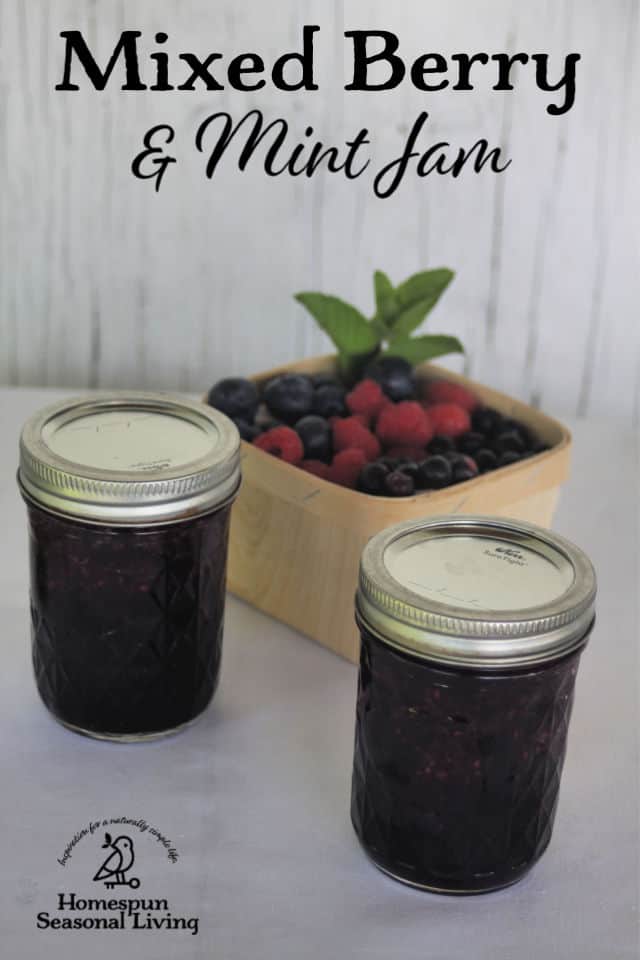
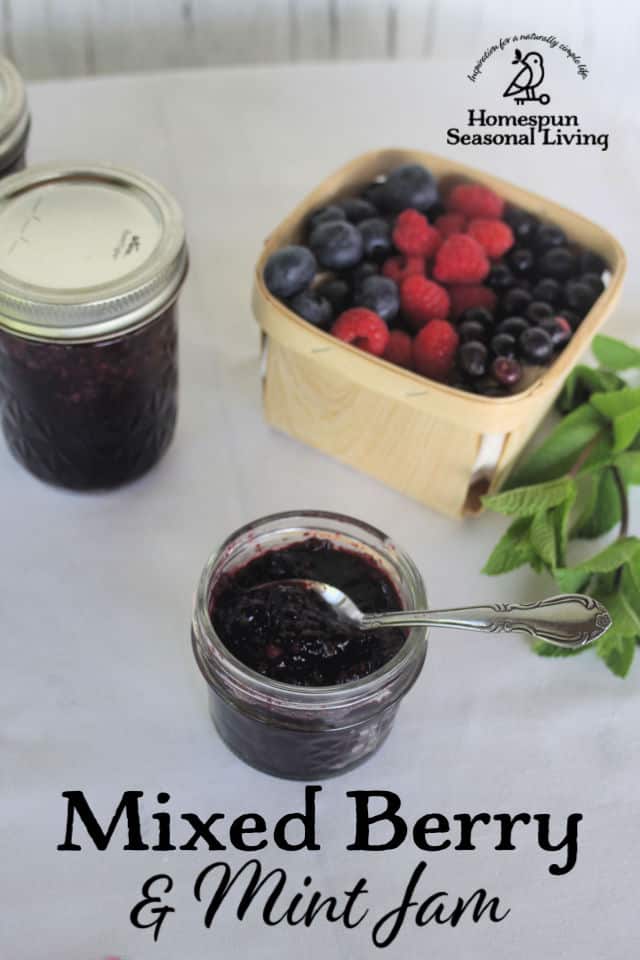
Mint and mixed berry jam is an amazing combination of summer flavors that you’ll be glad is in your pantry come winter. It will also make an amazing gift for the holidays.
Any Combination of Berries
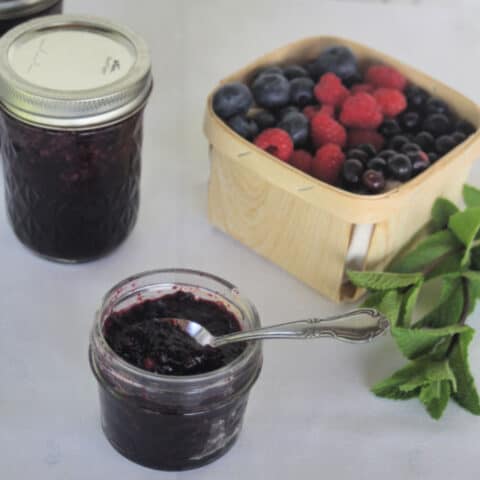
Truly use whatever combination of summer berries you happen to have on hand. I used raspberries, saskatoon berries, and blueberries. And don’t worry about the specific ratio – You need 5 cups. Just make it 5 cups.
In my recipe, I used more raspberries than the others simply because I had more. The reason was that basic and not any kind of culinary decision.
Using a combination of berries also means that you can balance out more tart berries with sweeter ones with ease.
Any Mint Will Be Tasty
Whatever variety of mint you have growing will work. I used just a generic mint but spearmint, apple mint, chocolate mint, etc. will all be tasty.

In fact, chocolate mint would probably be extra tasty and I wish I had thought of it with this batch. Oh well, the next time.
The recipe calls for 1/3 cup of chopped mint. This is going to leave a strong mint flavor. Feel free to decrease the amount to have just a hint of mint flavor.
Use a Fine Chop
Chop that mint super finely. This is important for a couple of reasons. The first being so that the flavor gets dispersed. And the second – this is jam not salad, no one wants a giant leaf on their toast or pancake.
Mint Infused Honey
This jam is simply sweetened with just a bit of honey. Now, regular honey will work deliciously. However, if you have some mint infused honey on hand use it here.
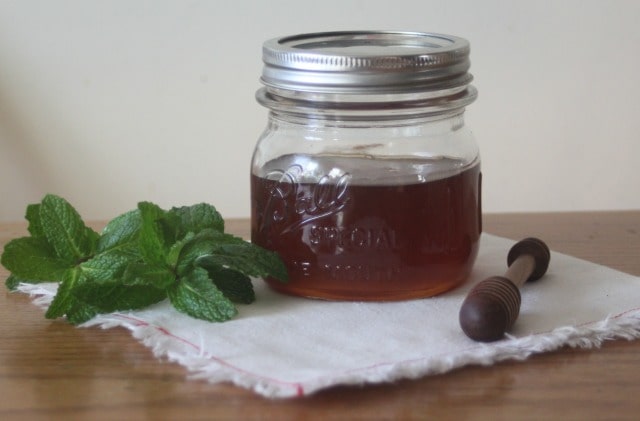
The mint infused honey will add another layer of sweet mint flavor to the jam that is quite delightful.
Pectin
You could skip the pectin and cook until the gel point is reached. I often make jams this way. However, there are times when I simply don’t want to spend 20 minutes stirring jam until that happens.
Enter pectin. The pectin means less cooking and getting out of the kitchen faster. Do what works for you.
If you choose pectin, you will need a low sugar pectin here otherwise there’s not enough sugar / honey to gel with the regular kind.
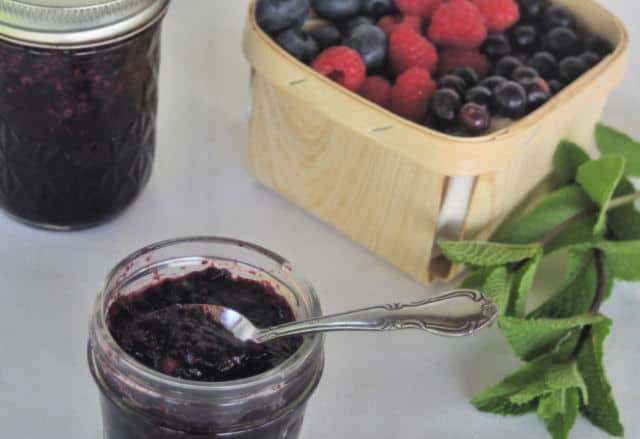
How to Use Minted Mixed Berry Jam
This is a tasty jam but the mint isn’t likely to combine favorably with peanut butter in your lunch box. At least it doesn’t for me and I’m a huge peanut butter fan.
The jam is delicious on plain toast. It’s excellent with cream cheese on bagels or crackers.
Beyond using it as a basic spread, consider topping your bowl of ice cream with it. Mix it with some vanilla ice cream for a delicious milkshake.
Spread some on simple pound cake and add some whipped cream to dress up the basic cake.
An Amazing Gift
This is an unusual jam that is sure to delight the adults on your list. Be sure to give jars with some homemade bread for a fun gift basket.
Minted Mixed Berry Jam
Minted mixed berry jam is a flavorful combination of herbs and summer berries in spreadable form perfect for eating and sharing.
Ingredients
- 5 Cups Mixed Berries
- 3 Tablespoons Ball Low Sugar Pectin
- 2/3 Cup Water
- 2 Tablespoons Lemon Juice
- 1/2 Cup Honey
- 1/3 Cup Chopped Mint, loosely packed (may use less)
Instructions
- Get boiling water canner ready. Have jars. lids, and rings, standing by.
- In a saucepan, crush the berries (use a potato masher). Add the water, pectin, and lemon juice. Mix well making sure the pectin doesn't form lump.s
- Over high heat, bring the mixture to a boil that cannot be stirred down.
- Add the honey and mix well. Bring the mixture to a boil again and boil hard for 1 minute.
- Remove from heat and stir in the chopped mint.
- Pour the jam into prepared jars, leaving 1/4" inch headspace.
- Place lids and tighten rings.
- Process in a boiling water canner for 10 minutes, adjusting time for elevation.
You never told us when to add the mint! Please do…
It is in step 5.