
I may earn a commission if you click on links in this post and make a purchase.
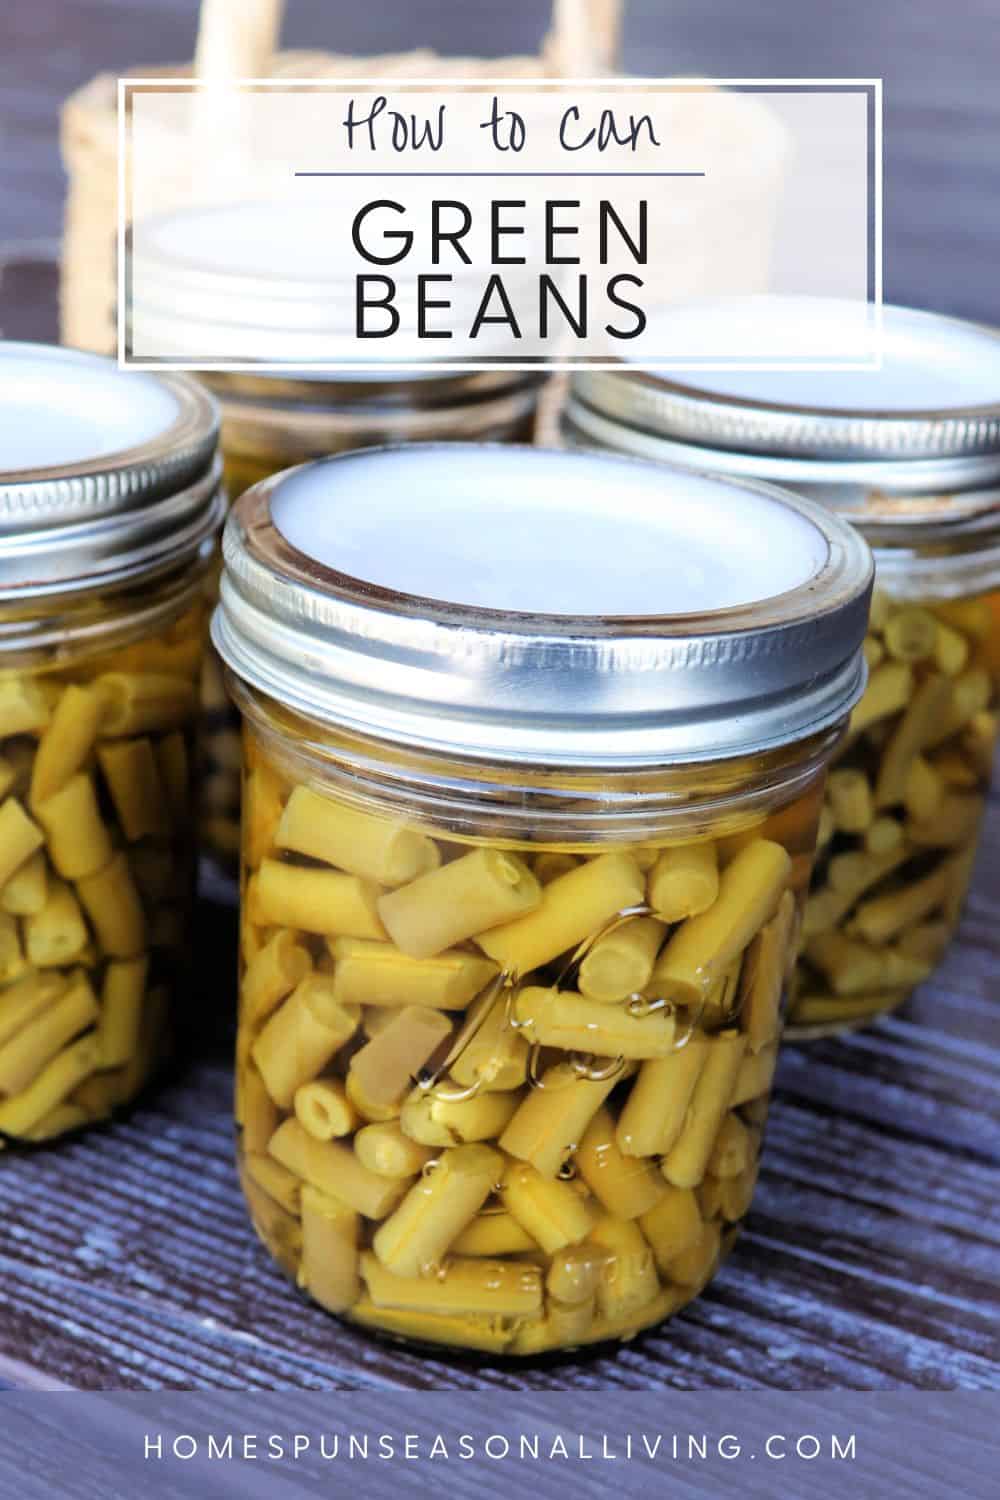
When the garden or CSA is providing copious amounts of fresh green beans, grab your pressure canner and cold pack them for an easy an wonderful preserve to fill out meals all winter long!
Using the cold pack method for green beans is quick and efficient and I’ve learned a few tricks over the years to spread the task out during the busy season to make it even easier.
This easy pressure canning method is a great way to fill the pantry with beans to fill out your winter meal plans in soups, casseroles, and more.
Breaking the Task Up
If you’d like to break this task up to handle after work in stages or simply because life is busy, here are a few tricks for you.
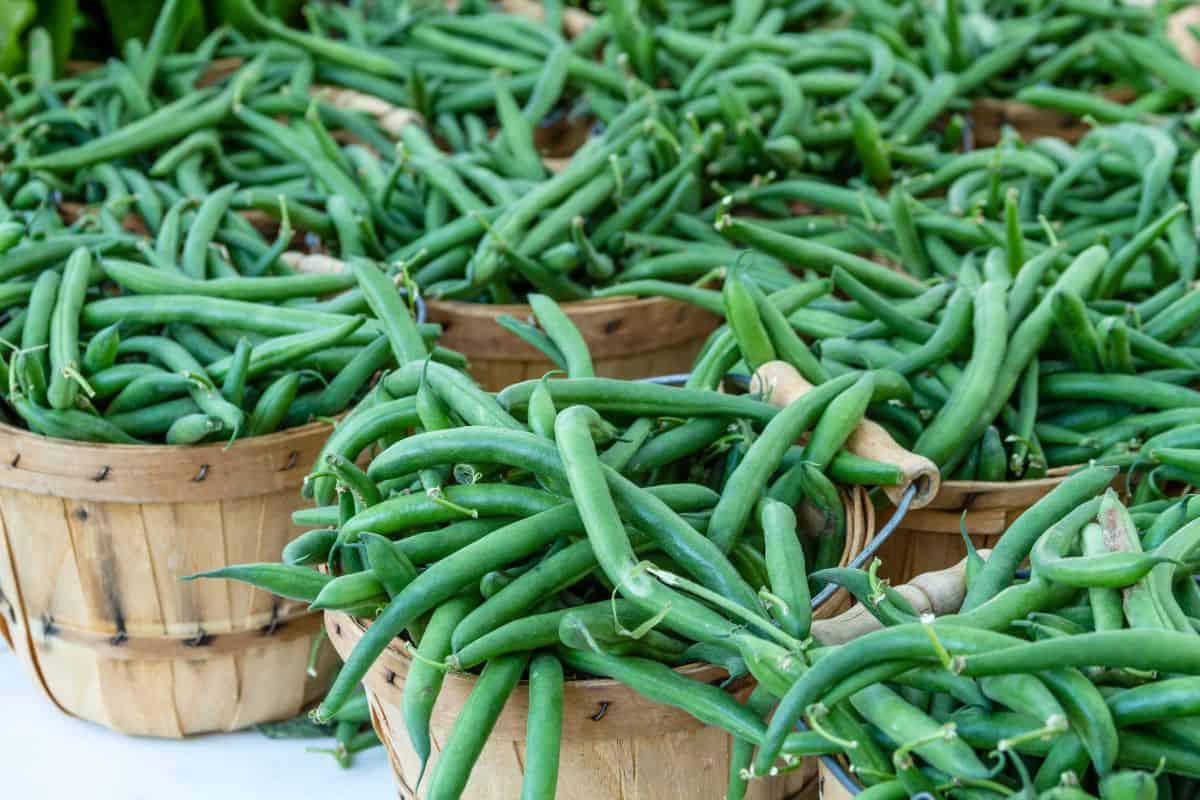
Day 1 – Harvest
Gather your fresh beans from the garden. Wash beans, let them air dry and then put them in the fridge in a large container. If you’re getting them from a market or CSA, feel free to tuck them away for a day or two as long as the beans are quite fresh.
Yield – You’ll need about 14 pounds for 7 quarts or 9 pounds for 9 pints. You can obviously do more or less based on what you begin with in terms of pounds of beans.
Day 2 – Snap
On a quiet evening or day, snap beans into 1-inch pieces. If you are using beans with strings, remove them now. You can do this by actually snapping them between your fingers, or like me using a very sharp knife to just cut through a bunch at once. Again put those pieces into a large lidded container and place in the fridge overnight, if desired.
Day 3 – Can
This is the day to preserve those beans. Get your canning jars and pressure canner ready to follow this quick method.
Type of Beans
This raw pack method will work for most any type of raw green beans – bush beans, pole beans, wax beans, etc. As in all things in home canning use the best grean beans you can find for best results.
Pressure Canning
Low acid foods should be processed in a pressure canner. I’ve read the articles saying you can use a water bath method for several hours – I’m not going to recommend that. Honestly, it’s so fast and easy in the pressure canner I can’t imagine why anyone would want to spread the process out for so long and take the chance with water bath canning.
Prepare the Canner
Fill the canner with the recommended amount of water, canner directions vary by manufacturer and model – follow the directions for your specific canner.
Place the rack in the bottom of the canner and allow the water to heat.
Prepare Jars
Decide whether you want to can in pint or quart jars. This is merely a preference based on how your family will eat them. A household of two, likely will only go through a pint at a time whereas a household of 4 or more may go through a quart at time. Use what is best for you and allows you to prevent waste.

Wash – Clean your jars with hot soapy water making sure to remove any dust, dirt, etc. Prepare enough jars to do a canner load at a time – the load will vary based on individual canners.
Inspect – Look at your jars as you wash them and make sure there are no chips or cracks before filling them.
Heat – There was a time when every canning process required sterilized jars prior to filling. This is no longer true for pressure canning. You can forget worrying about sterilizing jars. Heating the jars prior to filling is necessary to prevent breakage. You can heat the jars in a hot rinse dishwasher cycle or by heating them in some boiling water.
Preparing Lids
Follow the directions for preparing the canning lids prior to canning on the box or by the manufacturer. Most single-use lids no longer need to be heated prior to use but again read and follow the manufacturer’s directions.
If using reusable lids with the plastic lid and rubber ring, those generally need to be heated prior to use – again follow the manufacturer’s directions so that your jars properly seal.
Boiling Water
Cold packing means the green beans are placed in the jars without cooking them first. However, you will still need to add boiling water so get a big pot of water boiling over high heat while you fill your jars.
Salt
You can add salt to your beans, if desired. The salt is for flavor not preservation and can be skipped. I often don’t add salt to my beans, choosing instead to season when I cook with the beans later but follow your own preference.
The general recommendation is for 1 teaspoon of canning salt per quart or 1/2 teaspoon per pint.
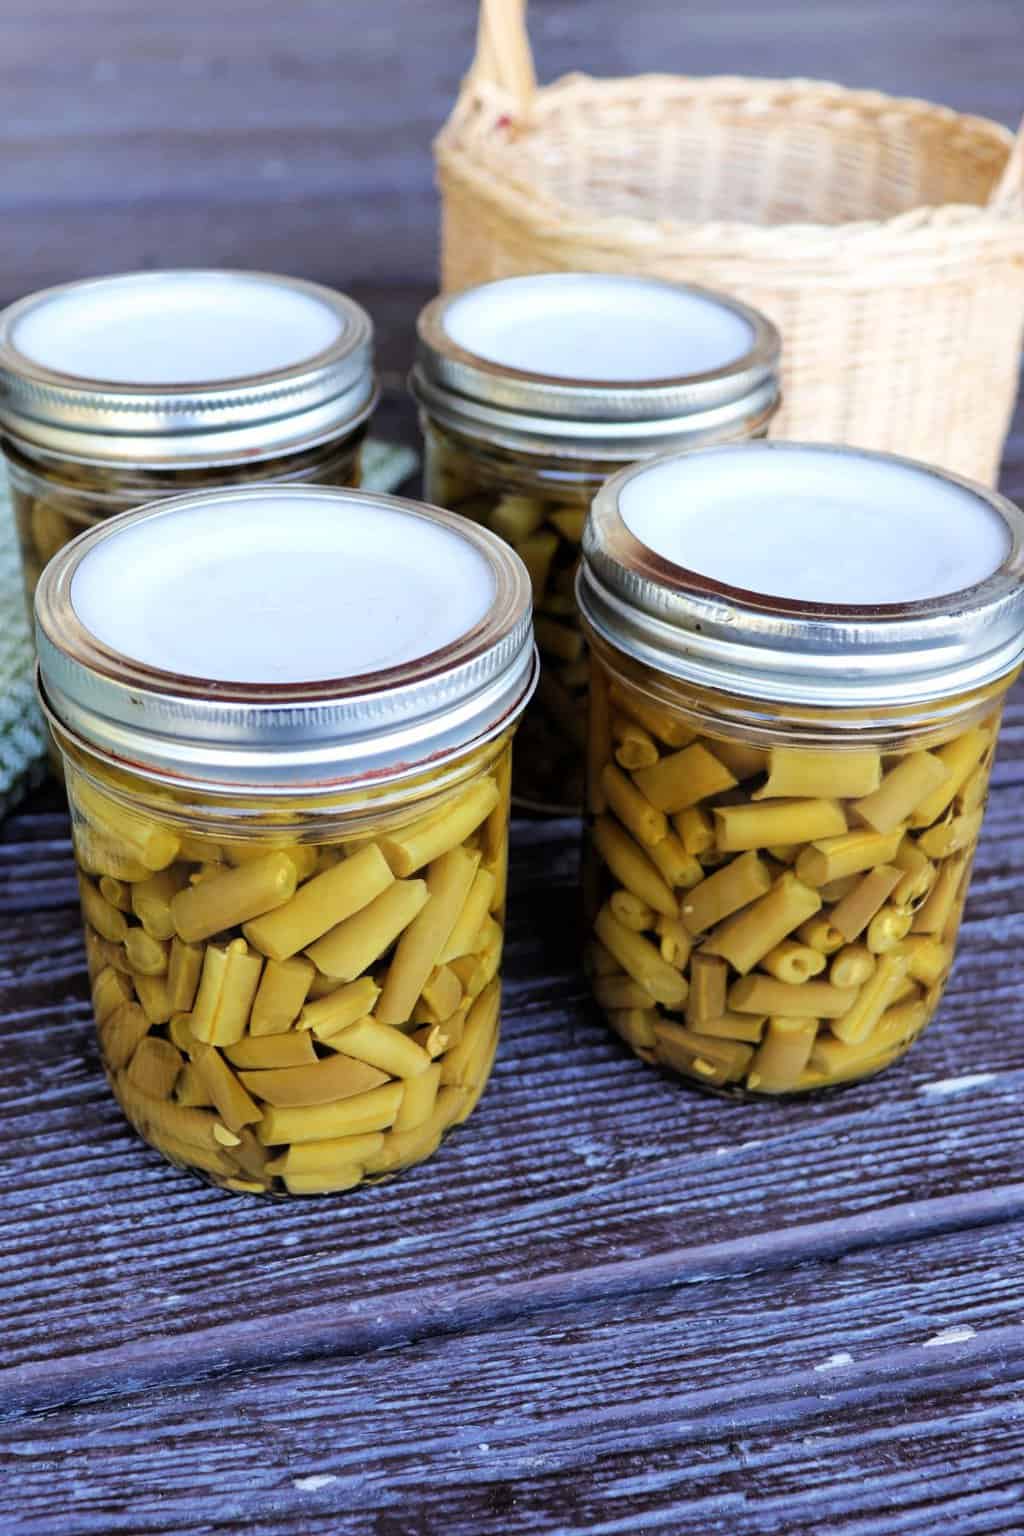
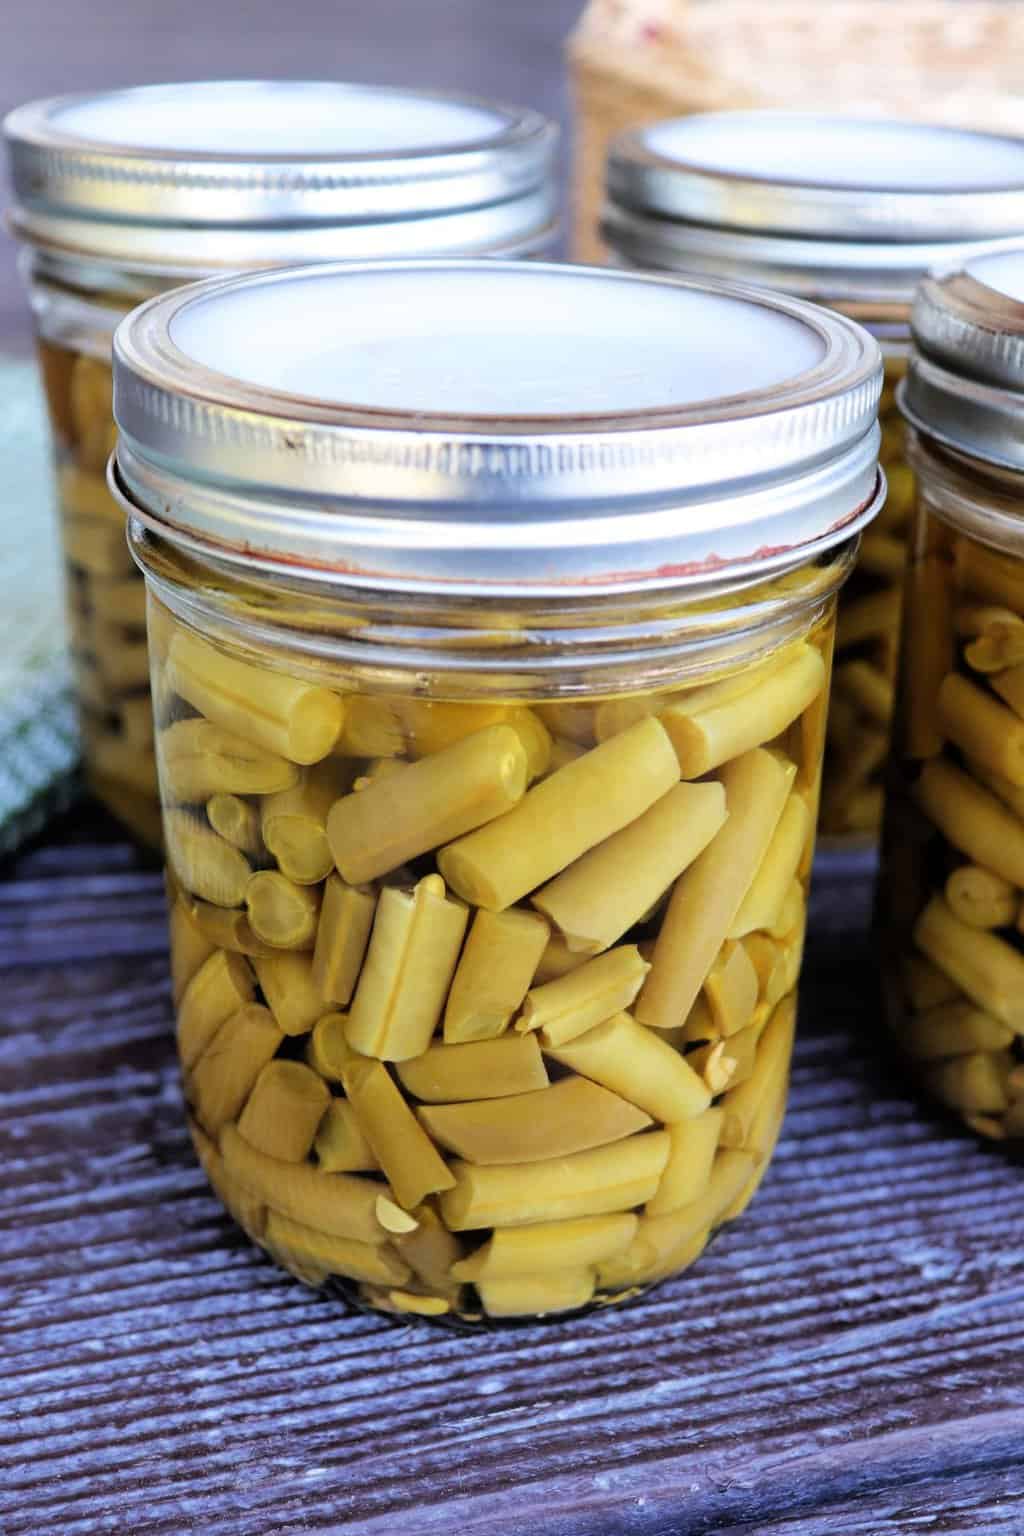
Fill Jars
If using salt, add it to the bottom of each jar.
Fill each of the hot jars with the raw beans leaving 1-inch headspace at the top. Add the boiling water again leaving the inch head space. Remove air bubbles and add more water, if necessary.
Wipe the rim of each jar to remove any water or debris from the beans. Place the lid on the jar and secure with a canning ring.
Process jars
Using a jar lifter, place the jars into the canner so that they don’t touch each other or the sides of the canner.
Secure the lid on the canner and vent as recommended by the manufacturer.
Place weight or close vent on a dial guage canner and let the canner come to the proper pressure (see printable recipe below for specifics).
Once pressure is reached, process jars according to the processing time needed for jar size. Keep an eye on the pressure and adjust heat as needed.
After processing, turn off heat and let the canner come down to zero pressure naturally.
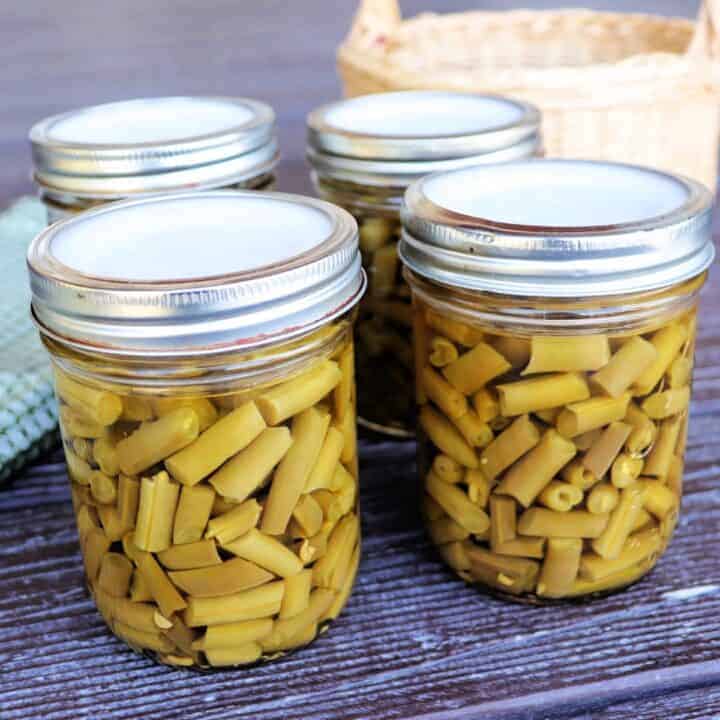
Remove jars from canner and let cool on a towel.
Once jars have cooled make sure they have a good seal.
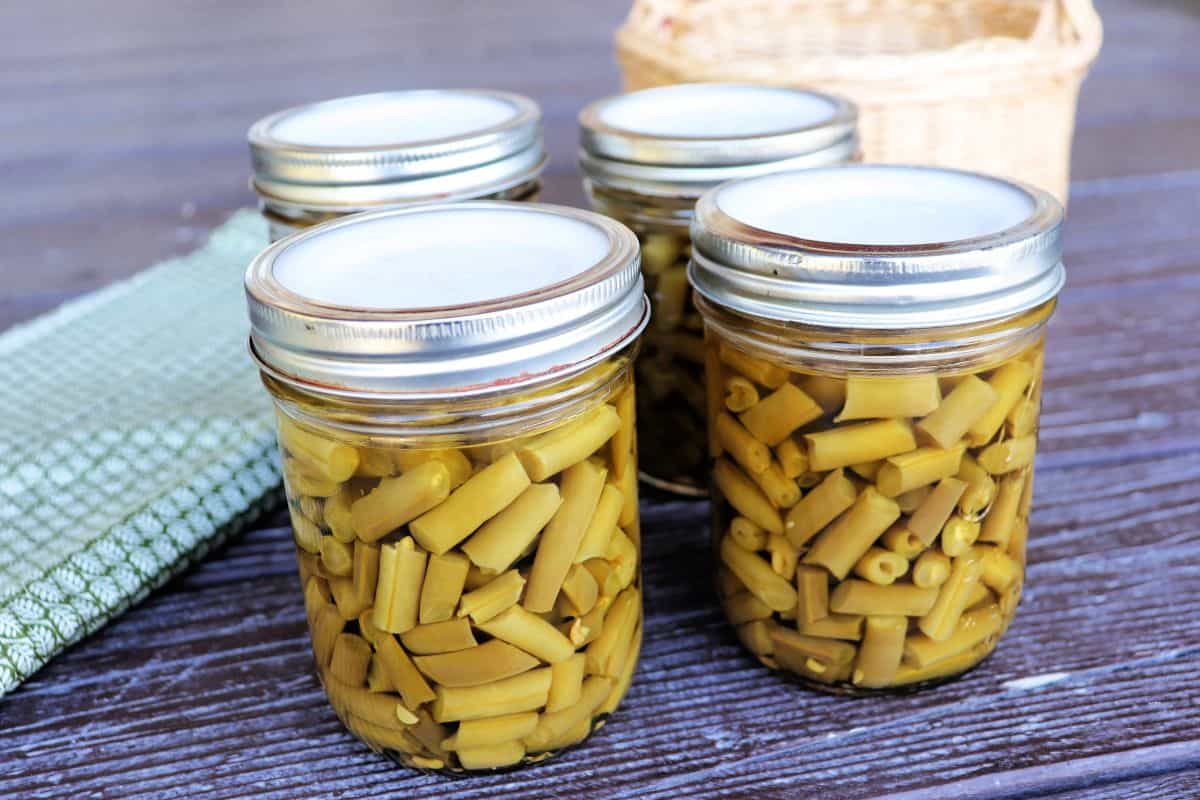
Storing
Remove the screw bands from the sealed jar, they are not necessary for storage. Place the jars of green beans in a single layer in your pantry or other cool dark place for use later.
If any jars did not seal, you can store those in the refrigerator and eat up within a week or freeze them for later.
How to Use
Use home canned green beans in like store-bought beans. Pick a canned green bean reicpe, toss a jar into soups or stews, use it for your green bean casserole, boil them for an easy side dish alongside some panfried meat.
How to Can Green Beans with a Raw Pack Method
Use this quick and easy method for tasty home canned green beans.
Ingredients
- 9 Pounds Green Beans, snapped
- 4 1/2 teaspoons Salt
- Boiling Water
Instructions
- Get your pressure canner ready.
- Prepare jars, lids, and rings.
- Add salt, if using - 1 teaspoon for quart jars, 1/2 teaspoon for pint jars.
- Fill the jars tightly up with the snapped beans, leaving 1-inch headspace.
- Pour boiling water over the beans, leaving the 1-inch headpace.
- Remove air bubbles, wipe rims.
- Place the lids and rings on jars.
- Put jars in the pressure canner and vent as recommended by the manufacturer.
- Process pints for 20 minutes, quarts for 25 minutes per the pounds below based on your elevation and canner type
- Dial gauge up to 2,000 feet above sea level 11 pounds of pressure - 2,001 to 4,000 is 12 - 4,001 to 6,000 is 13 - 6,001 to 8,000 is 14.
- Weighted gague up to 1,000 feet above sea level is 10 pounds of pressure. Anything above 1,000 feet is 15 pounds of pressure.
- After processing time, let canner come down to 0 naturally by removing from heat.
- Remove lid and place jars on a towel to cool naturally.
- Check for seals, remove rings and store.
Nutrition Information:
Yield:
18Serving Size:
1Amount Per Serving: Calories: 79Total Fat: 1gSaturated Fat: 0gTrans Fat: 0gUnsaturated Fat: 0gCholesterol: 0mgSodium: 532mgCarbohydrates: 18gFiber: 7gSugar: 8gProtein: 4g
We try our best but cannot guarantee that nutrition information is 100% accurate.
Count your blessings that you have green beans! i plant 3 rows every year and have more than i know what to do with, but this year, we’ve had about 18 inches of rain from June 1 to now. Gorgeous vines, I have, but not one bean. Oh well. There’s always next year.
Great idea. I freeze beans as a rule rather than canning (and that’s a quick process), but I’ll look forward to seeing what other food preservation monsters you break down. I seem to remember one from several years ago about simplifying salsa, which would be super-handy.
Love the idea of breaking this down into smaller tasks. That definitely makes it more doable when trying to fit something in during baby’s naptime or something like that.
I follow your method of breaking down the tasks also. Right now the bean production is slow I’m not getting enough at one time to fill a canner. So I clean the loose soil from them and store them whole in a plastic bag until I get another “picking”. Then, I’ll wash, snap and maybe can that day. Or I may just put them in the fridge until the next day. I’ve never had problems with them getting soft before I get them processed.
Awesome post, thank you! I want to start canning green beans next summer, if my harvest does well enough.
I didn’t do so well either with my beans so we bought a bunch in Raleigh at the farmer’s market (we live in Baltimore). I snapped those bad boys in the car on the way home and canned them the next day when we got home.
This is awesome! Go you.